 Help Center
Save your office address(es) into the system and set them up for your team to clock in and out of the office with our Office Check-In feature. This gives the team an alternative to check in/out to locations deemed as your office address without requiring a Job on it.
Benefits :
- Enable team members to easily record office arrival and departure times.
- Support multiple office locations for organizations with distributed workspaces.
- Track office hours separately from job-specific field work.
- Maintain accurate records of when employees are present in office locations.
Navigate to the section by clicking it.
- Add Office Check-In Location
- Clear Assigned User
- Delete Office Check-In Location
- Edit Office Check-In Location
Add Office Check-In Location
-
At the desktop site navigation bar, go to HR Suite > Office Check-in Settings.
Open Office Check-In Settings Here: https://system.caction.com/officecheckin/setting
*Note: You must have access to HR Suite menu to perform this action. Please request permission or help from your admin if you do not have access to the menu.
-
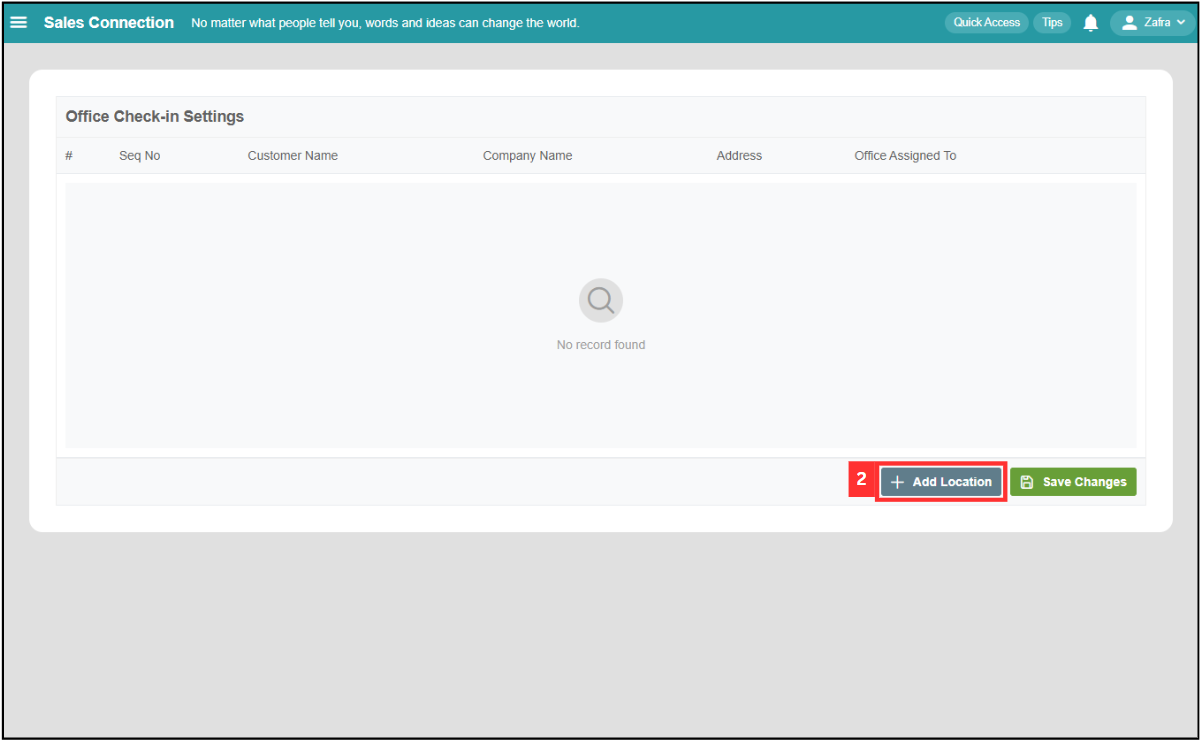
Click “+ Add Location” to add an office check-in.
-
The location must come from a registered Customer entry inside your system. For your case, you may add a Customer called HQ with your office address attached to it.
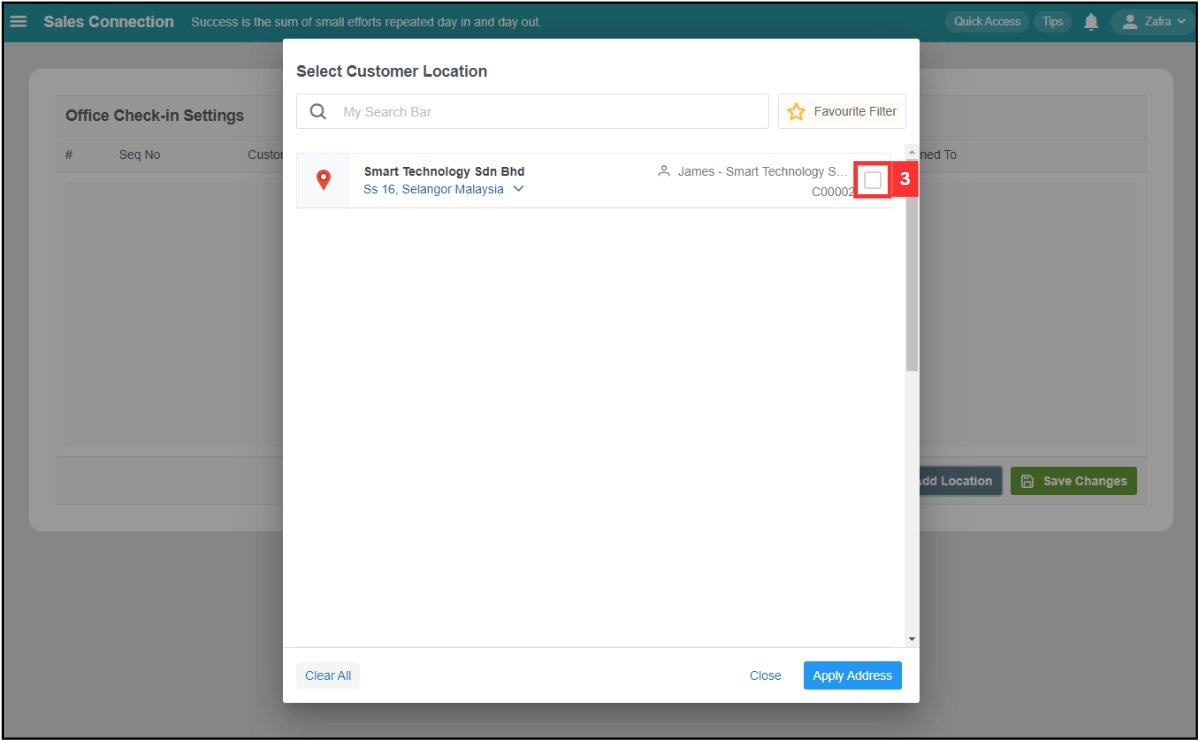
*Note: Customer may be named as other items in your system (i.e. Site, Client, Company, etc.)
-
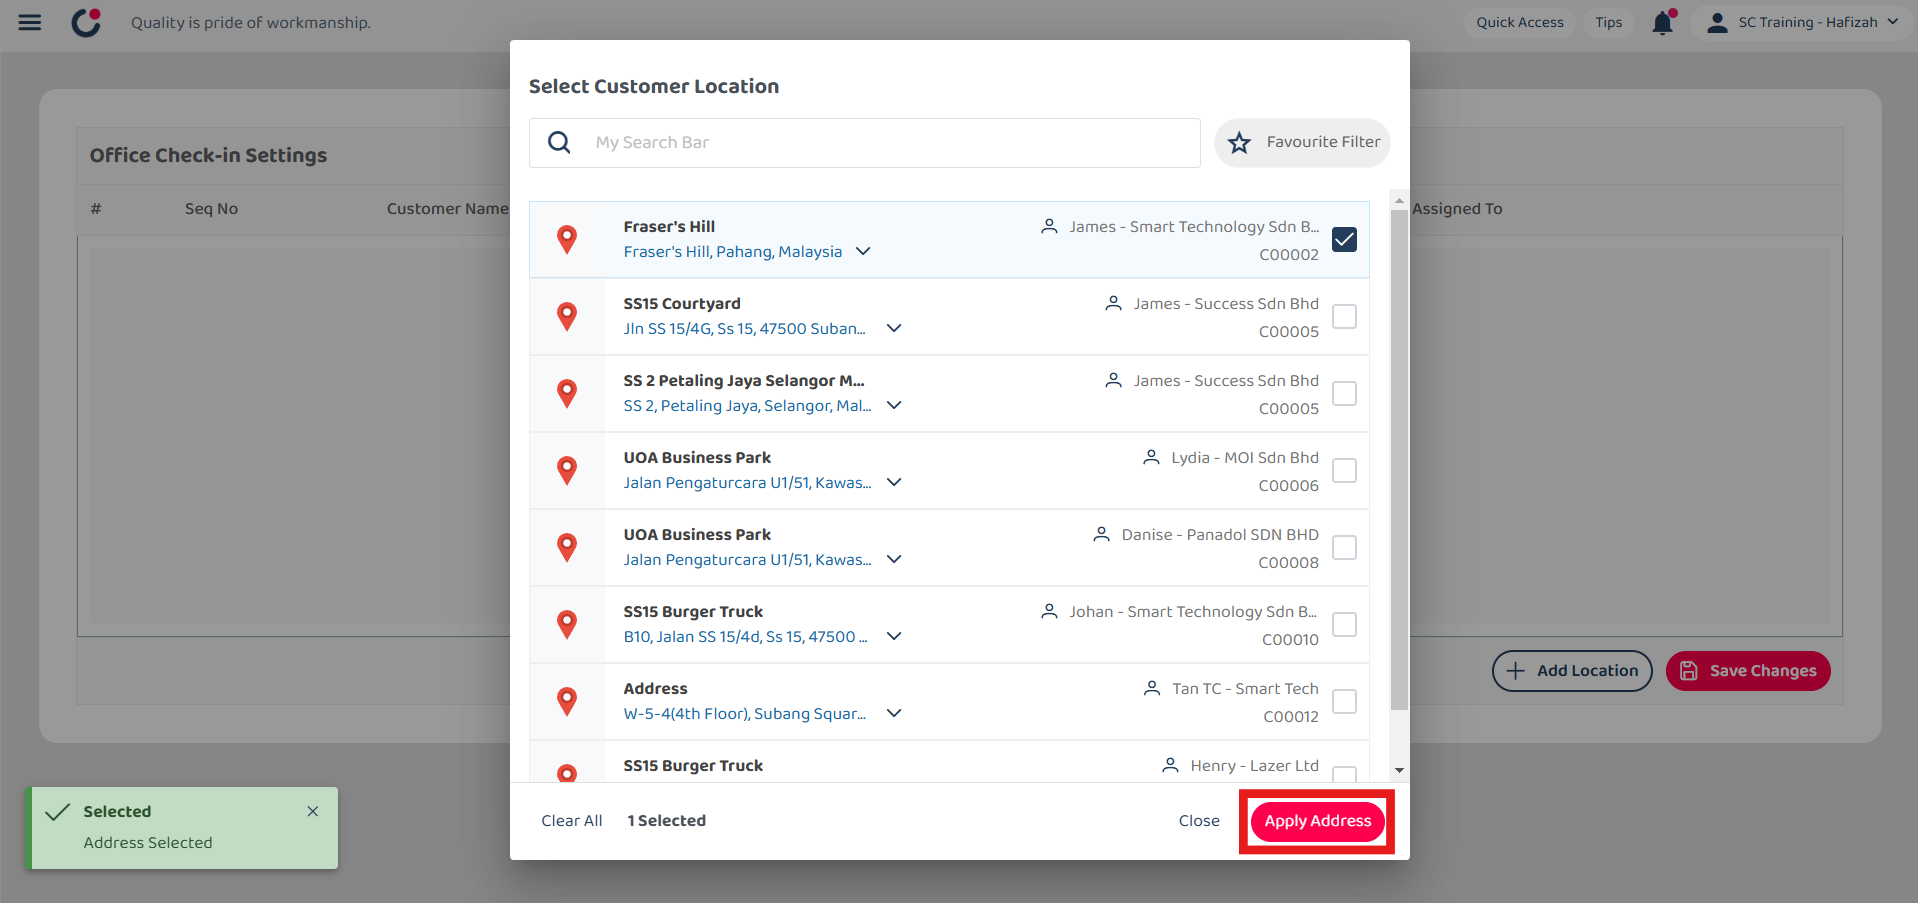
Click “Apply Address”.
-
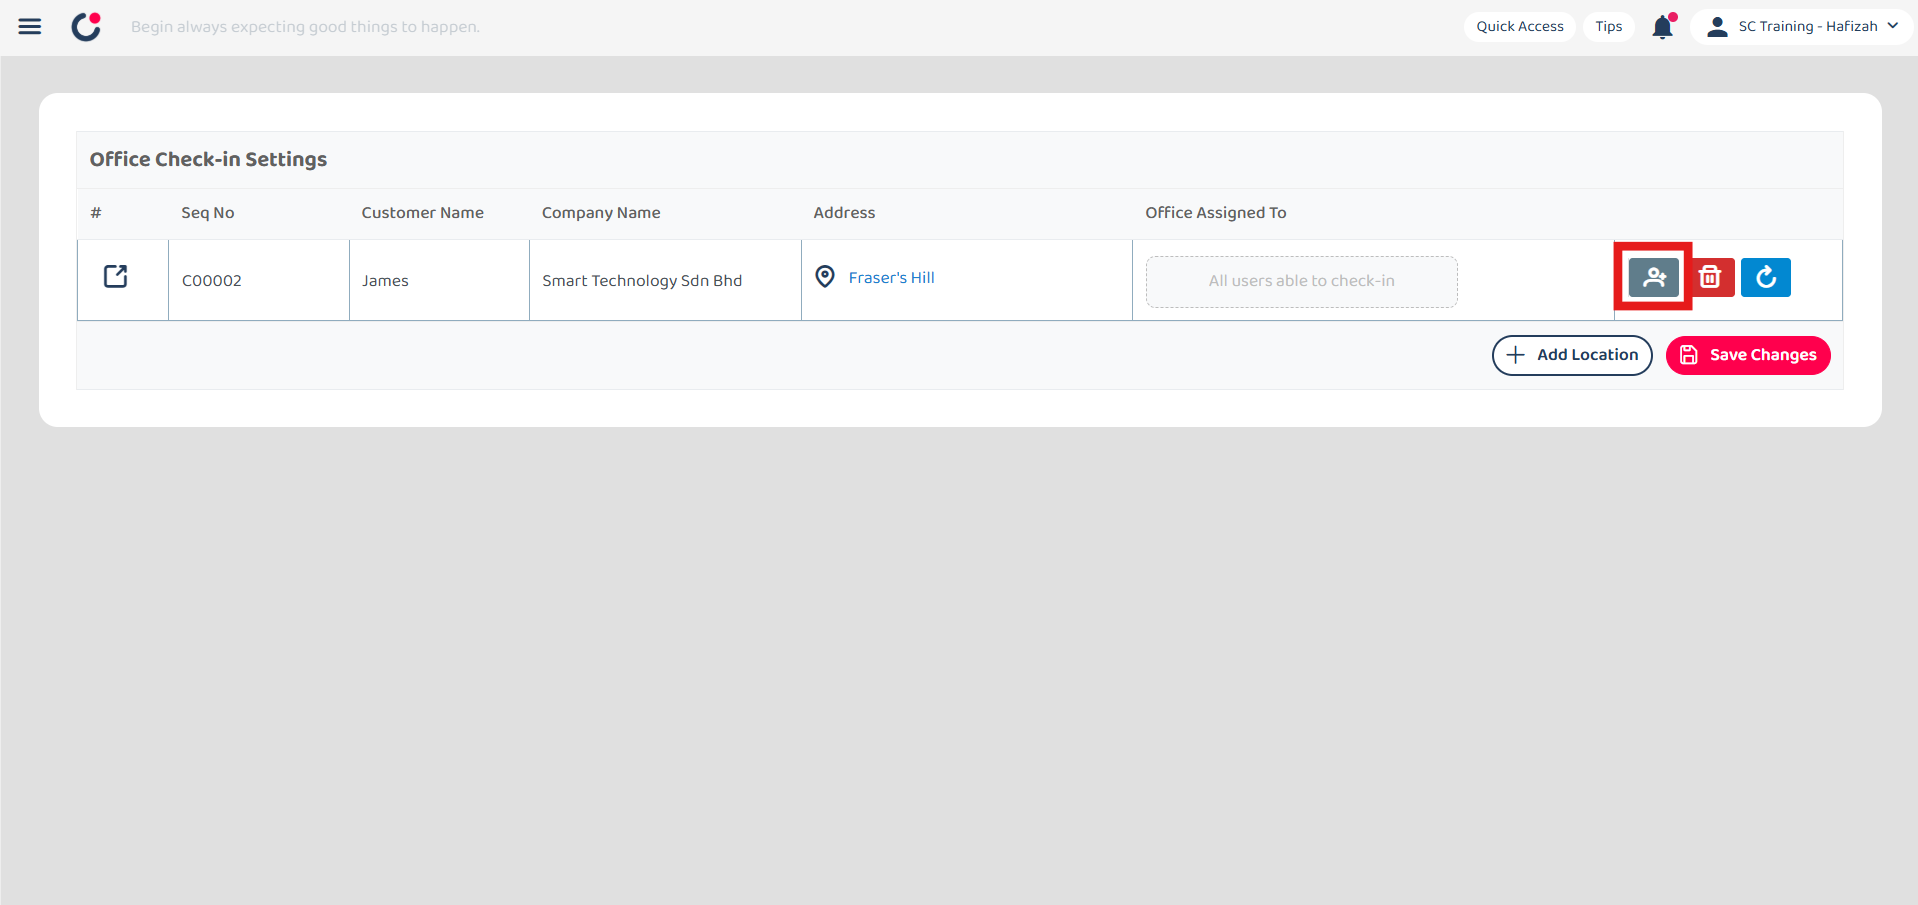
Click on the “Add User” icon.
-
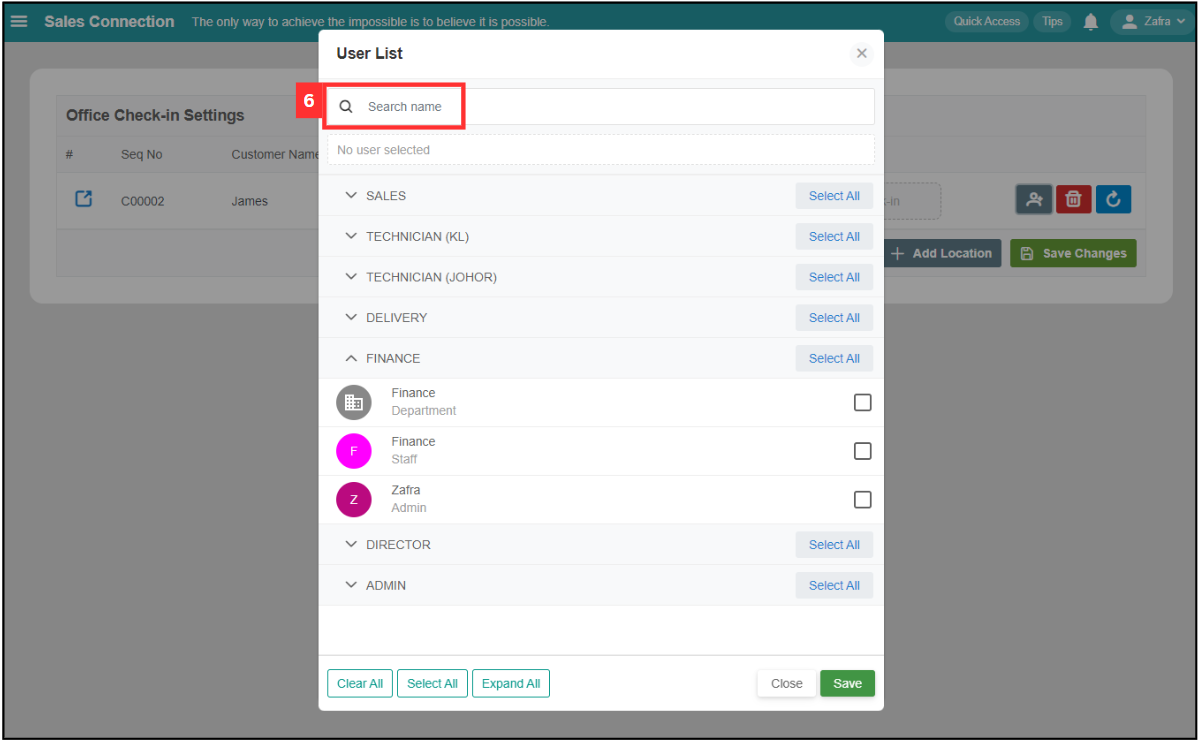
Enter the user name that you want to assign to the office check-in.
-
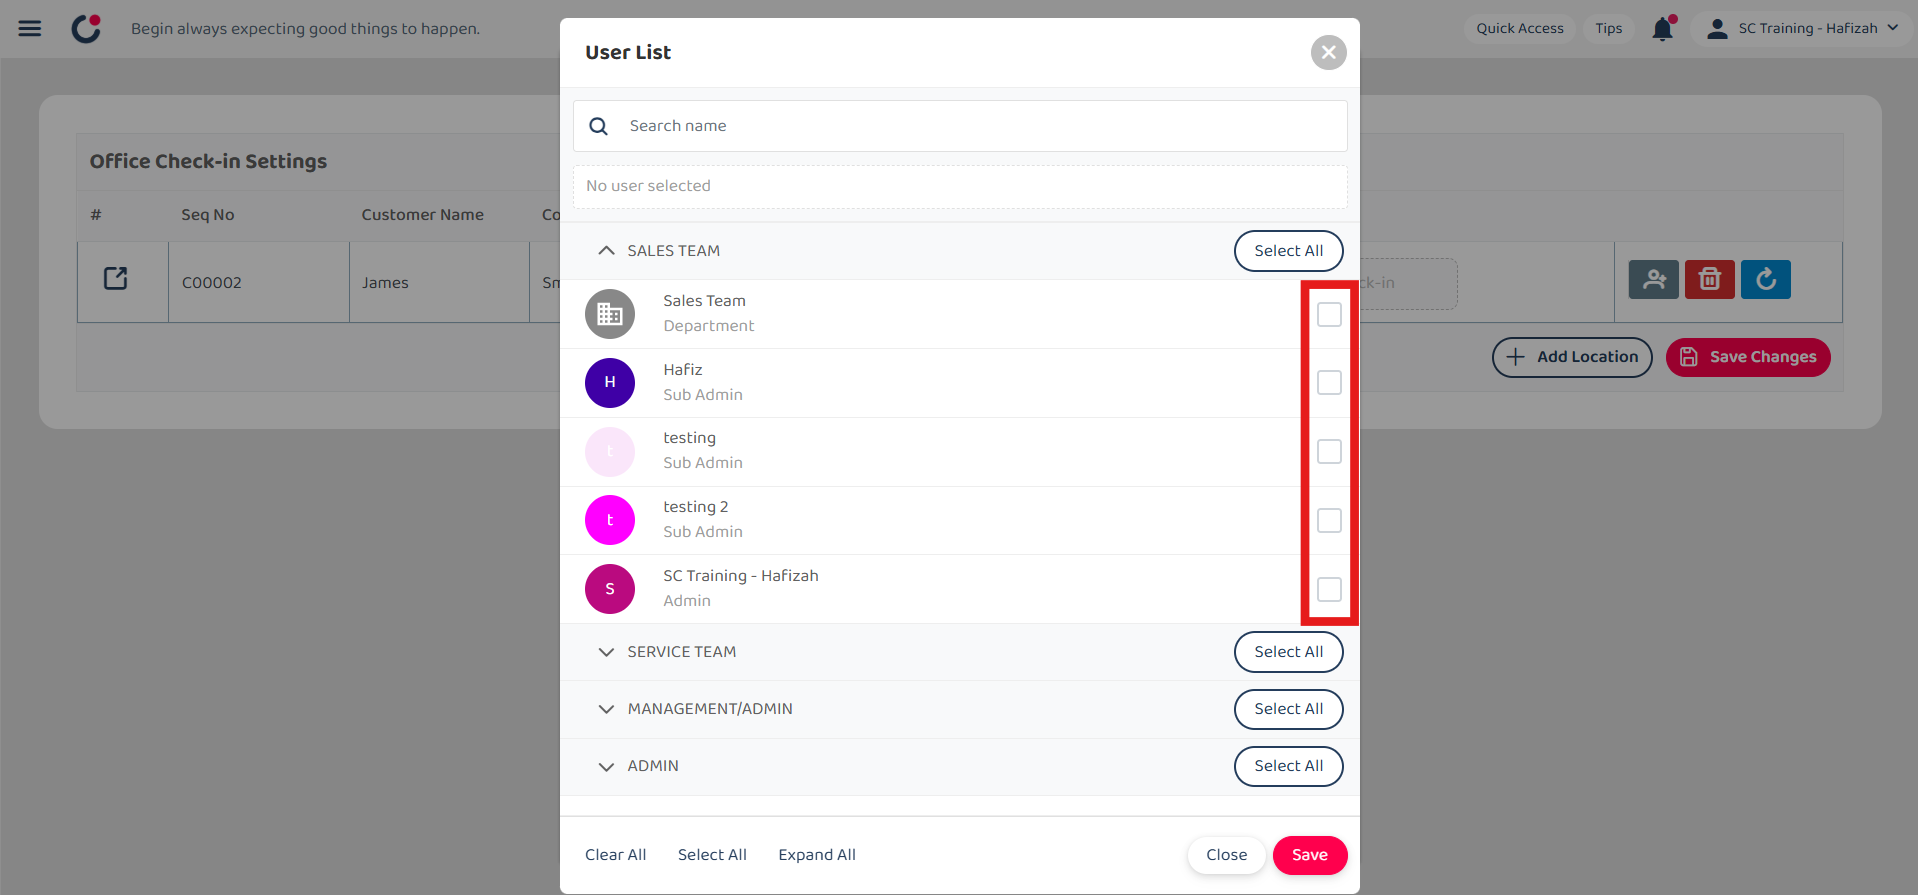
Tick the box of the user accordingly.
-
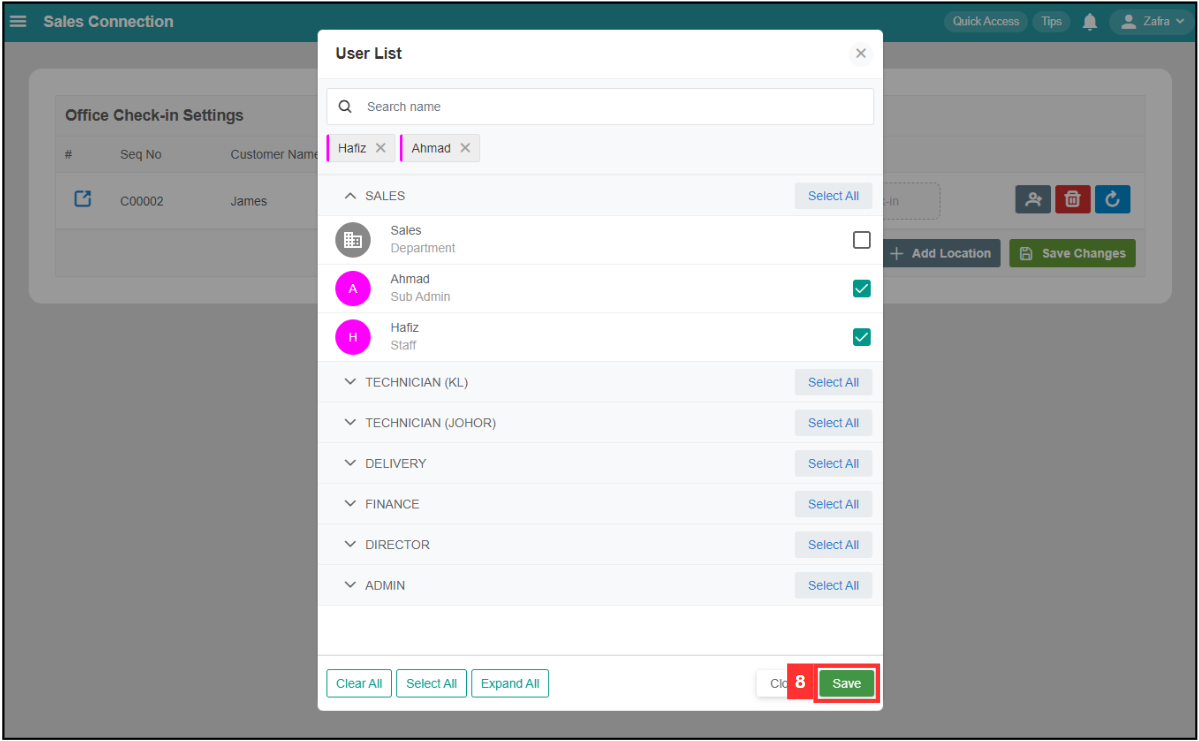
Click on the “Save” button.
-
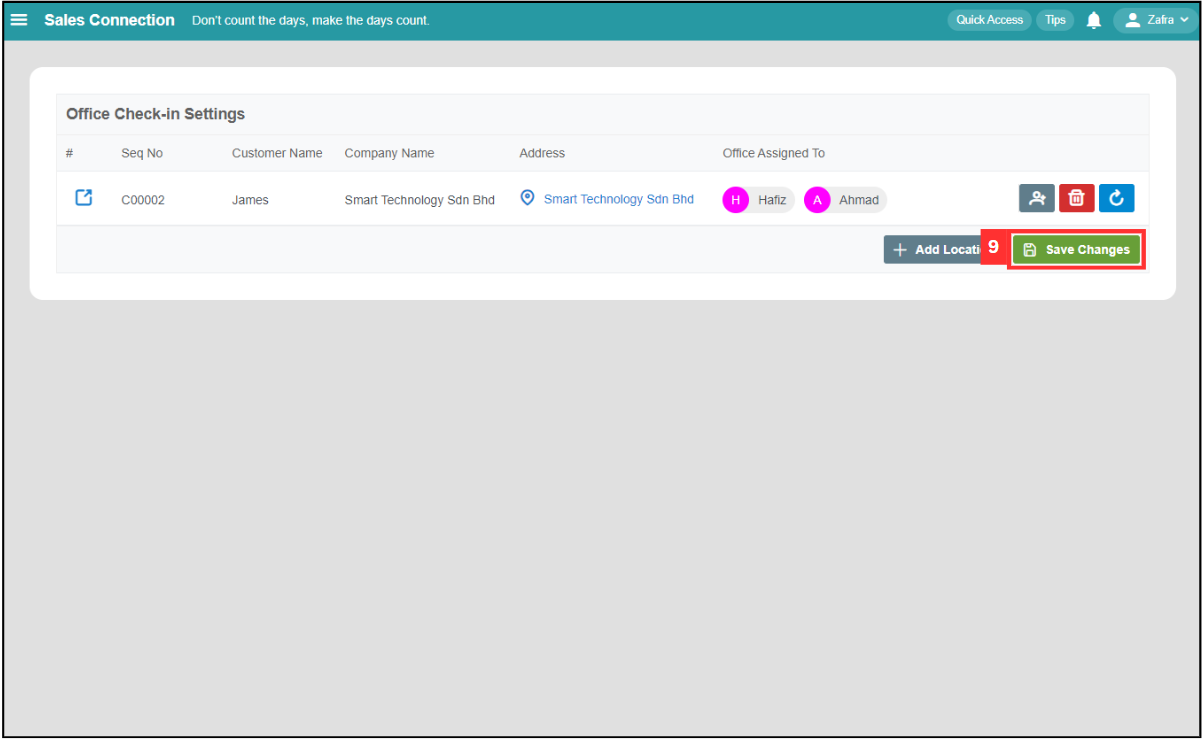
Click “Save Changes”.
-
The office check-in has been saved successfully when this prompt appears.
*Note: If no location is set, the user will be able to perform office check-in/out from anywhere.
Clear Assigned User
To remove/clear off all the assigned users from being able to use the registered location for their office check in/out, follow the steps below.
-
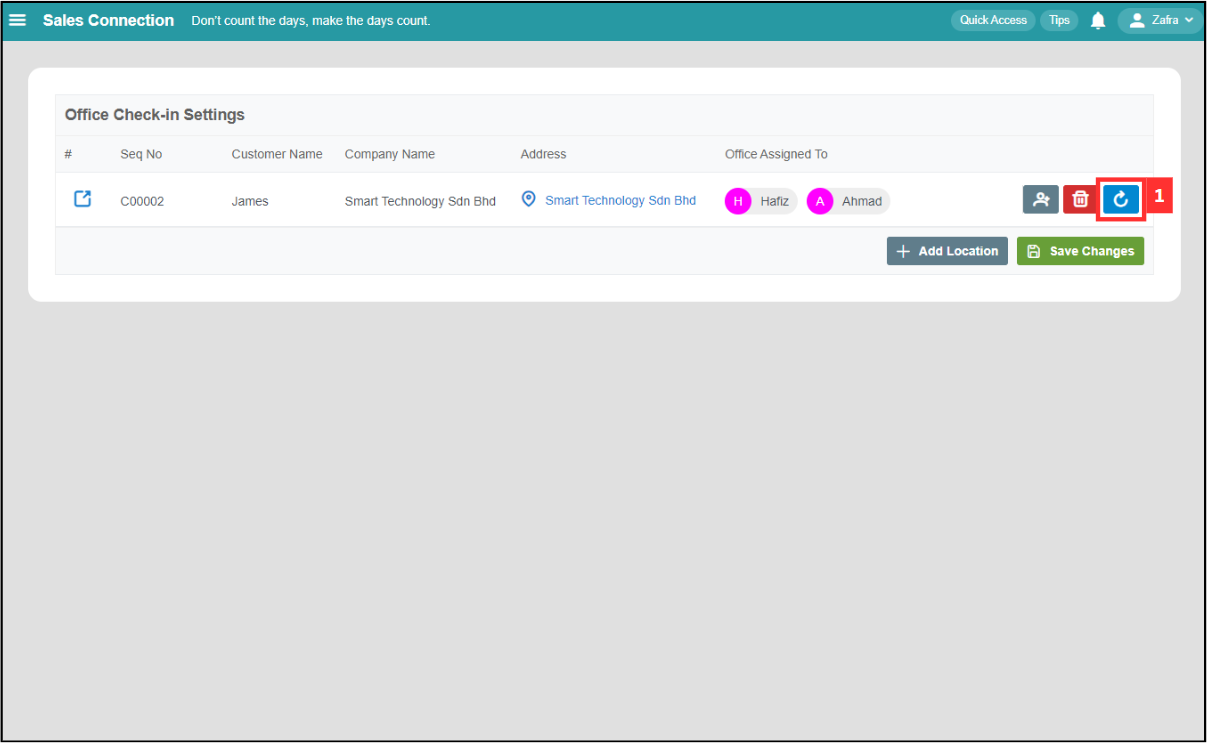
Click on the “Clear” icon to clear the assigned user.
-
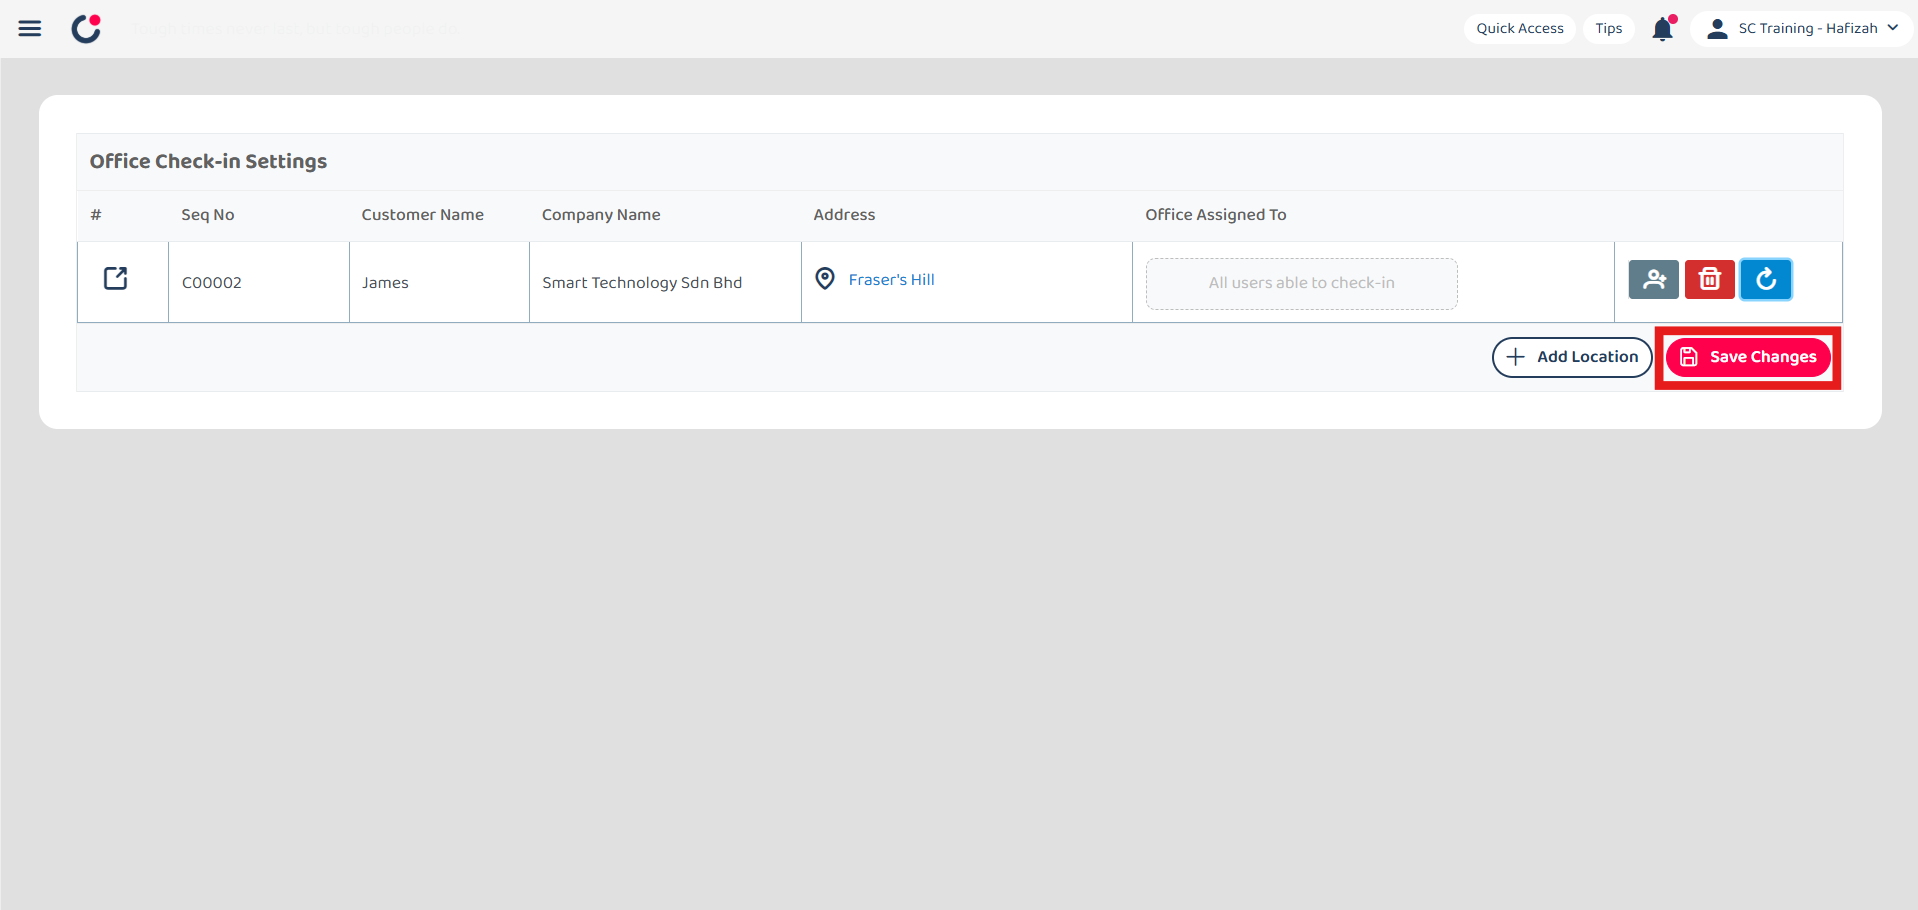
Click “Save Changes”.
-
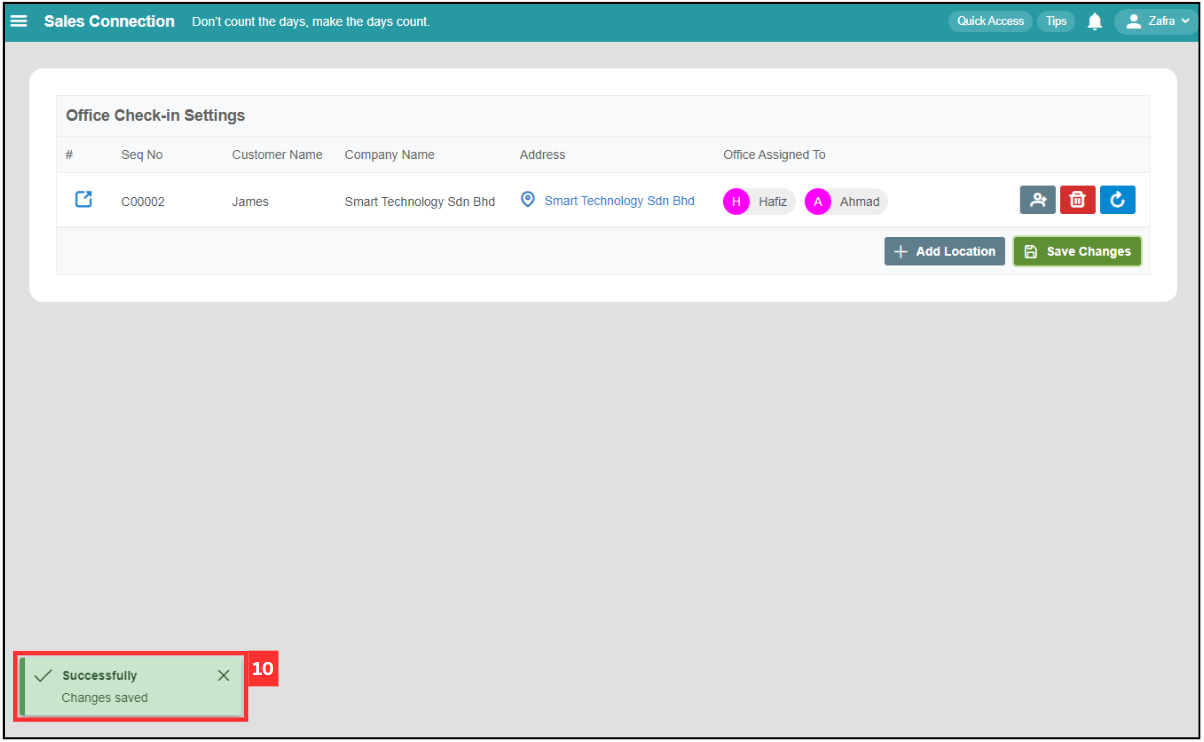
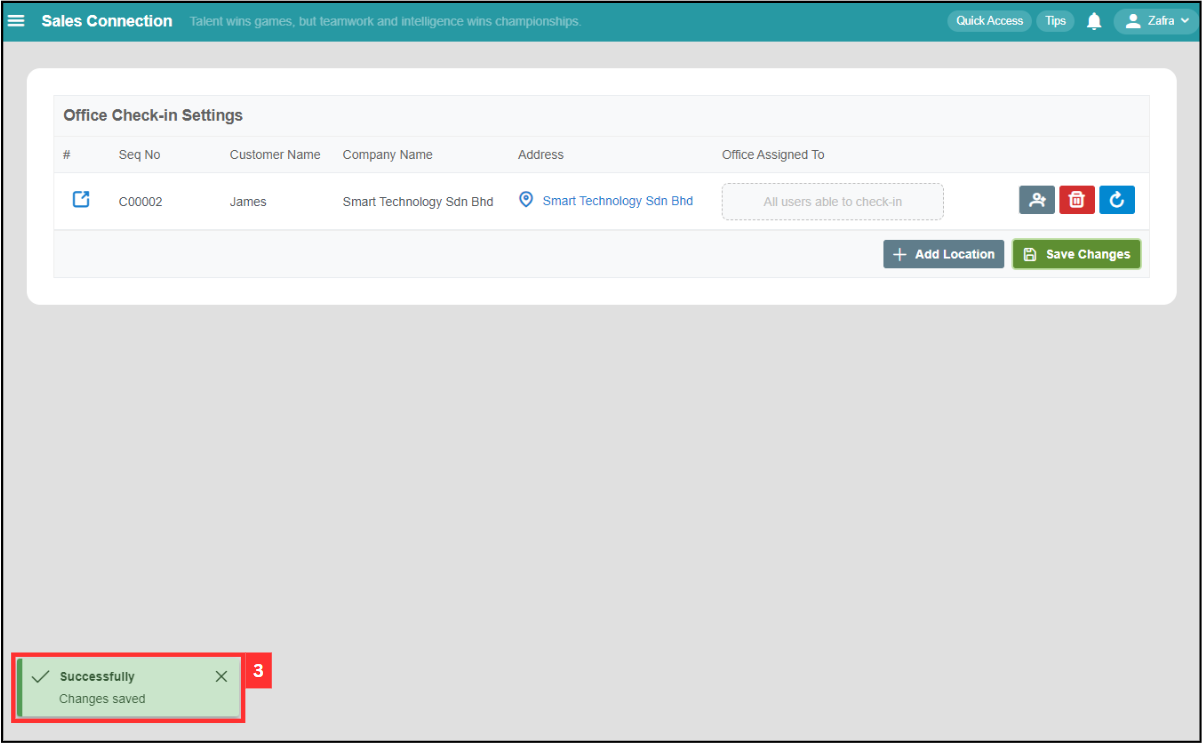
All the users assigned have been cleared when this prompt appears.
Delete Office Check-In Location
To delete the registered location set for your office check in/out, follow the steps below.
-
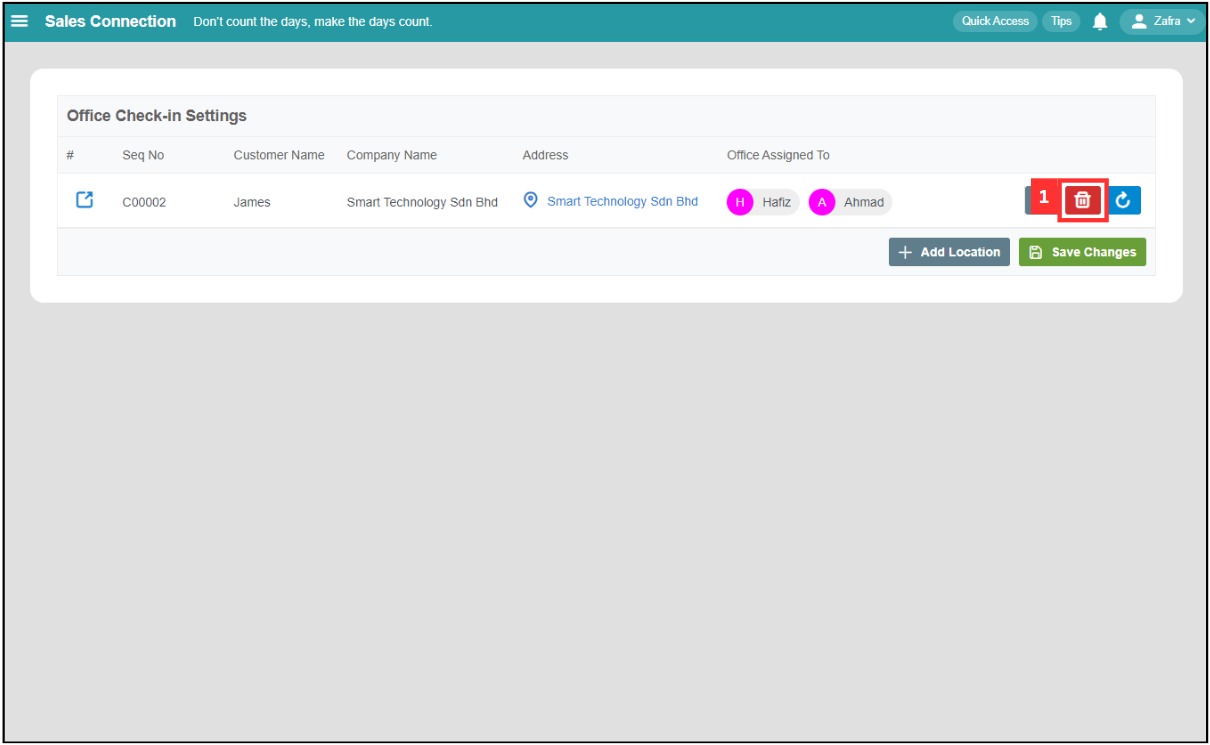
Click on the “Delete” icon beside the office check-in you want to delete.
-
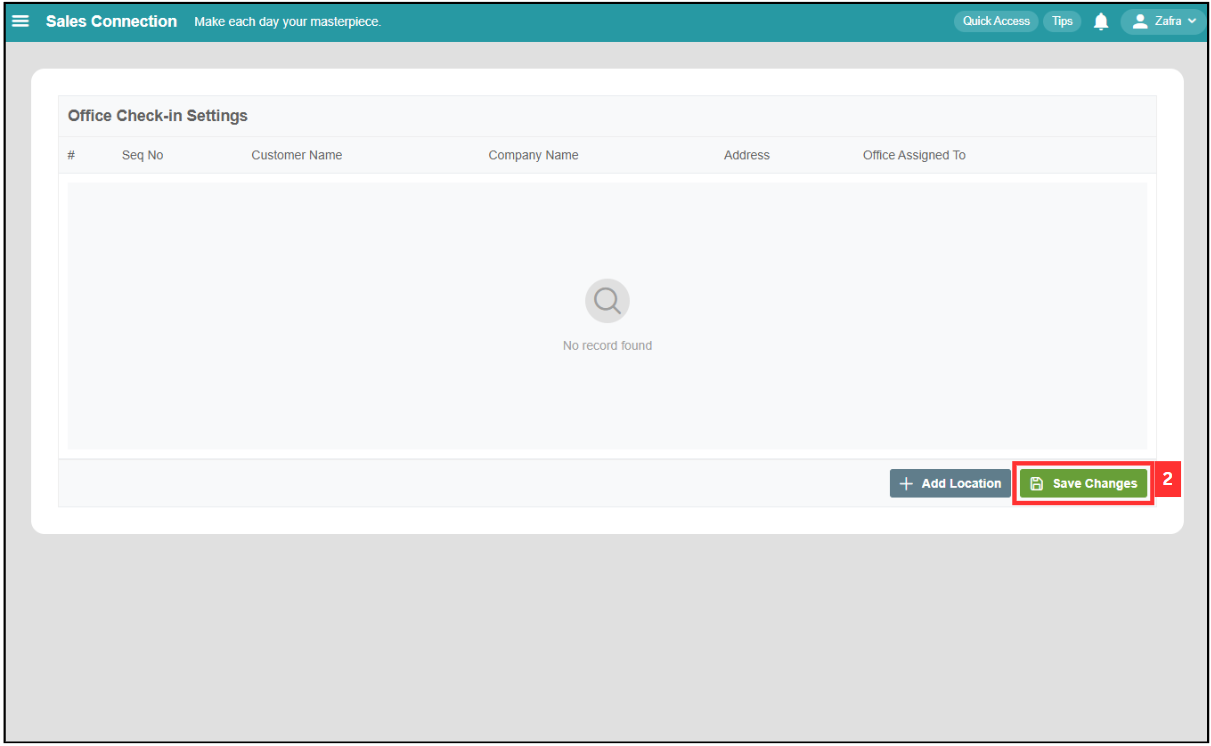
Click “Save Changes”.
-
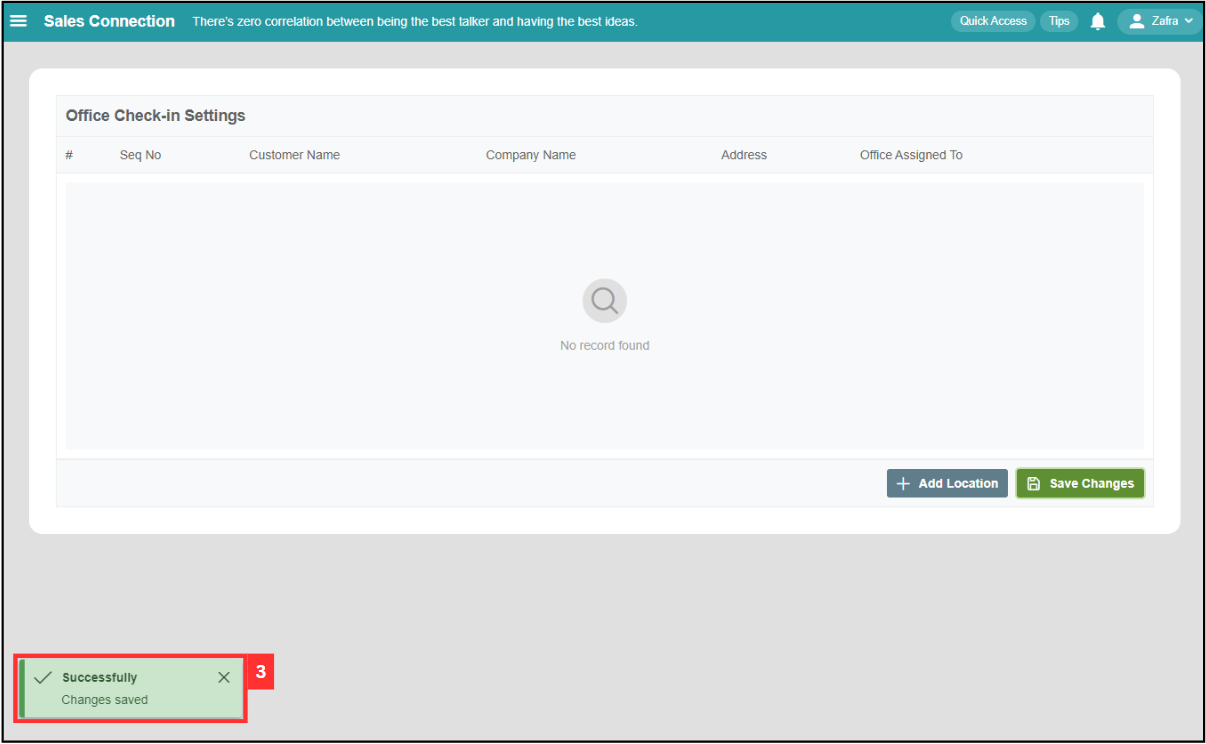
The office check-in has been deleted when this prompt appears.
Edit Office Check-In Location
To edit the registered location set for your office check in/out, follow the steps below.
-
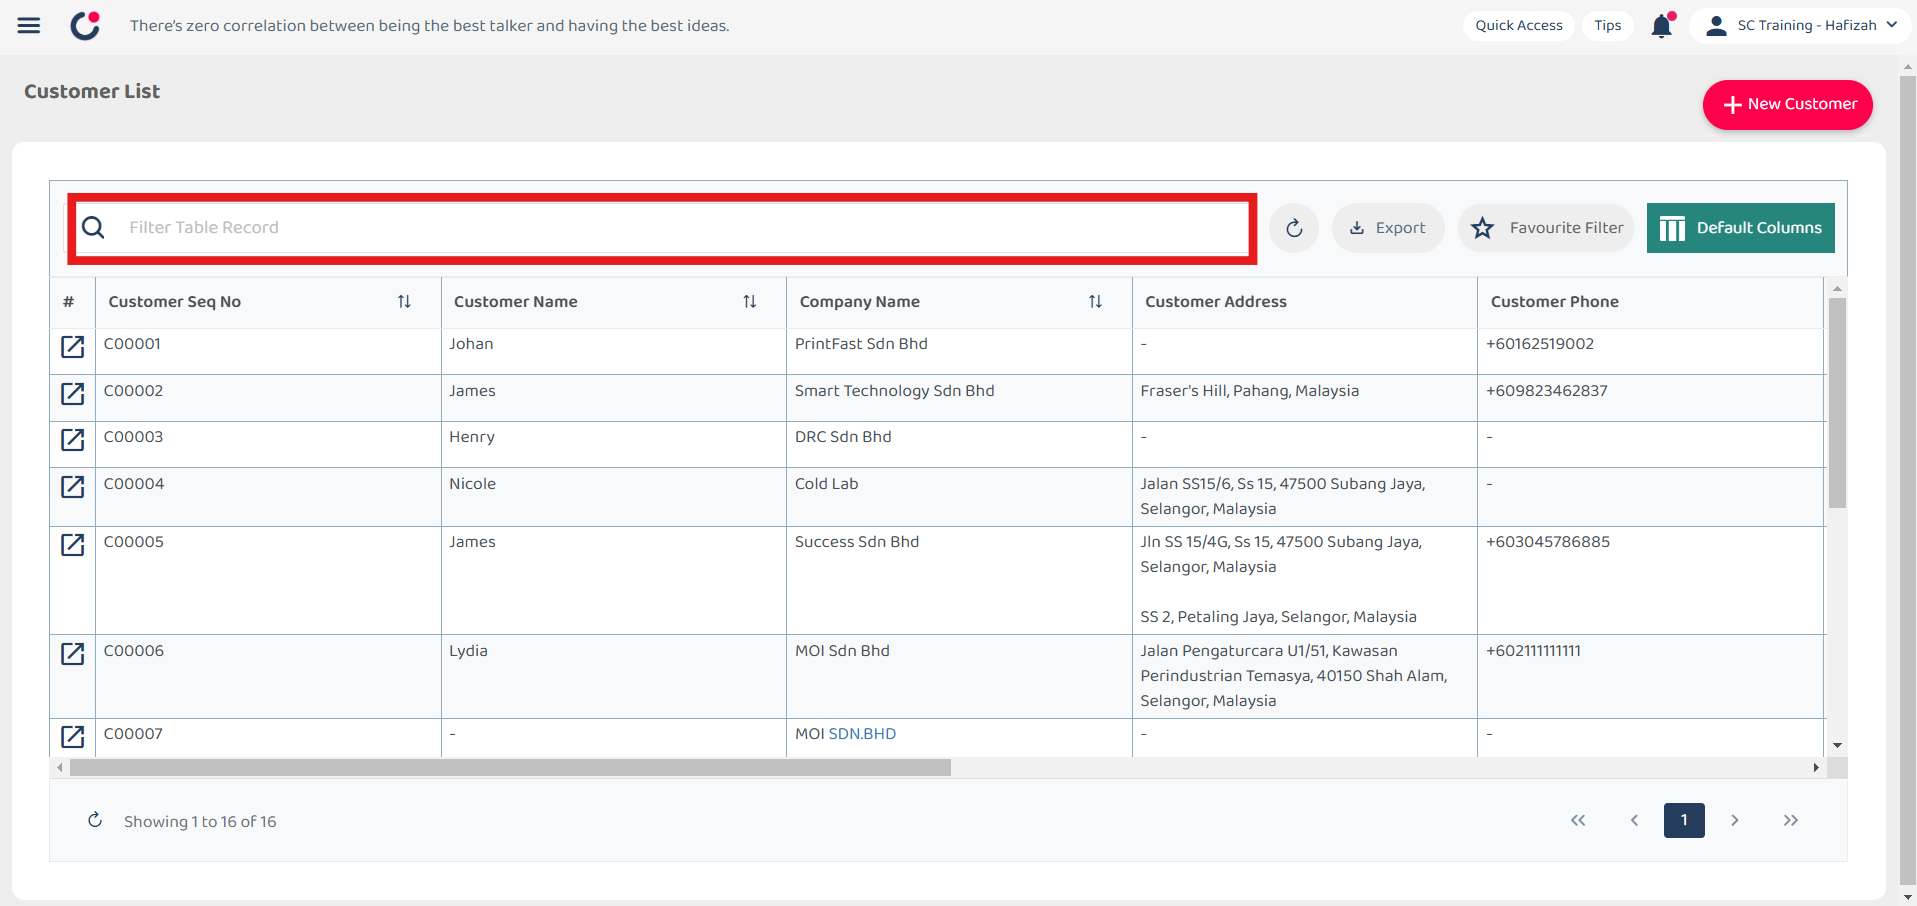
At the desktop’s navigation bar, go to Business Management > Customer List.
Open Customer List Page Here: https://system.caction.com/customers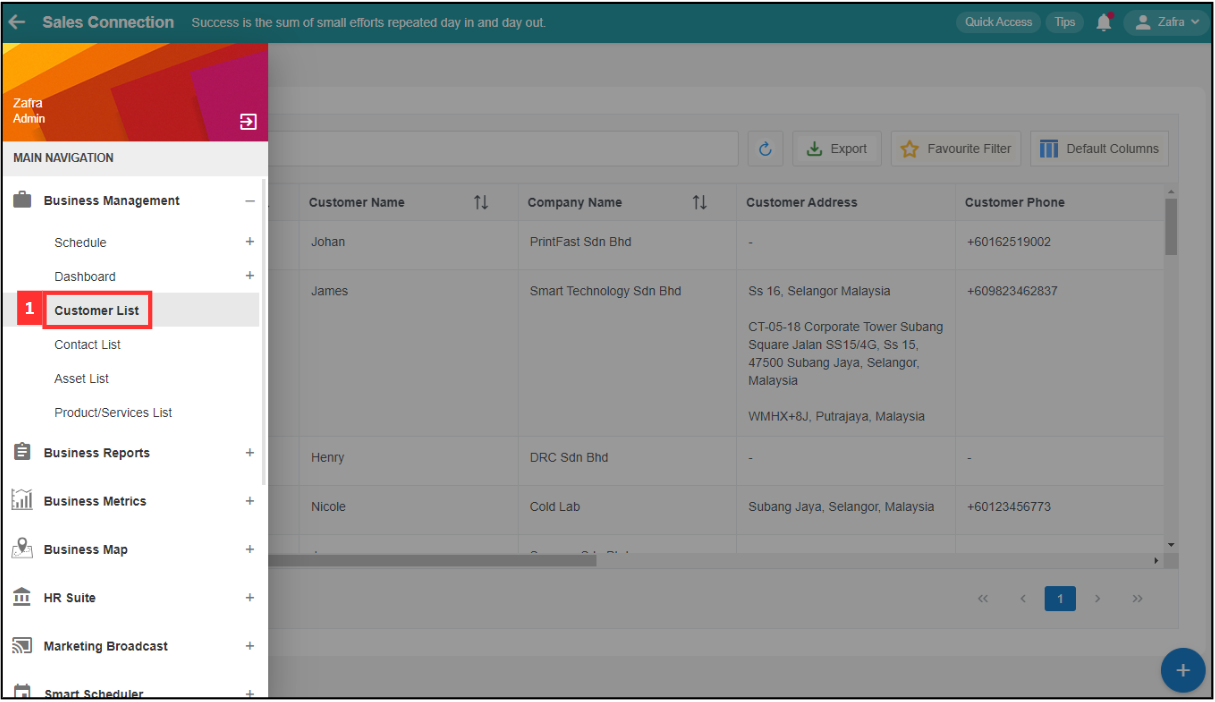
-
Use filter to search the customer.
-
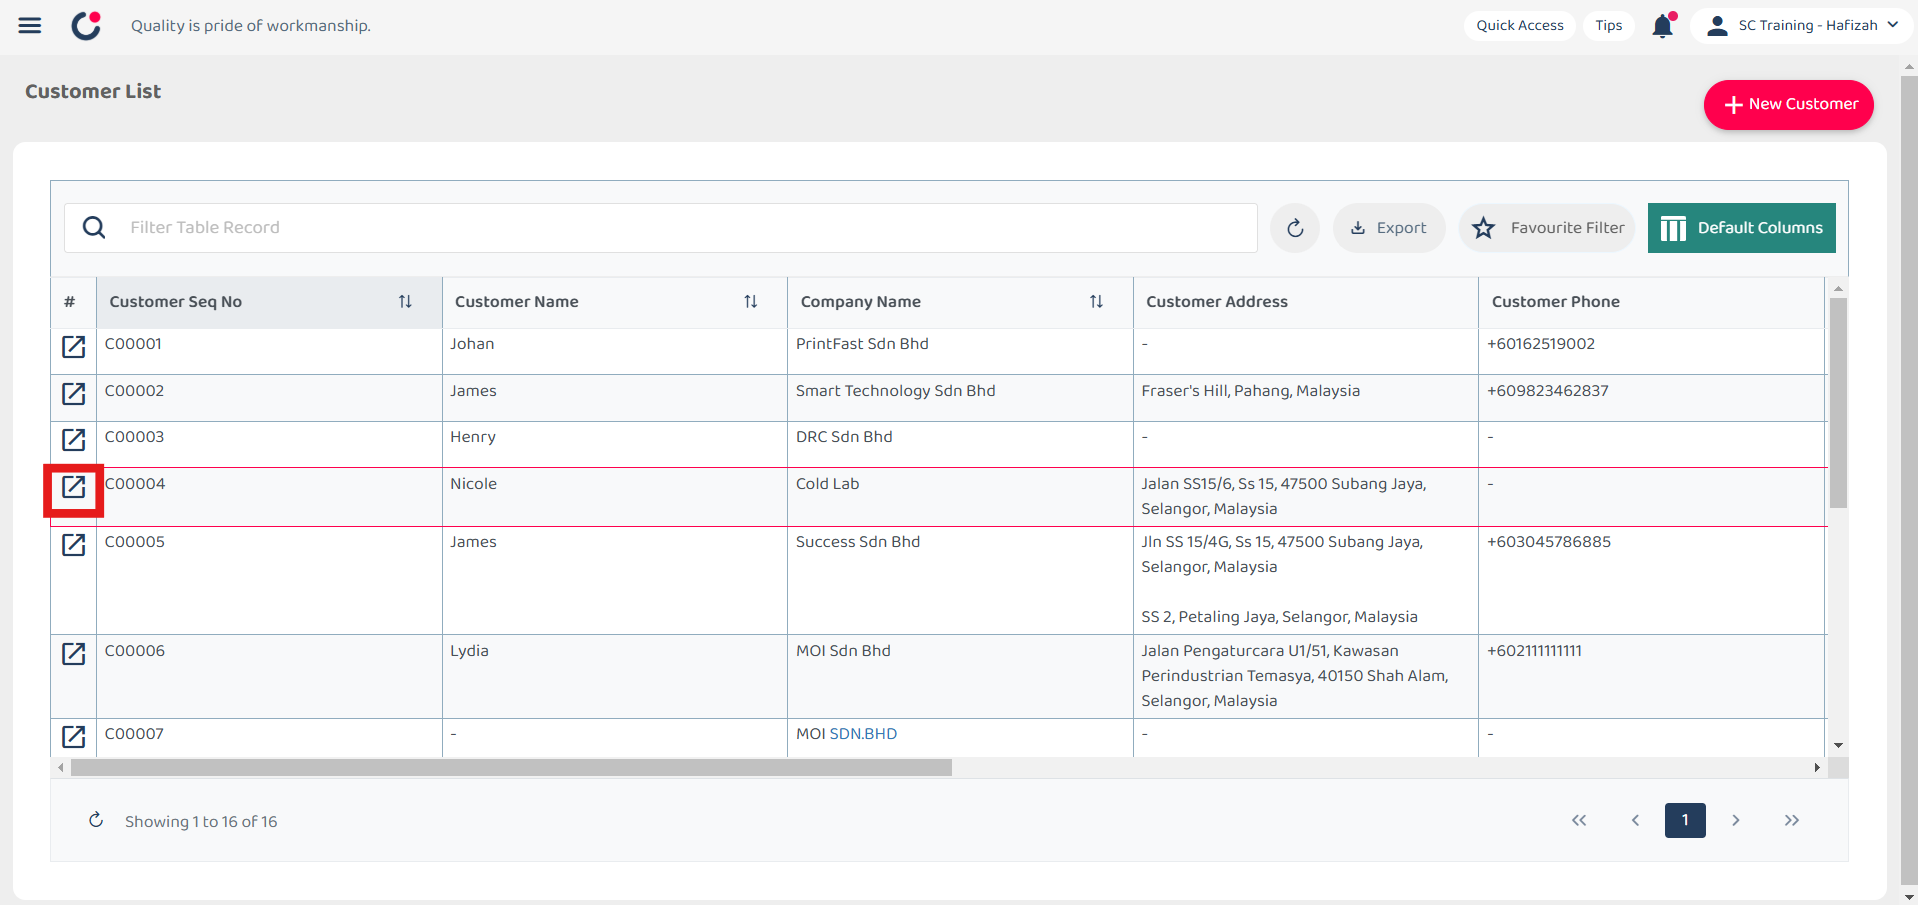
Click the “expand” button to open the customer details page.
-
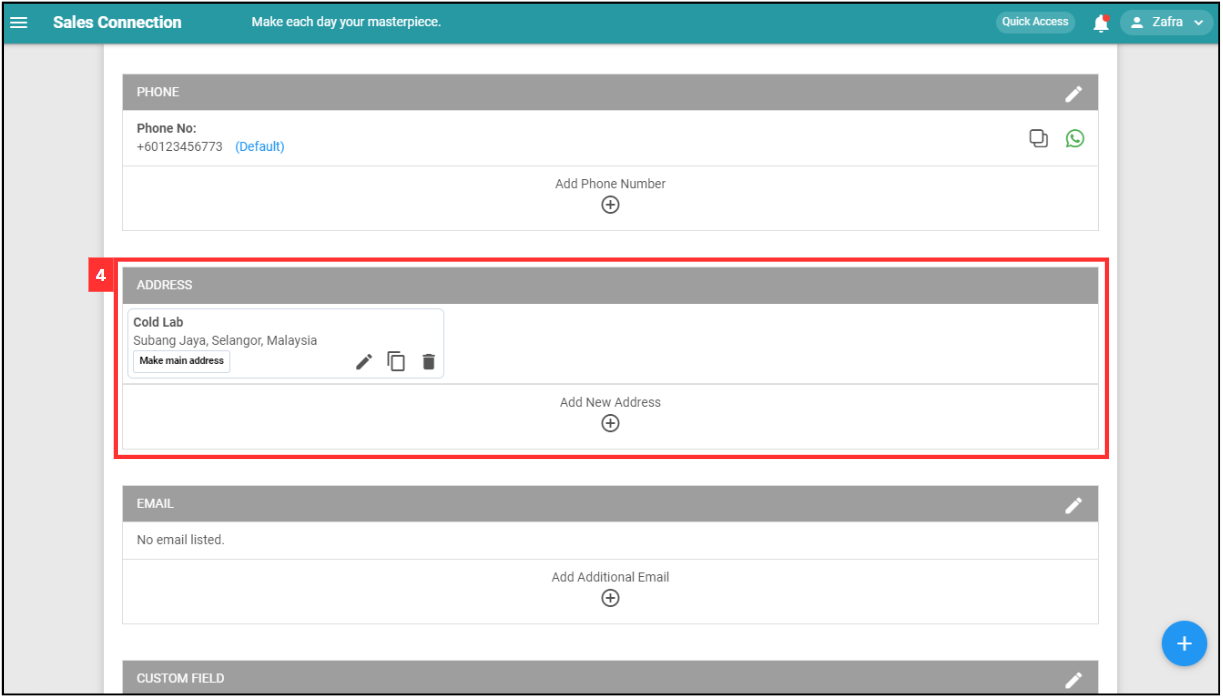
Scroll down to the “ADDRESS” column.
-
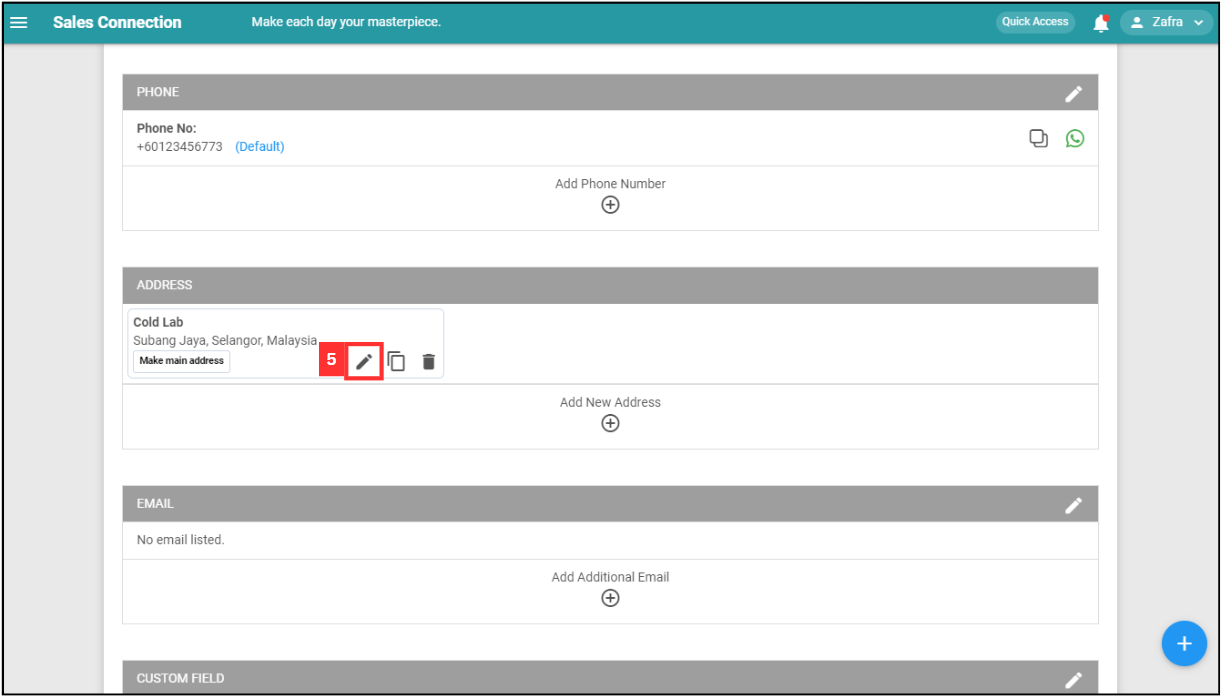
Click on the “pencil” icon of the address.
-
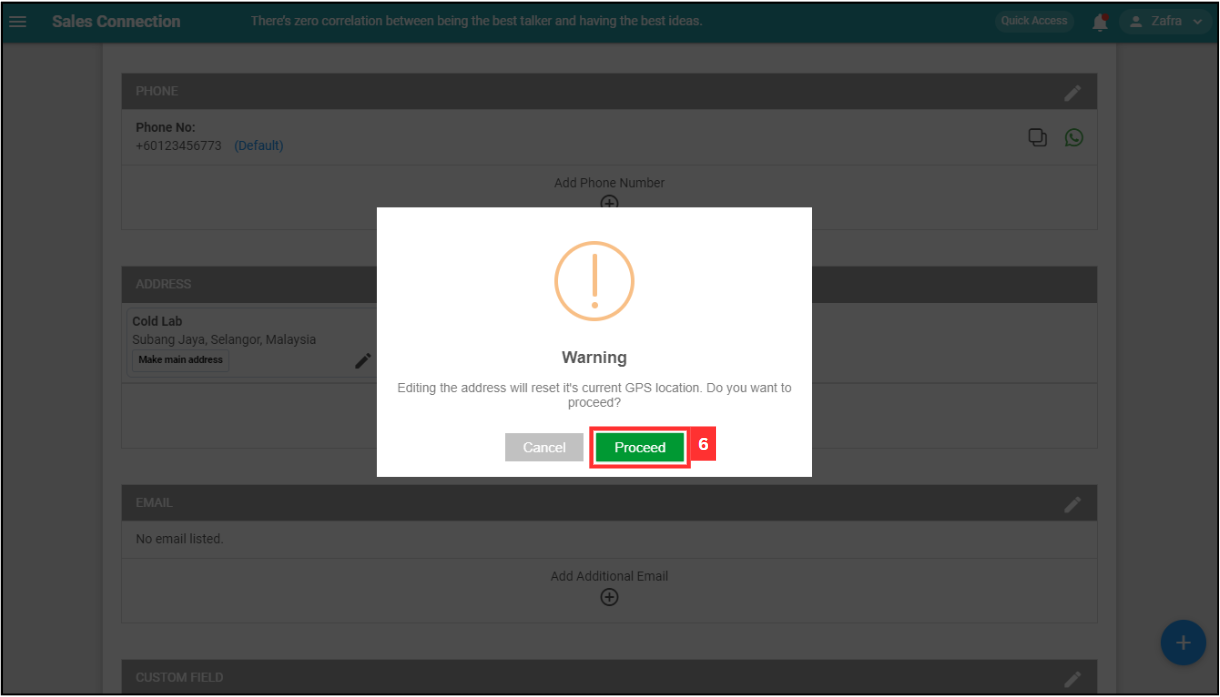
Click “Proceed” to edit the address.
-
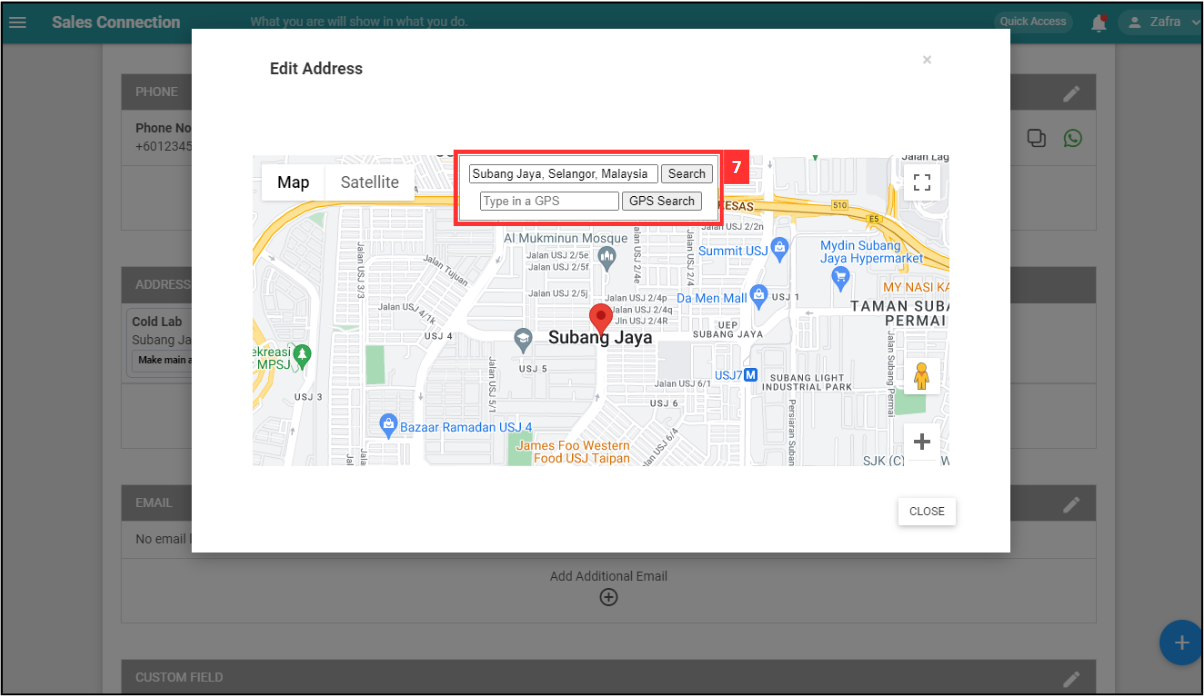
Search the office check-in location.
 </p
</p -
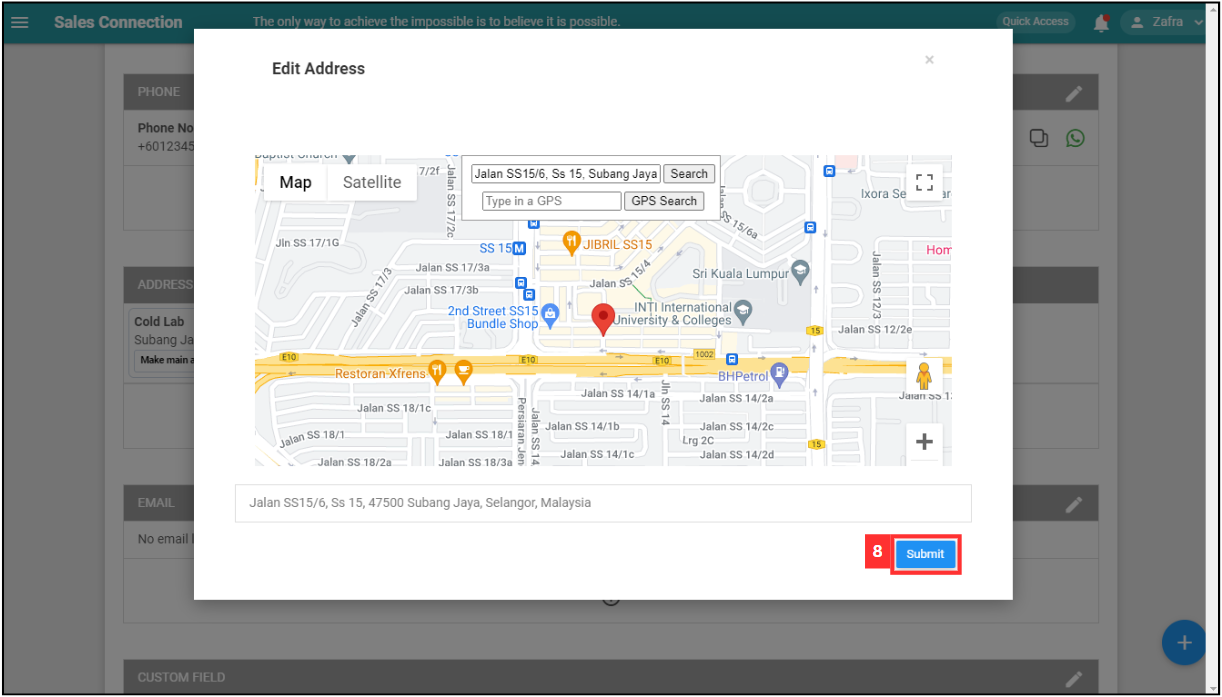
Confirm the location and click “Submit”.
-
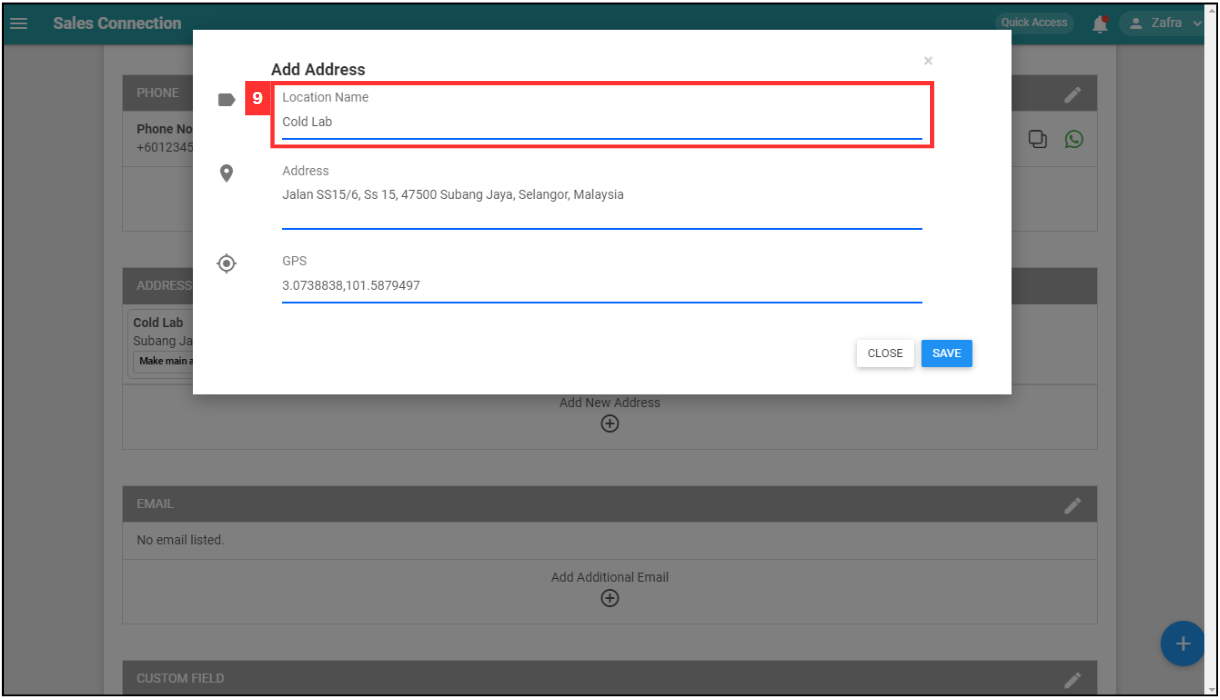
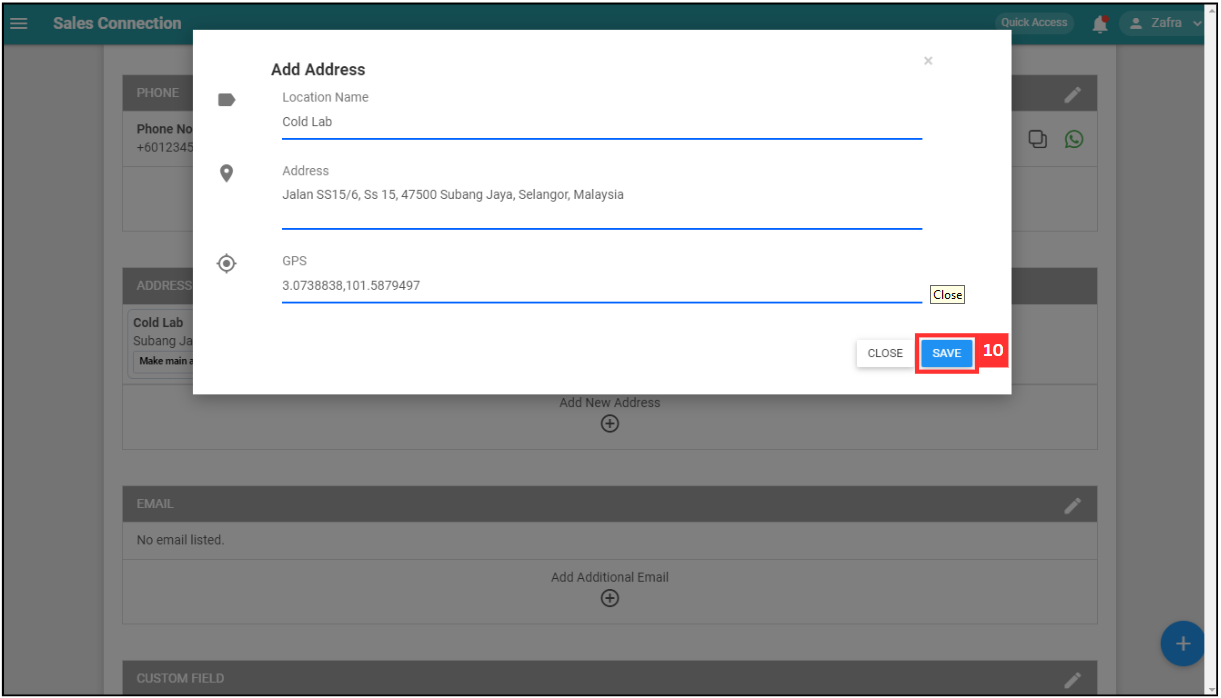
Enter the location’s name.
 </p
</p -
Click on the “SAVE” button and the new location will be applied in the office check-in settings automatically.
Related Articles