 Help Center
Our Caction platfrom is also available on mobile, allowing for seamless interaction and connectivity across the different platforms while ensuring high level of productivity despite being on the different fields. Our Caction Mobile App is available across all the different phone types, which means all users with different devices can use the Caction app without any issues.
Download Here for Android User:
https://play.google.com/store/apps/details?id=com.connection.crm
Download Here for IOS User:
https://apps.apple.com/us/app/sales-connection/id1327210298
Download Here for Huawei User:
https://tinyurl.com/yvj4pwf7
The Caction Mobile App works in tandem with the Caction system on desktop to allow seamless collaboration and communication in between technicians and admins of the company.
What is the main benefit of having the app? It works in both Online and Offline Mode!
The app uses cache files in order to keep some of the data on the device for ease of loading the files. While this helps with the app performance, it also helps in keeping data being logged in the app even though the device itself is not connected to the internet at the moment. Having the data stored as cache also benefits you as it will not take much storage space on your mobile phone, ensuring all the space can be used for other purposes!
This page here will serve as a guide on how can you, as Technicians, use our Caction Mobile App as effectively as possible!
You may click on these links here for quick access for each of the subtopics:
- How to Login to the App
- View Assigned Jobs
- How to Perform Check-In/Check-Out
- Upload Photos & Comments Updates
- How to Create a Digital Form through the To-Do List
- Access Equipment Information
- Change Status to Completed
How do I Login to the App?
Make sure that you have downloaded the Caction Mobile App using the link given in this article. Once you have downloaded the app, you can follow this guide below on how to login to the app, using your phone number or your email address.
Do take note if you encounter an error message in regards to the account doesn’t exist, please reach out to the Admin of your Company Account
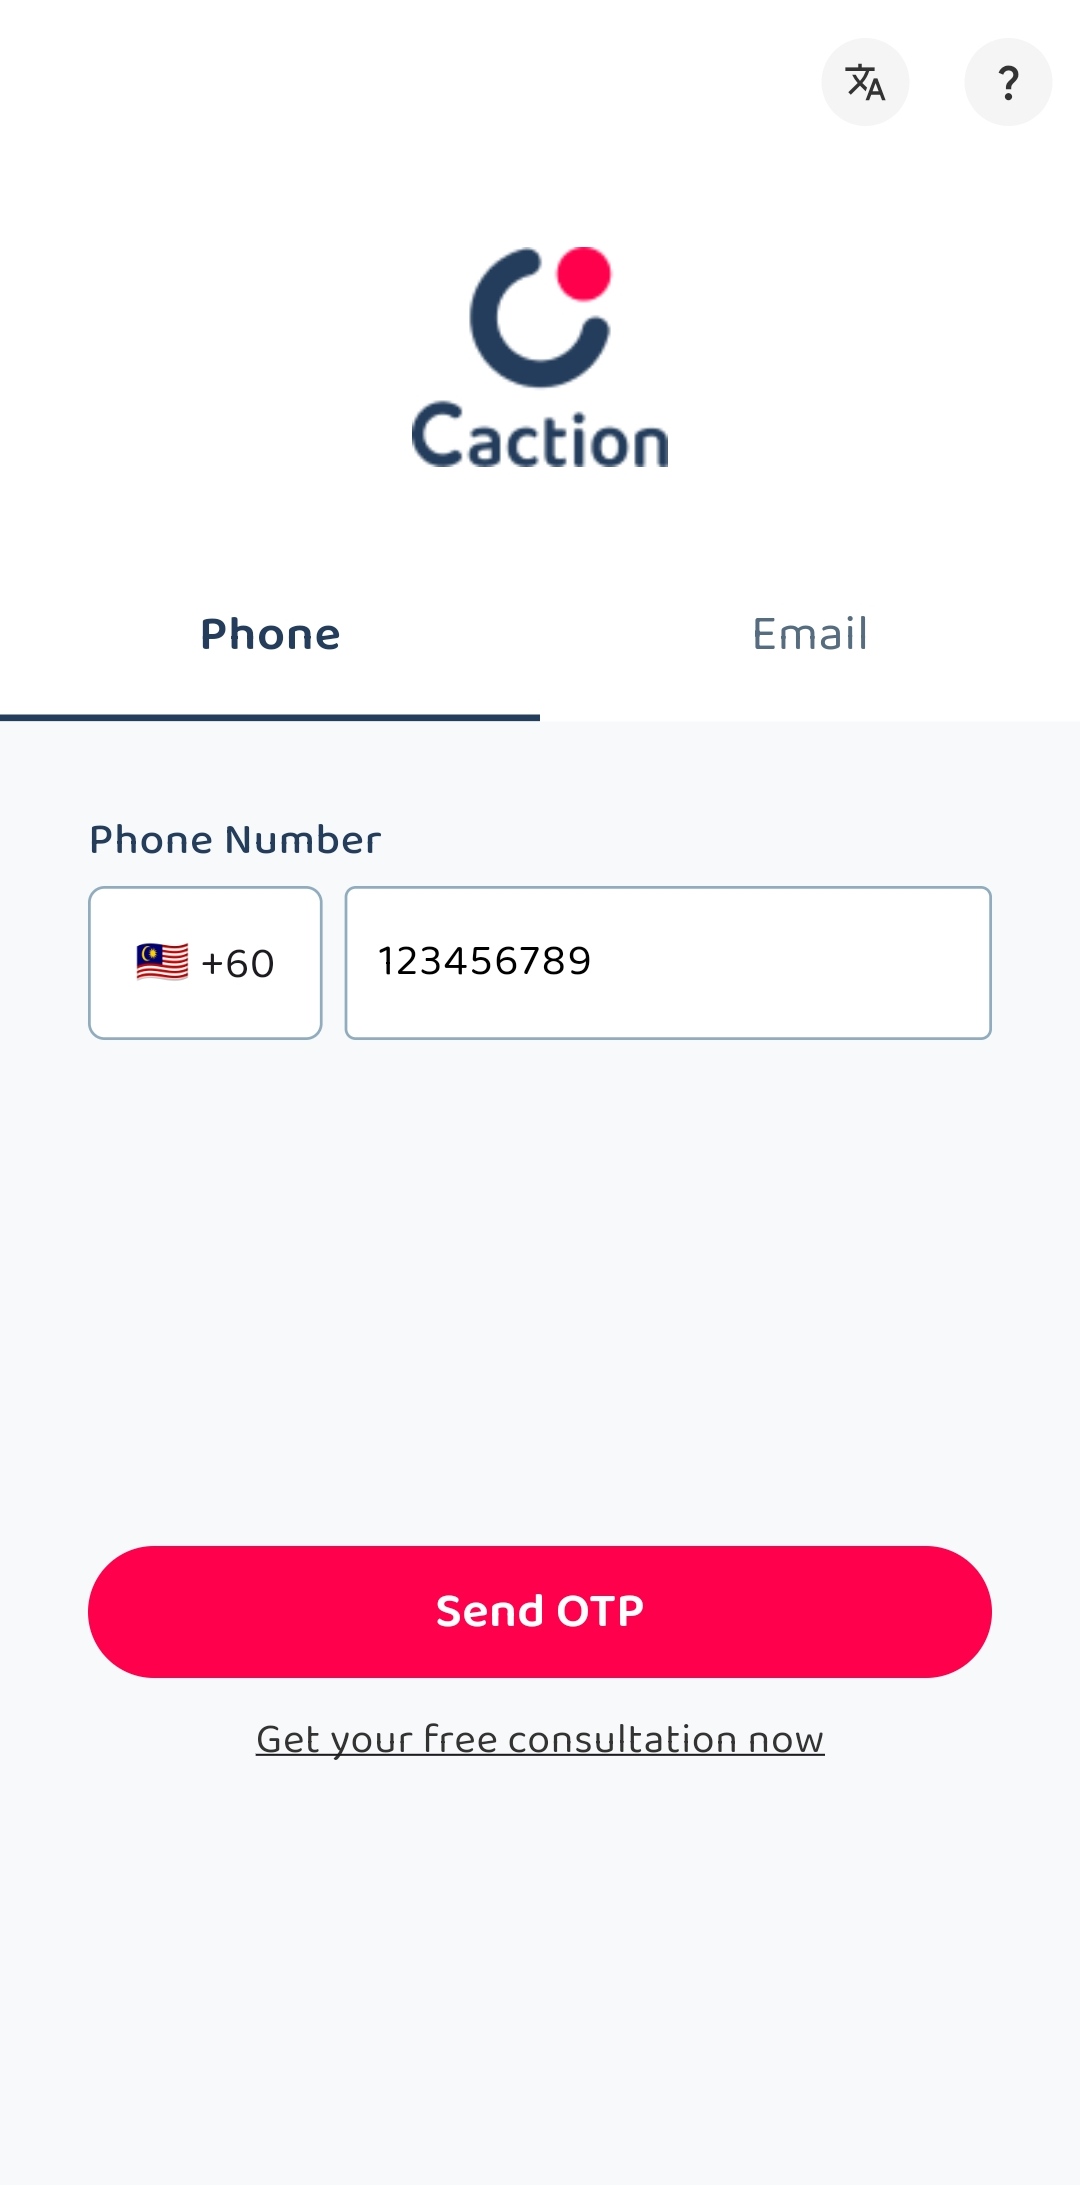
Login using Phone Number
-
Open the Caction’s App, enter the registered phone number and click “Send OTP”.
-
Check your “Messages” app and look for the “OTP Code” sent by 62XXX.
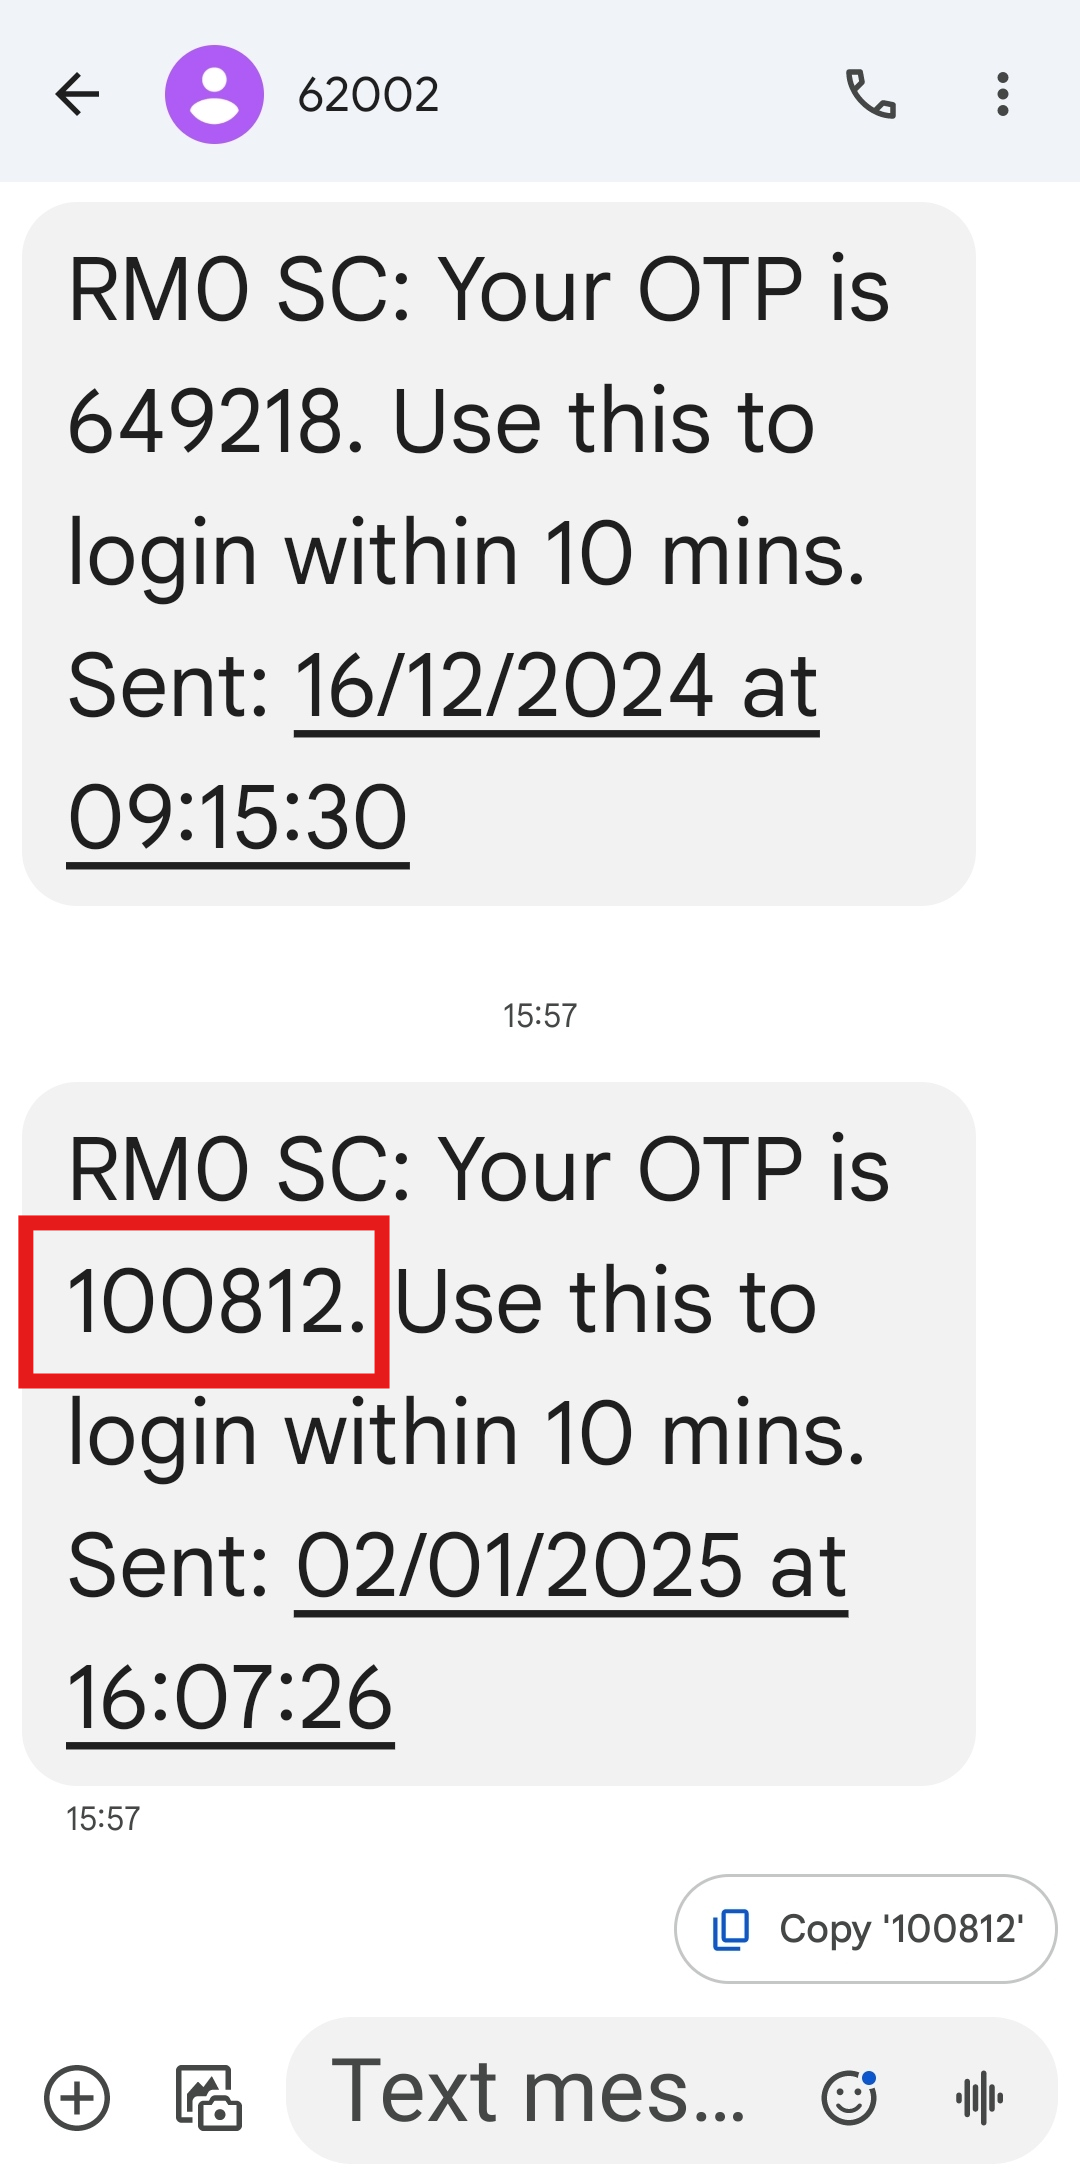
*Note: Please wait at least 1 minute before requesting a new “OTP Code”.
-
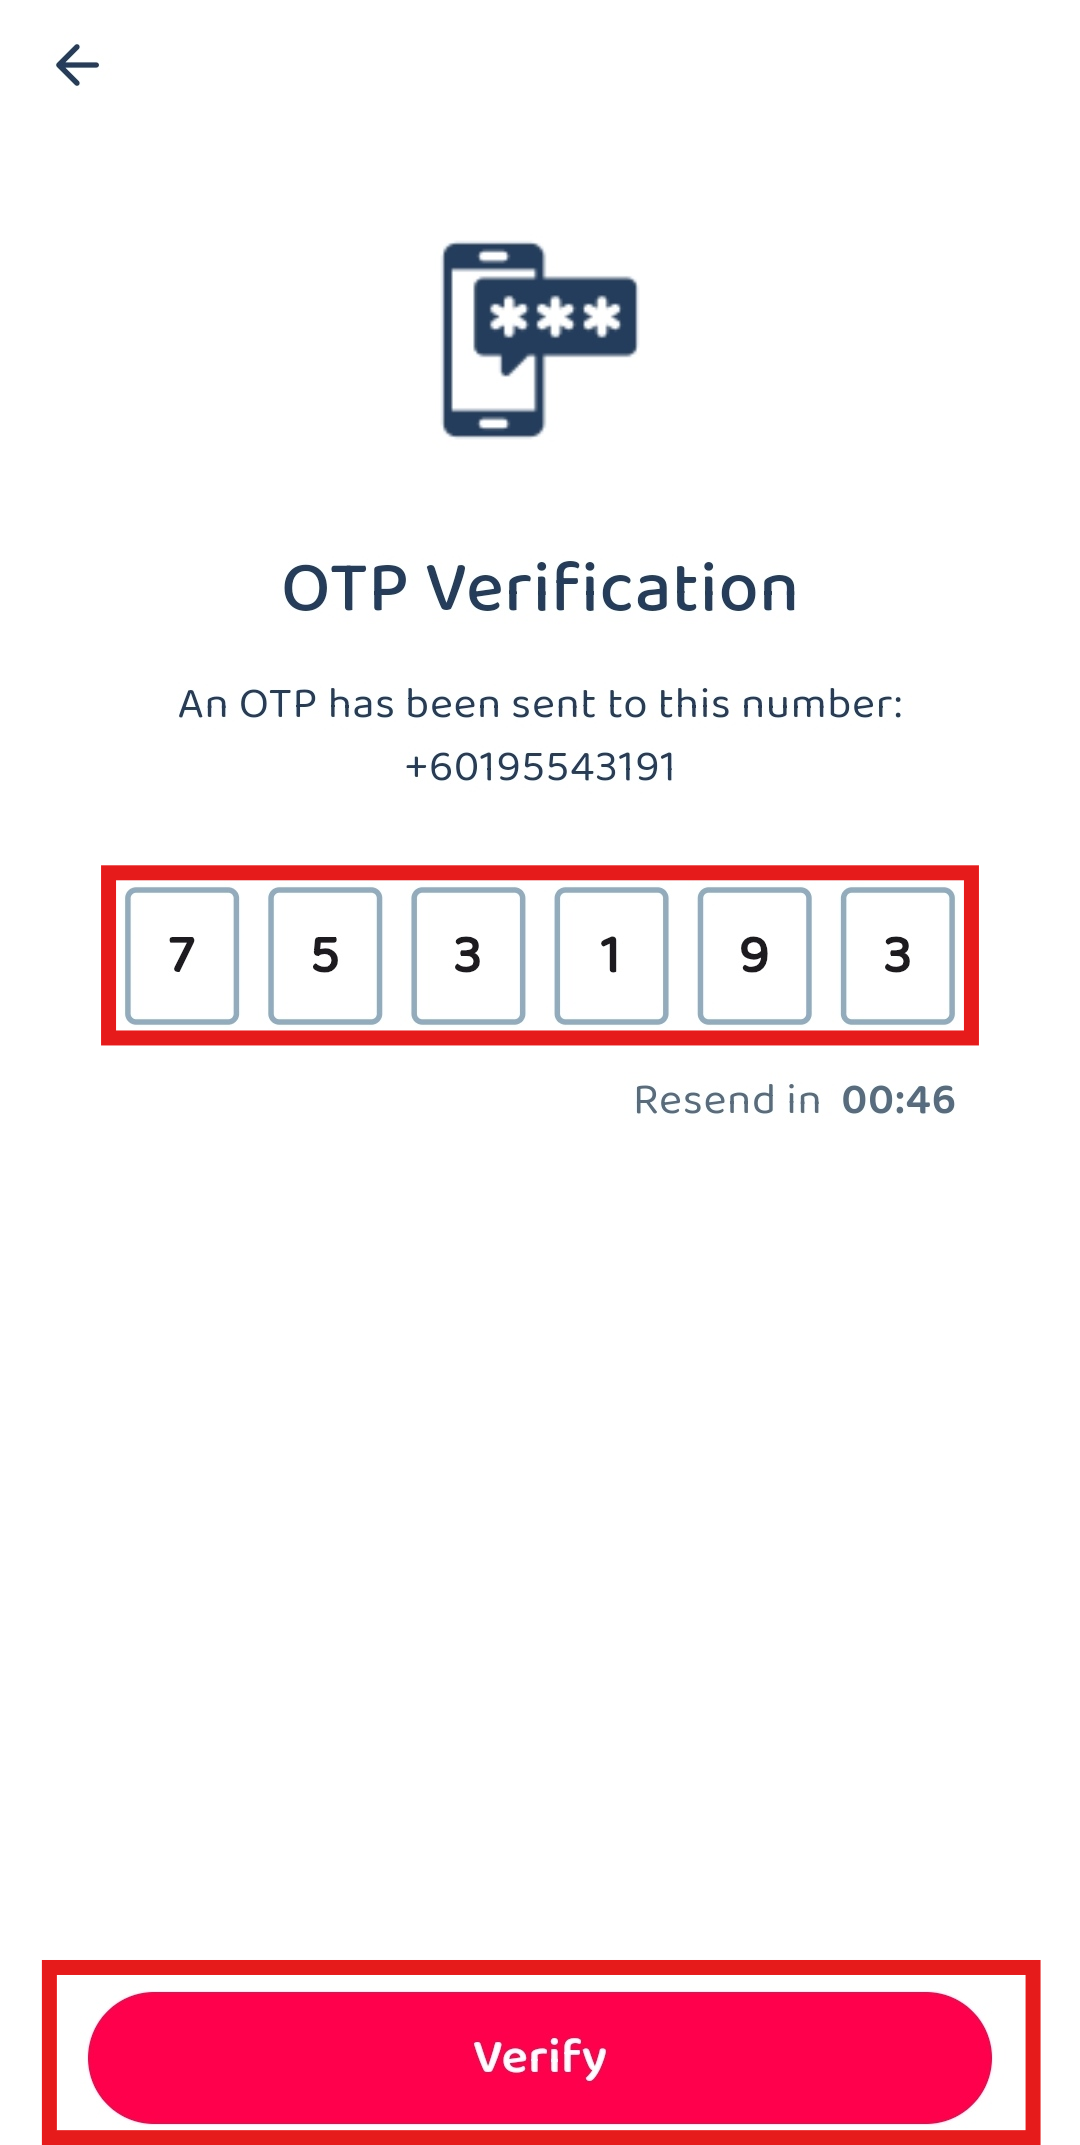
Enter the “OTP Code” you received and click the “Verify” button to login to the app.
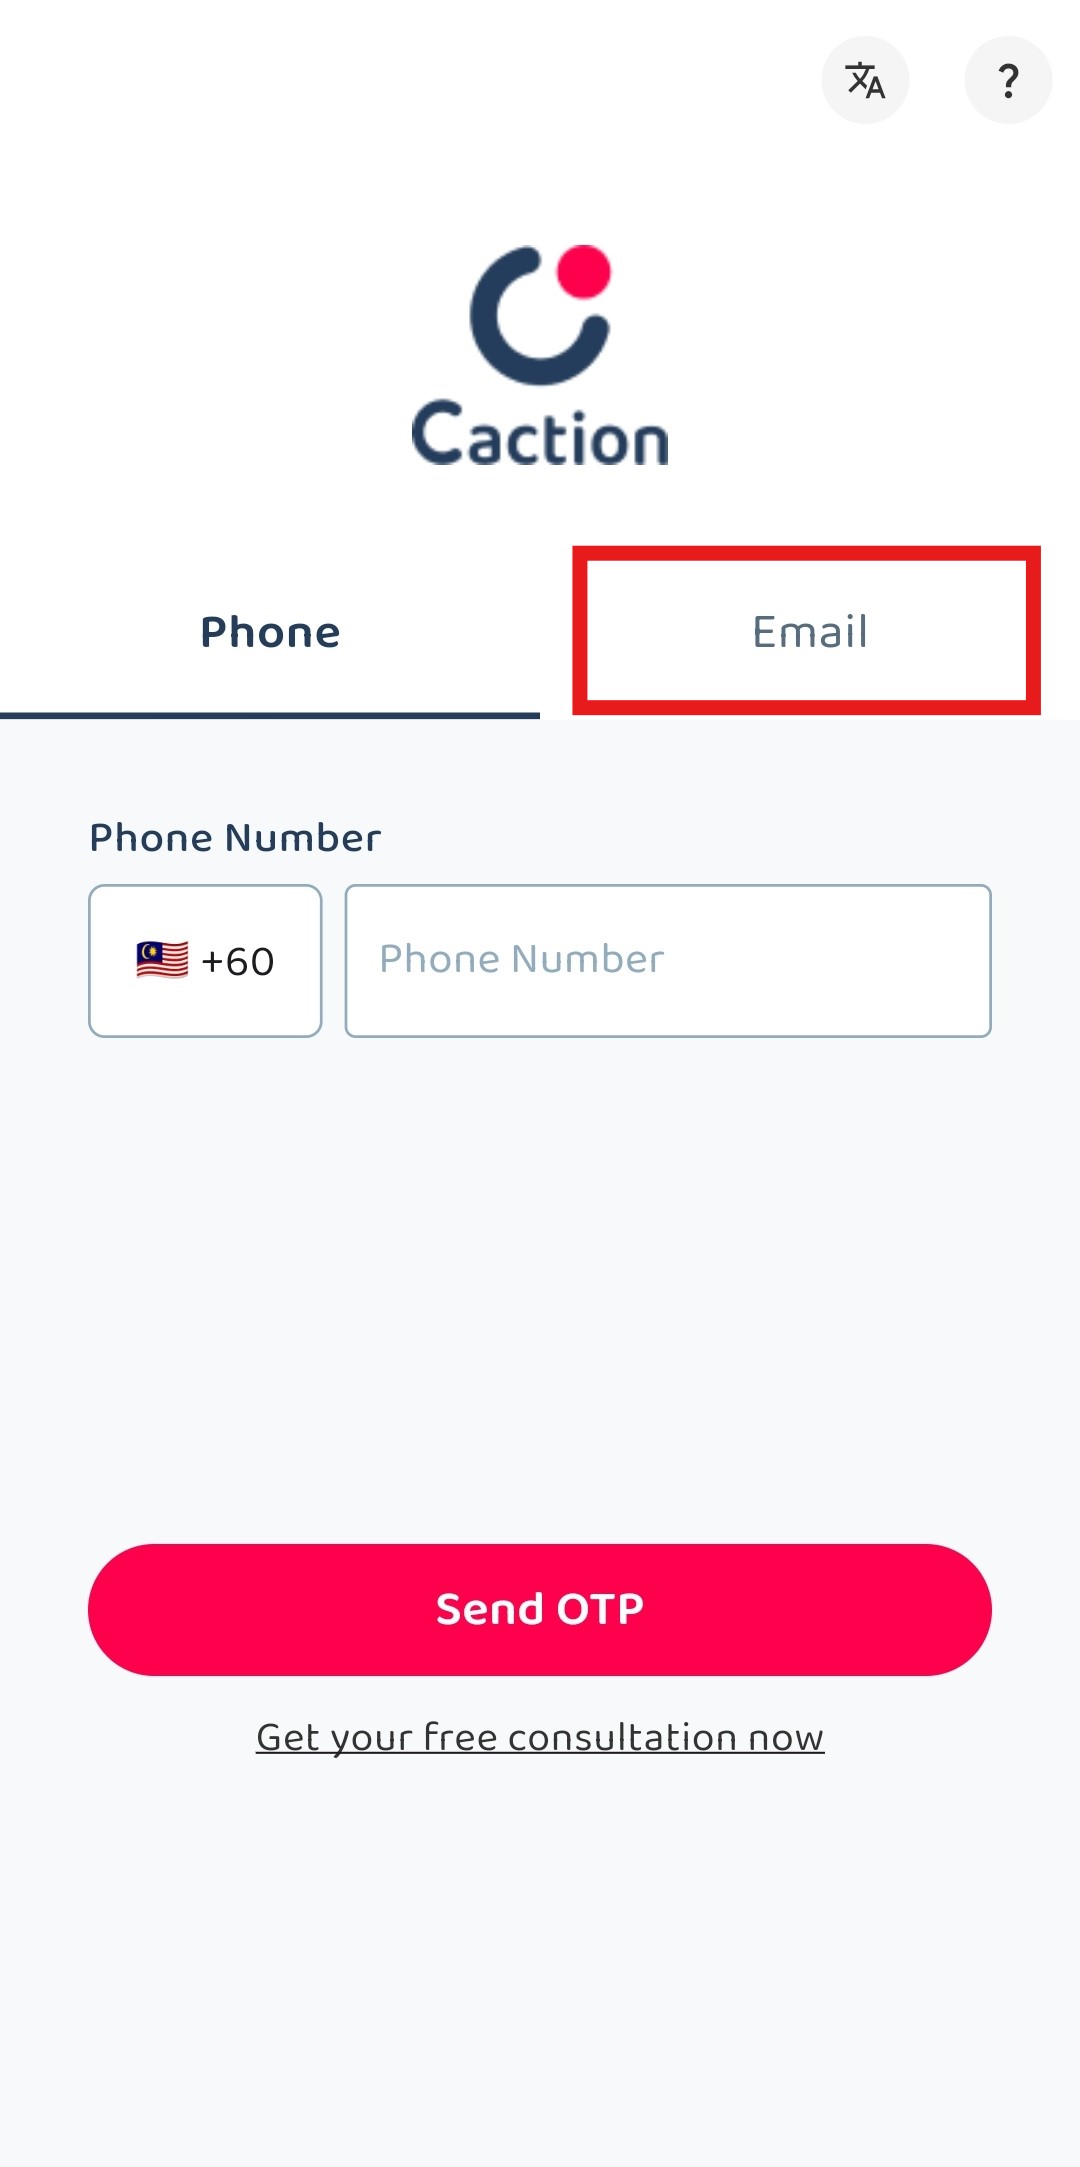
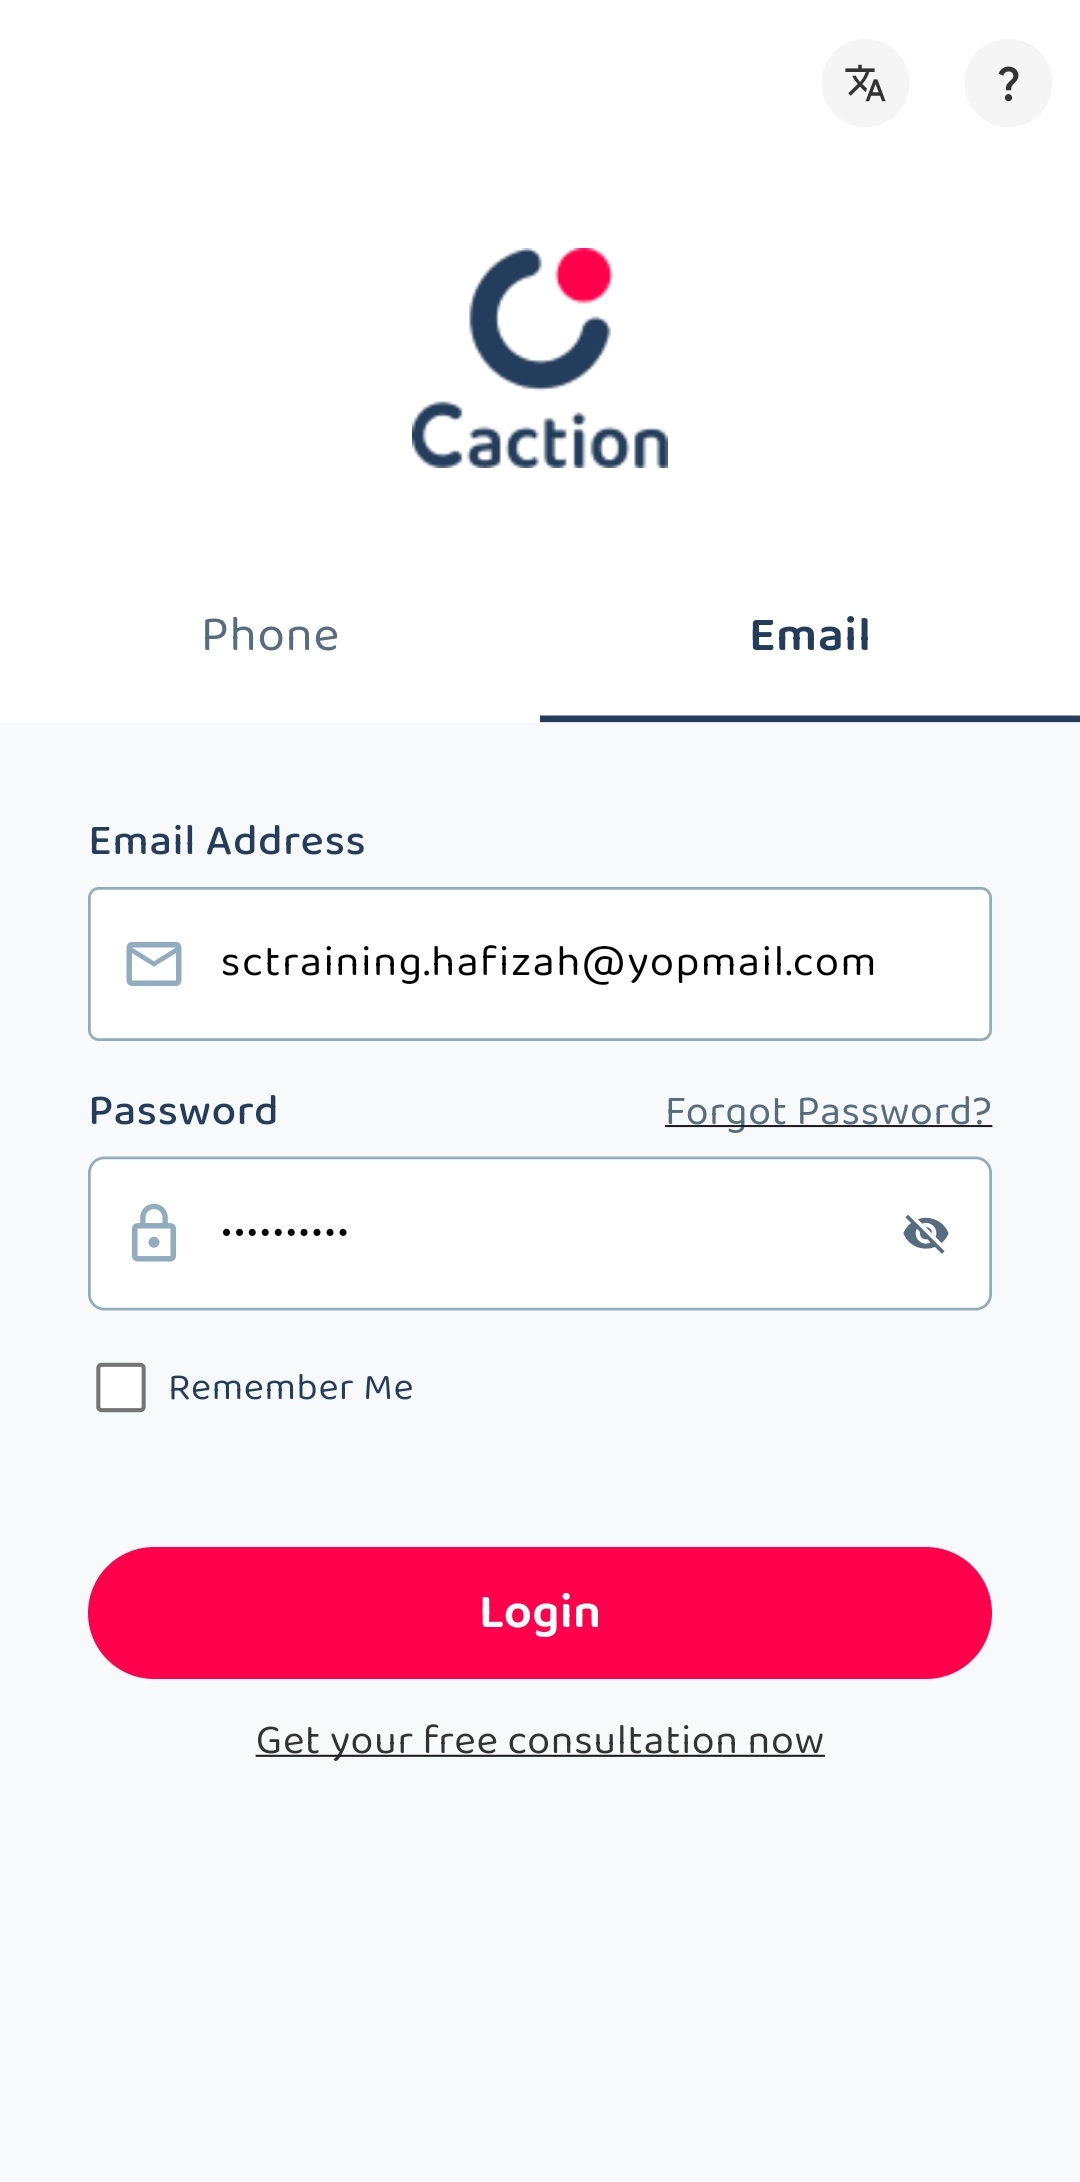
Login using Email
-
Open the Caction’s App, choose “Email”.
-
Enter the registered email with the correct password.
-
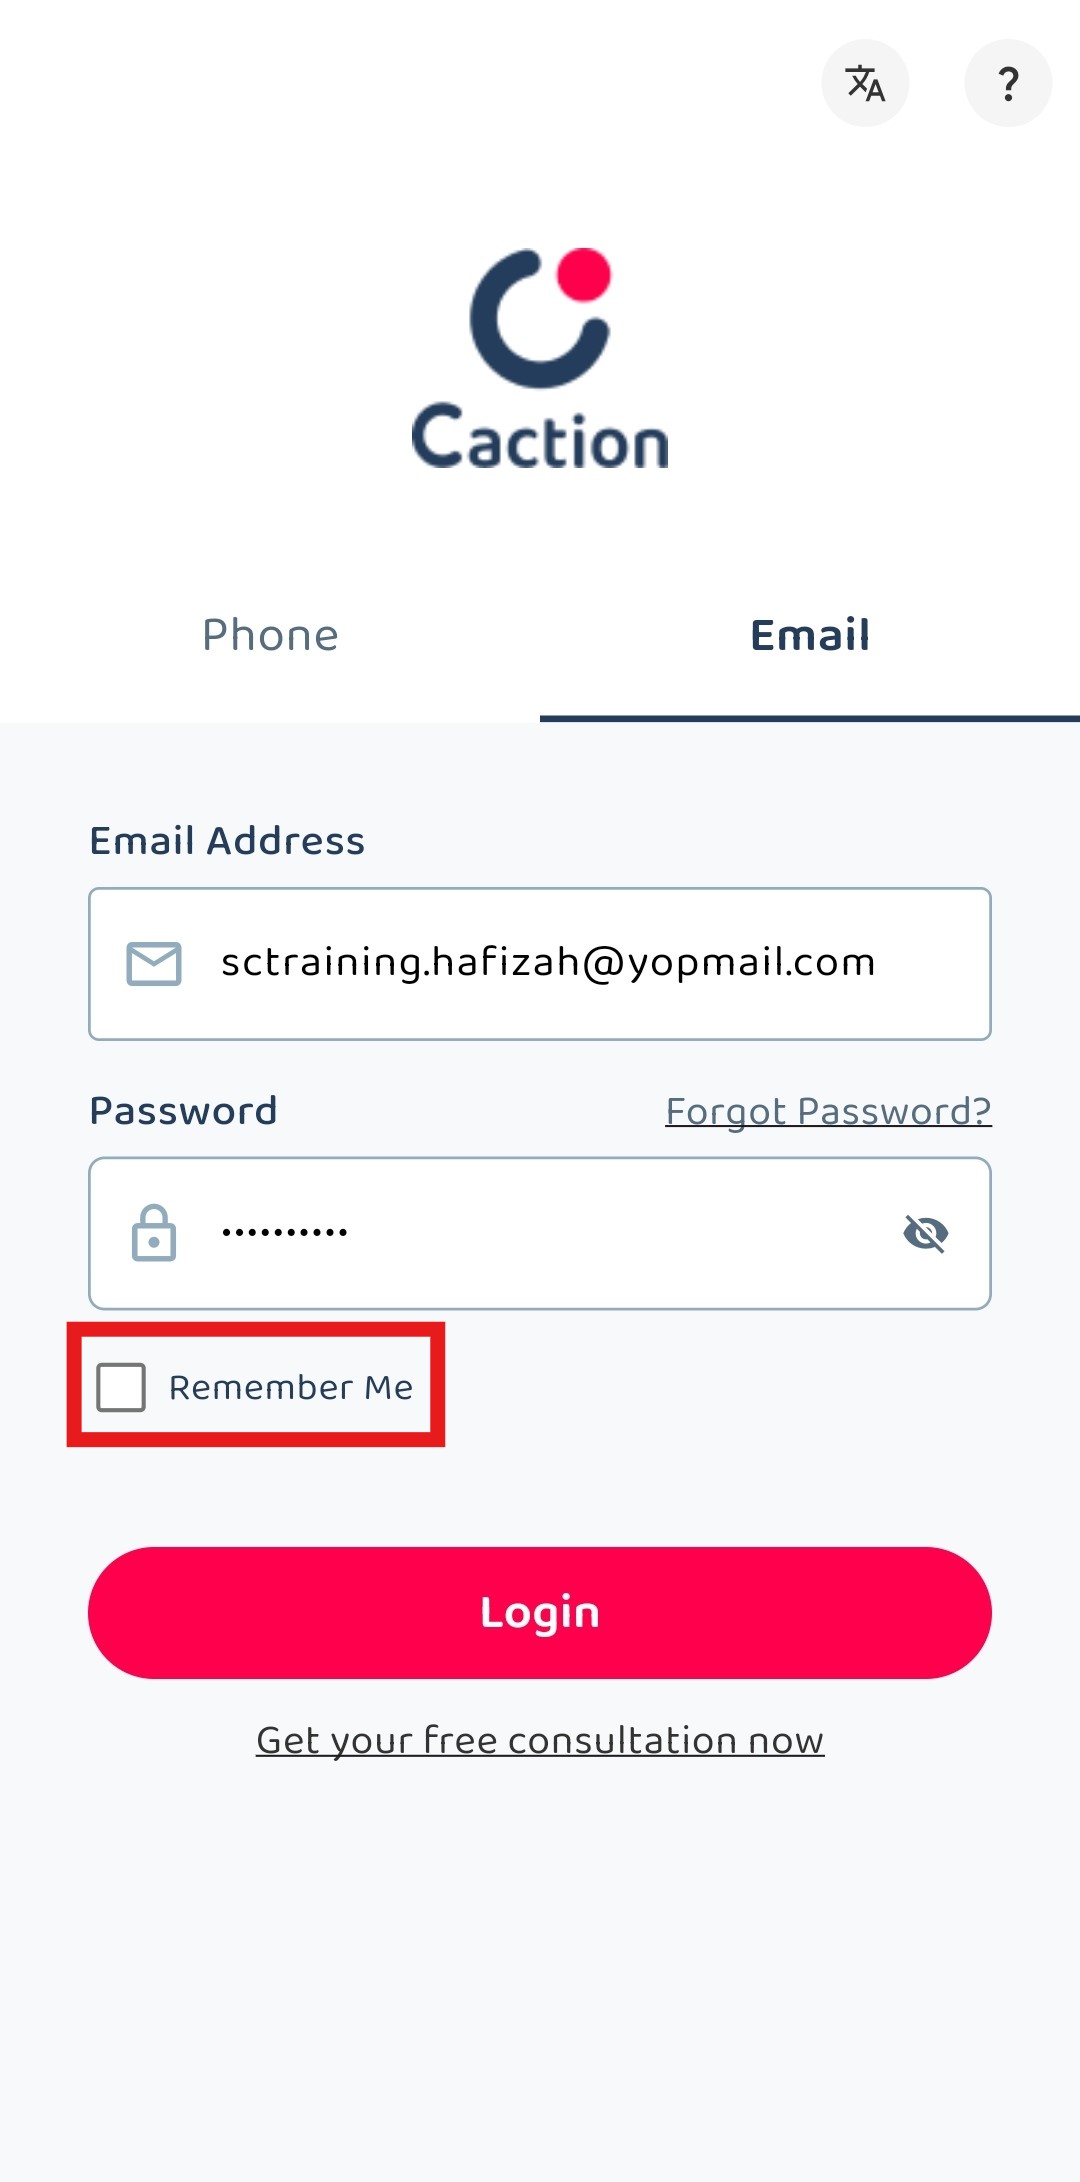
Remember to tick “Remember Me” if the phone is owned by you.
-
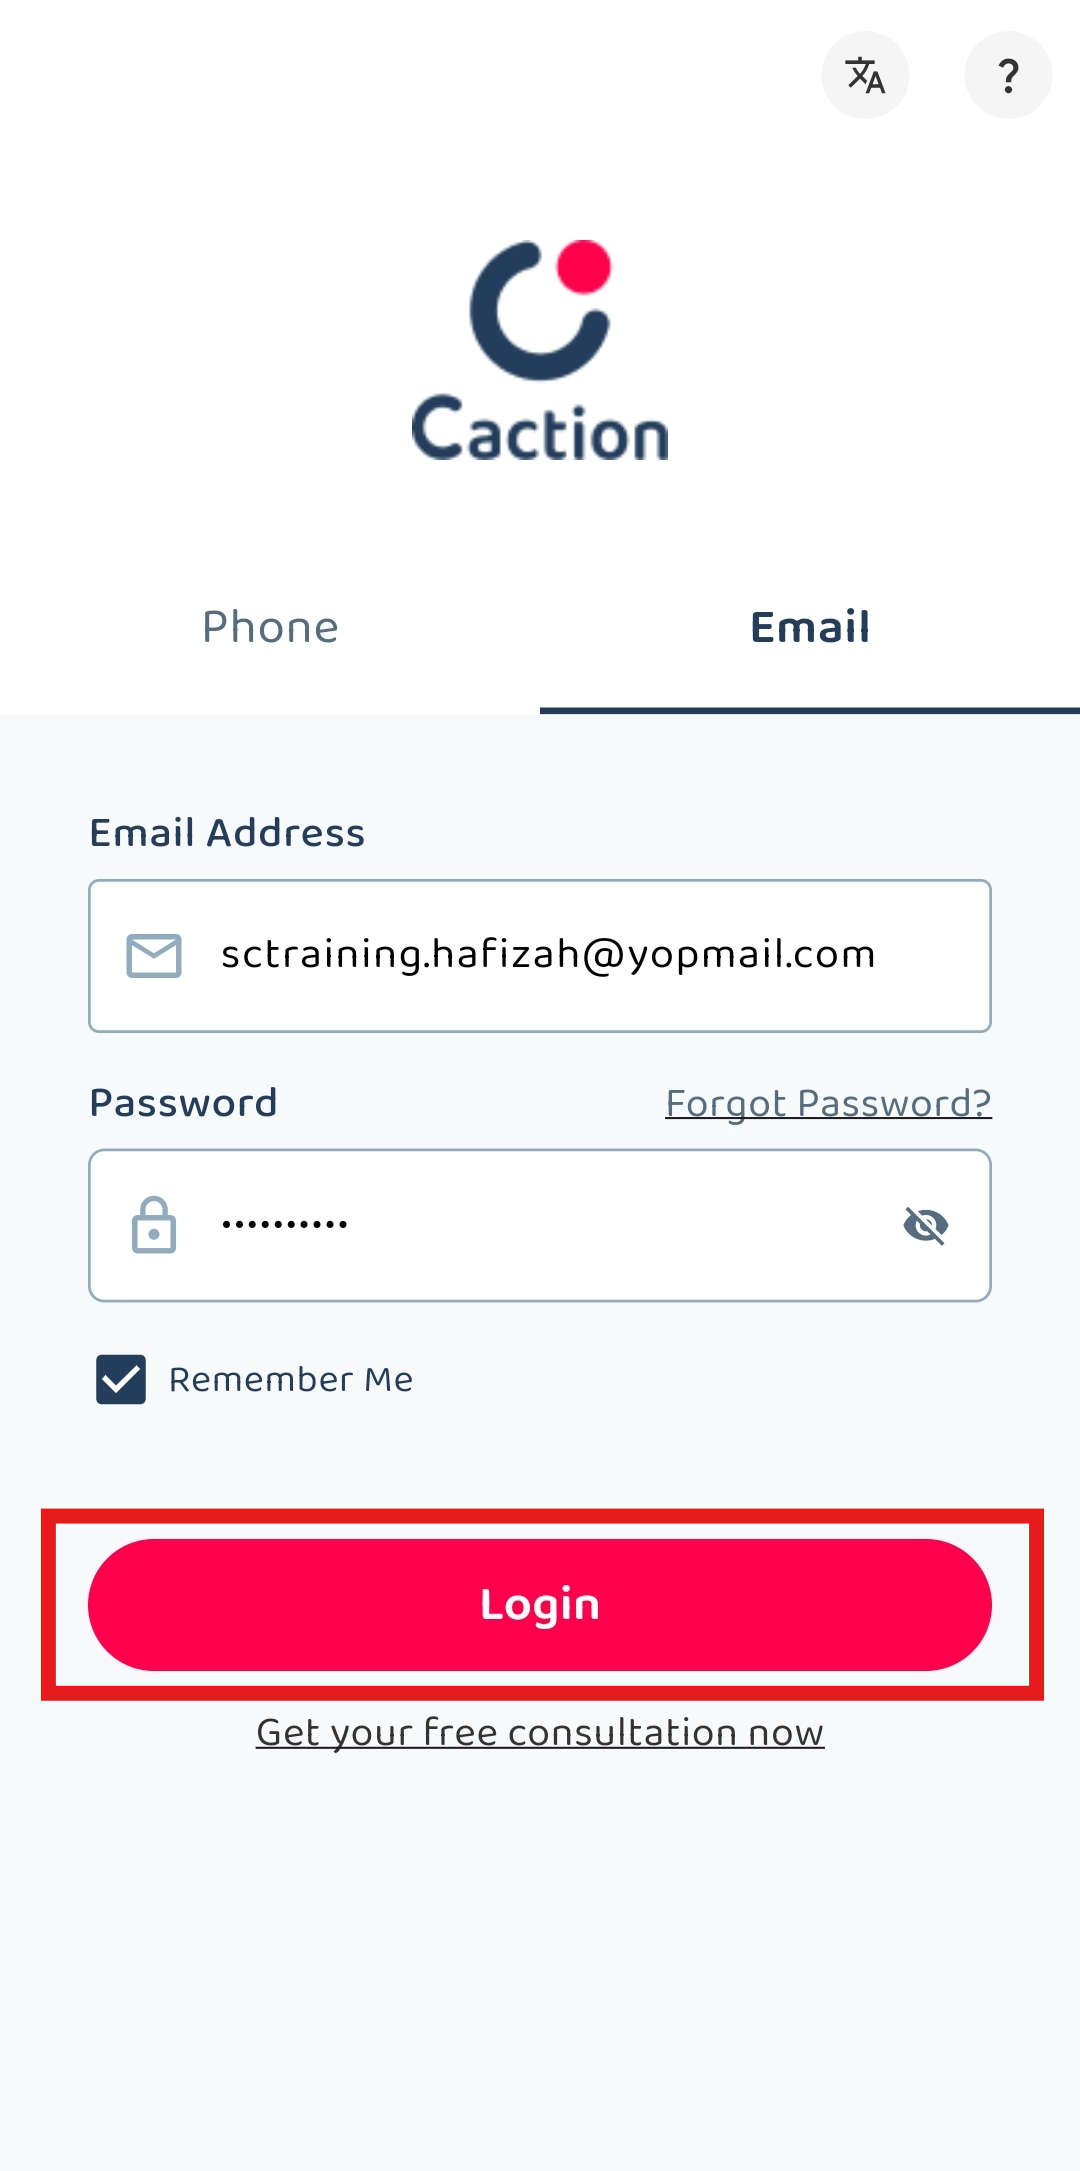
Click “Login” to login to your account.
View My Assigned Jobs
As Technicians, your Admins will be assigning jobs to you, be it Scheduled Maintenance job, or an Ad-Hoc job for the customer, and you will be able to see all the jobs that is assigned to you by the use of the Job Schedule page on the App. You will also be able to alert your other colleagues that are assigned in the Job, allowing them to be able to get notifications for when any updates are done in the job.
For more ways on how to use the Job Schedule to view your assigned Jobs, visit this link for our full guide:
How to Use Job Schedule Page in Mobile App?
-
At the mobile app’s navigation bar, go to Schedule.

-
Scroll to the left or right to search for a job using the date.

-
Click on the date you want to view.

-
Click on the job to open the job details page.

-
Click on the basic filter options to filter the job on that day.

-
For example, only pending jobs will be shown if click on the “Pending Job” option.

-
Click on the “Filter” icon to apply more filter to narrow your searching.

- You will find more filters that you can use right on this page. These filters can be used to find specific jobs from the schedule, using the sequence number, category, or even the assigned users to the job.


-
If you need more field to use as filter, click the “three dots” icon.

-
Click “Advance Filter Options”.

-
Select extra fields to filter the job.

-
Click on the “DONE” button.

-
Use the filter to filter the job.

-
For example, select “Needing Attention” for job status and click “SEARCH”.

-
Jobs with the filter will be shown as below.

Perform Check-In/Check-Out
Whenever you are assigned to a job, be it Scheduled Maintenance or an Ad-Hoc Maintenance job, you may be required to perform your Check-In and Check-Out for the job, to certify that you have arrived at the designated location and are performing the tasks as per the required assignment. You can perform Check-In and Check-Out directly in within the Job Details page, where you can tap on the "+" icon or tap on the To-Do List in order to perform the Check-In & Check-Out. Below is a simple guide on how to perform your check-in & check-out.
Should you have require any assistance with check-out whenever you have forgotten to do so, you may reach out to your Admin on how to perform Assisted Check-Out:
How to Perform Assist Check Out in Mobile App? - Done by Admin
You can perform your check-in and check-out from your To-Do List task, as well as through the "+" icon.
How to Perform Check-In and Check-Out from To-Do List:
In order to perform your Check-In and Check-Out from the To-Do List, you will need to first open the job. Below is a short guide on how to perform your Check-In and Check-Out from the To-Do List.
- Search for the Job that you wish to check in to from the Job Schedule page.

- Once you have opened the Job Details, it will appear as such.

- Scroll down on the page until you see the To-Do List section, as shown below.

- Tap on the Check-In button from the To-Do List.

- It will open a pop-up for you to perform your check-in, you may confirm the location in the map, and tap on Check-In to proceed.

- Once you have successfully checked-in, it will be updated as progress in the To-Do List.

- After you have finished with the current task and you wish to check-out, simply head back to the To-Do List for the specific job.

- Tap on the Check-Out button.

- It will open a pop-up for you to perform your check-out, you may confirm the location in the map, and tap on Check-Out to proceed.

- Completing the Check-Out will update the To-Do List progress, and once everything in the To-Do List is completed, you may proceed to the next steps required for the Job.

How to Check-In from the action "+" icon.
- Go to the specific Job that you wish to check-in to from the Job Schedule page.

- Once you have opened the Job Details page, Tap on the "+" icon to your bottom right corner, where it will expand and show the Location icon.

- Tap on Location Icon.

- Tap on the Check-In button to perform your check-in to the job.

- Once you have tapped on the Check-In button, you will have already successfully checked-in and this will be updated in the Comment Section of the Job, as per the screenshot below:

How to Check-Out from the action "+" icon.
- Once you have performed the necessary task for the Job and you wish to check-out, go to the specific Job that you wish to check-out from through the Job Schedule page.
- Once you have opened the Job Details page, Tap on the "+" icon to your bottom right corner, where it will expand and show the Location icon.
- Tap on Location Icon.
- Tap on the Check-Out button in order for you to check-out from the current Job.

- Once you have successfully checked-out, it will be updated in the Comment Section of the Job, as per screenshot below:

Upload Photos & Updates
The commenting feature with photo or attachment capabilities allows you to share visual information and files directly within job records. This functionality enables you to provide updates that include images of work completed, documents related to the job, or any other visual information that helps communicate job status or requirements effectively.
This feature improves collaboration by sharing important visual information instantly with your entire team. Adding comments with photos or attachments enhances communication by visually documenting job progress, issues, or completion with images that provide clear context.
You may follow through this further guide here on how to add your comments to the job: How to Add Comments with a Photo or Attachment in Mobile App?
How to Attach Photos through the Caction Camera-
In the “Schedule” Page, click on the job that you want to comment on.

-
Click the Camera icon.

-
Take a photo of the item that is required for you to upload.

-
Tap on “Done”.

-
Write in the comment area for any details that you are required to include.

-
The photo you took will now show up in the Updates area of the Job Details page.

How to Attach Photos from your Phone Gallery
-
-
In the “Schedule” Page, click on the job that you want to comment on.

-
Click the attachment icon.

-
Click the “Gallery” icon.

-
Select the photo that you want to send.

-
Click “Confirm”.

-
Click on the "Done" button to confirm sending this photo in the comment.

-
Click the comment area.

-
Write your comment.

-
Click the send icon.

-
The result will be shown as picture below.

-
-
How to Create a Digital Form using To-Do List
The To-Do List will be available in both app and web, where it will appear in the Job Details page as below: 
From this To-Do List, you can select any of the options in order to perform the specific task needed for the Job.
- The To-Do List will be related to the specific status of the job. For example, upon starting the job, the job status is Not Started, and you will be required to perform your Check-In, in order to change the status from "Not Started" to "In Progress".

- Once you have performed your check-in and updates on the job, you will also be required to create a Preventative Maintenance Report, which you can do so from the To-Do List by pressing on the Create Maintenance button.

- After pressing on the Create Maintenance button, it will bring you to the Preventative Maintenance Report Creation page, which you can proceed to update the contents accordingly. Once all the details has been updated in the Report, press on the Save button on the top right corner of the screen.


- Once saved, the system will automatically open the Report as shown in below, which you can review its details before proceeding to finally complete the Job.

Access Equipment Info
There multiple ways for you to access the equipment info, from the Job Details page, to the Asset List. Whenever a job is created, an equipment can be attached to the job itself for ease of monitoring as well as being part of the workflow for the specific job. From here, you can view the details of the equipment, from its warranty status, or where has it been throughout its life-cycle across the different jobs.
You can also access the equipment info from the Asset List, which will have a more comprehensive list of all the equipments that you have added in the system. From the Asset List, you are able to view the details of your specified equipments and perform assignments updates required on the equipments.- Go to the Asset List page in your Caction App Homepage

- From here, you will see the list of all equipments added into your Caction system.

- Tap on whichever equipment that you wish to view the details of, and it will show the Asset Details page as below.

- You may view all details here, as well as clicking on the Asset History button to see all the transactions and service history made on the equipment, whether it was attached to or removed from any jobs or projects and who performed such actions to understanding what was done in the previous service of the asset.

- Go to the Asset List page in your Caction App Homepage
Alert Admin
Through our Comment & Update Section, you will also be able to alert your Admins whenever something requires the Admin's attention or approval. You can mention the Admins through the use of the Mention function, which can be done by typing "@" in the comment section. Admins or any other users that you have mentioned will the receive a notification on their account, requiring their immediate attention on the comment.
-
In the “Schedule” Page, click on the job that you want to comment on.
- Click the Comment Field on the page.

- You can type your comment on the field here, and you can mention an Admin or any user in a message by typing @ and selecting their name. The mentioned users will receive a notification in regards to the comment and they will be given the view access to that specific data level.

- Once done, you can tap on the send button, which will then notify the user about the mention, as well as giving them the access to view the job.


Change Status to Completed
Once all tasks are done, you can then proceed to set to change the status to Completed, allowing the admins to be able proceed and confirm the status and proceed with quality and performance monitoring. This is available on many different types of data, including Jobs, Projects, as well as all your different Digital Forms. This will help in tracking what tasks has been done, while also ensuring the management always be able to take notice on the completion of this and process accordingly.
For this example, we will use a Job to show how to update the status, but it will be the same across all data type.
- In the “Schedule” Page, click on the job that you want to update the Status to Completed.
- Tap on the Job Status button.

- Once you have tapped on the button, you will find a list of the status that was set for the account, tap on any of the statuses to have it updated. In this example, we will choose the Completed status.

- The Job will now show Completed as the status and will reflect on all reports as well as on the Job Schedule.

