Customer Templates are standardized formats used in CRM systems to consistently collect and organize customer information. They help standardize data collection, improve data quality, increase efficiency, and reduce training time. These templates serve as the foundation for effective customer relationship management by providing a structured approach to capturing and maintaining customer data across your organization.
BENEFITS:
- Standardizes customer data collection across your organization for consistent record-keeping
- Improves data quality by enforcing required fields and validation rules
- Increases efficiency with customizable fields that match your specific business needs
- Reduces training time with customized field labels that match your organization's terminology
-
From the desktop's navigation bar:
- Select Template Settings
- Then select Customer Templates
Open Customer Templates Here: https://system.caction.com/templateSettings/CustomerTemplates
Note: The template configuration will affect both the web and mobile applications. If you do not have access to the Template Settings page, please contact your admin.
-
The Template Info section contains 5 fields:
- Customer Category
- Template Short code
- Template Name
- Company Label
- Name Label
The Category field provides a dropdown menu for selecting different customer template categories for editing. The current selection is "Healthcare Facilities".
The short code represents the customer code identifier (example: the first customer created will be assigned "C0001").
Template Name modifies the name of the template throughout the system.
For instance, modifying the Template Name to "Buyer" will replace all instances of "Customer" with "Buyer" across the entire system.
This field allows modification of the label name for the company field. It is recommended to prioritize key information in this field, as it is utilized for duplicate checking.
This option enables modification of the customer name label.
-
This section controls the visibility parameters of customer status and customer category in the customer section.
-
Details Variable Settings provides customization options for displayed customer information fields.
The section currently displays 5 enabled fields:
- Customer Name
- Company Name
- Status Name
- Category Name
- Inquiry Date
Each field includes a removal option ("X" button).
The "Open Setting" button provides access to additional field options and configuration modifications.
The selected fields will be displayed and tracked in the mobile customer list interface.
-
Quick Search Settings facilitates efficient keyword searches within the customer page.
When elements such as "customer name" are added to the quick search functionality, users may search by name identifiers to locate specific customer records.
Selecting "Open Settings" provides options for defining which elements to include in the quick search functionality.
-
The Prepopulate Assigned User feature enables automatic user assignment during the Customer Creation process.
-
This section displays system default fields that cannot be edited or deleted.
For each field, the following parameters are configurable:
- Controls access permissions for field content modification (Only Administrators have access to edit content even when the field is locked)
- Designates the field as mandatory prior to saving records
- Determines field visibility during customer creation processes
Upon completing template settings configuration, select the "Save" button to apply and store all changes.
-
Custom fields are user-defined fields that may be added to customer templates to supplement standard default fields.
This displays available field types that may be added to the template:
Field Type Definition Text Simple single-line text fields for basic information Text Area Larger multi-line text fields for extended notes Number Fields that accept only numerical values Date Calendar-based fields for date selection Date Time Fields that capture both date and time information Drop Down Selection fields with predefined options in a dropdown menu Multiple Checkbox Fields that enable selection of multiple options from a list Attachment Fields that enable file uploads and attachments to the project For each custom field, the following parameters are configurable:
- Prevents any modifications to the field, including by users who would typically have edit permissions.
- When enabled (toggled on), the field will be displayed and available for implementation on customer forms.
Upon completing custom field configuration, select the "Save" button to apply and store all changes.
This dropdown menu provides three management options:
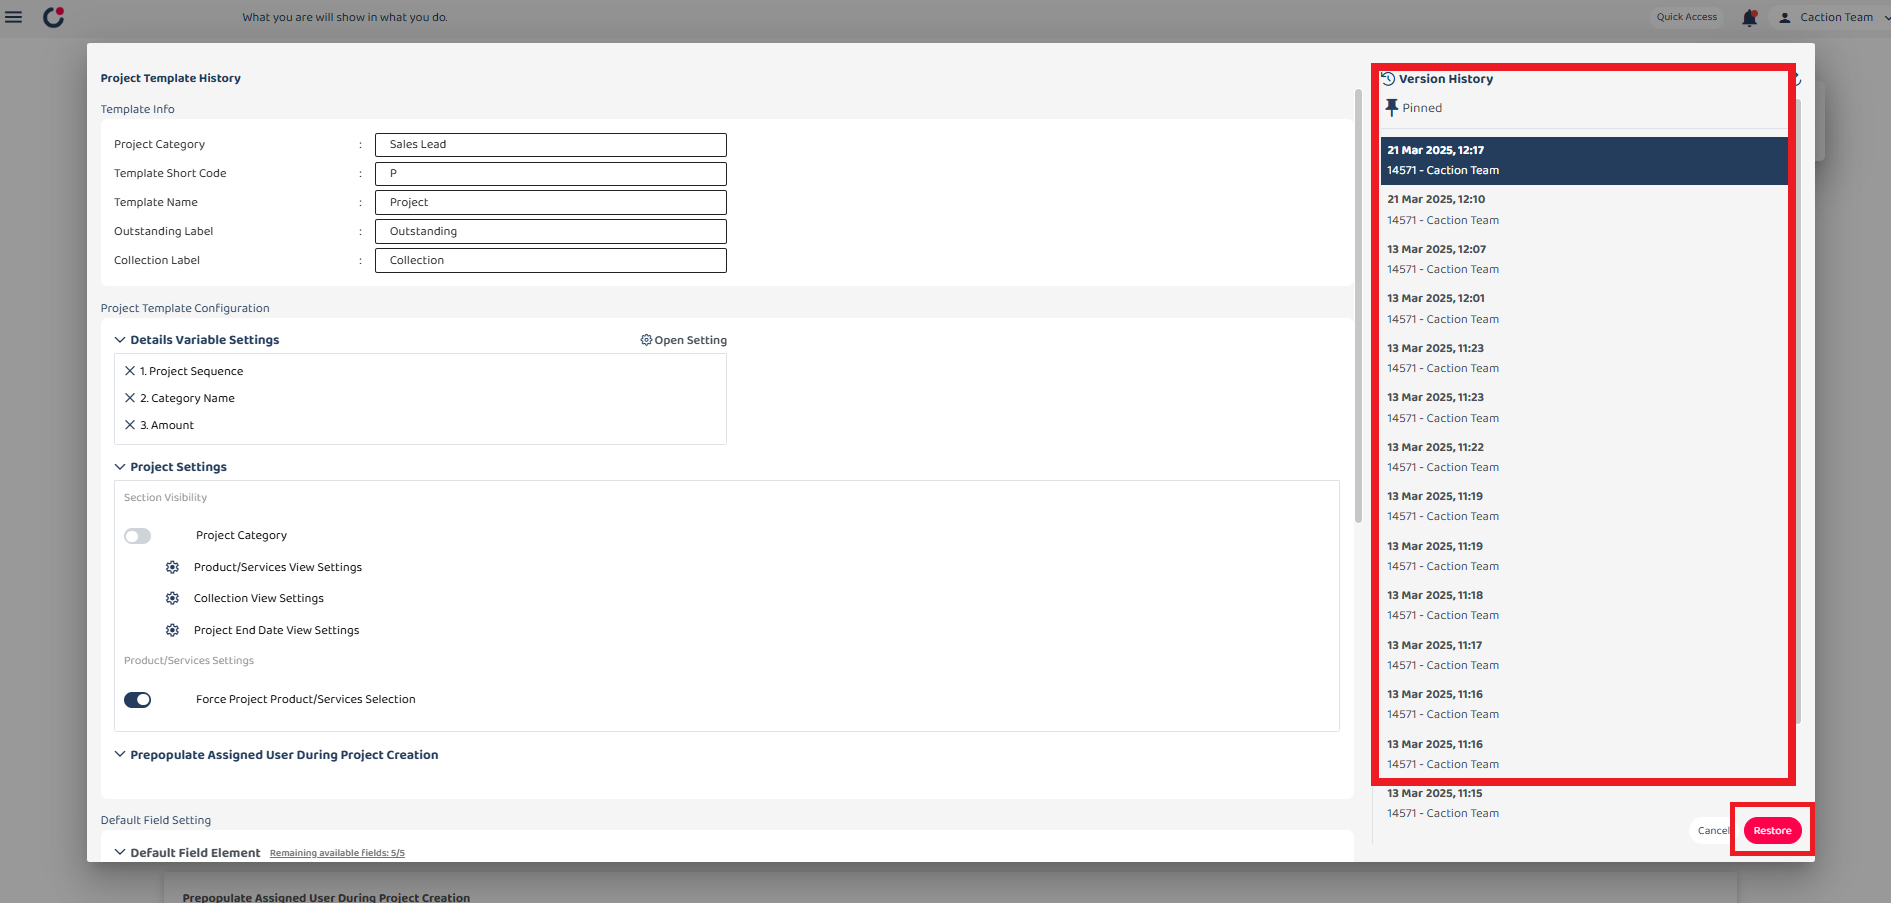
Version history
- Access to previous versions of the template , Restore previous versions by clicking the "Restore" button in the bottom-right.
*Notes: The system can store up to 16 versions in total, with a maximum of 15 pinned versions, while unpinned versions will be automatically replaced when they become the oldest.
-
Use this function when you want the same template configuration to apply to multiple or all project categories in your system (Enter notes about your changes)
*Notes: "Save to all categories" creates a separate version for each category. When restoring from a specific category, it will only affect that category and not overwrite other categories.
 Help Center


