 Help Center
🧠 Why Use Project Import?
Ensure project data accuracy across all imported records. Upload project details in batches instead of manually adding each one. Streamline project migration from other platforms or spreadsheets
Save time by uploading multiple project records at once and reduce the risk of manual entry errors — perfect for onboarding new clients, launching campaigns, or migrating project data.
Caction’s Project Import feature simplifies how you add bulk projects to your system. Instead of entering each project manually, your team can prepare project details in Excel and upload them all in one go. This method supports faster onboarding and ensures a more consistent data structure.
Benefits :
- Upload project details in batches instead of manually adding each one.
- Ensure project data consistency across all imported records.
- Quickly set up multiple projects for new clients.
- Redirect staff time from data entry to more valuable tasks.
This guide will walk you through how to prepare, upload, and confirm project data via the import tool.
*Note: You must have access to the Import menu to perform this action. Please request permission from your system admin if necessary.
-
At the desktop site’s navigation bar, go to Import > Project Import.
Import Project(s) Here: https://system.caction.com/dealupload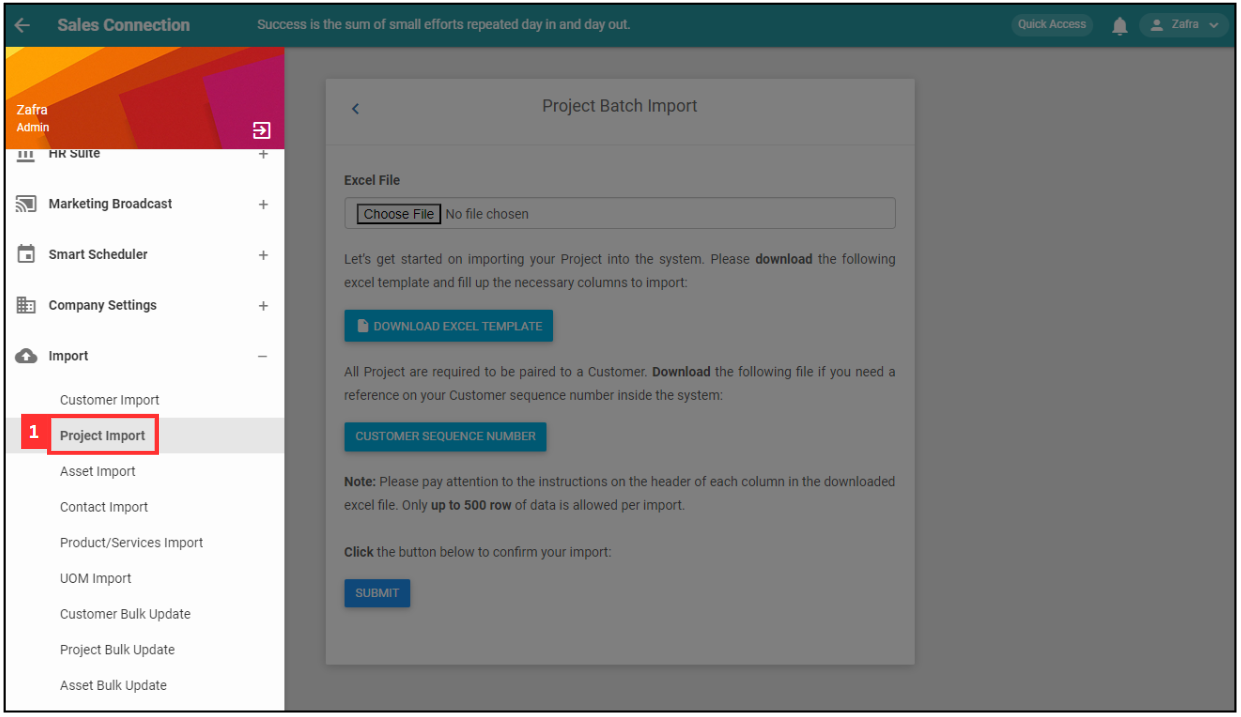
*Note: You must have access to Import menu to perform this action. Please request permission or help from your admin if you do not have access to the menu.
-
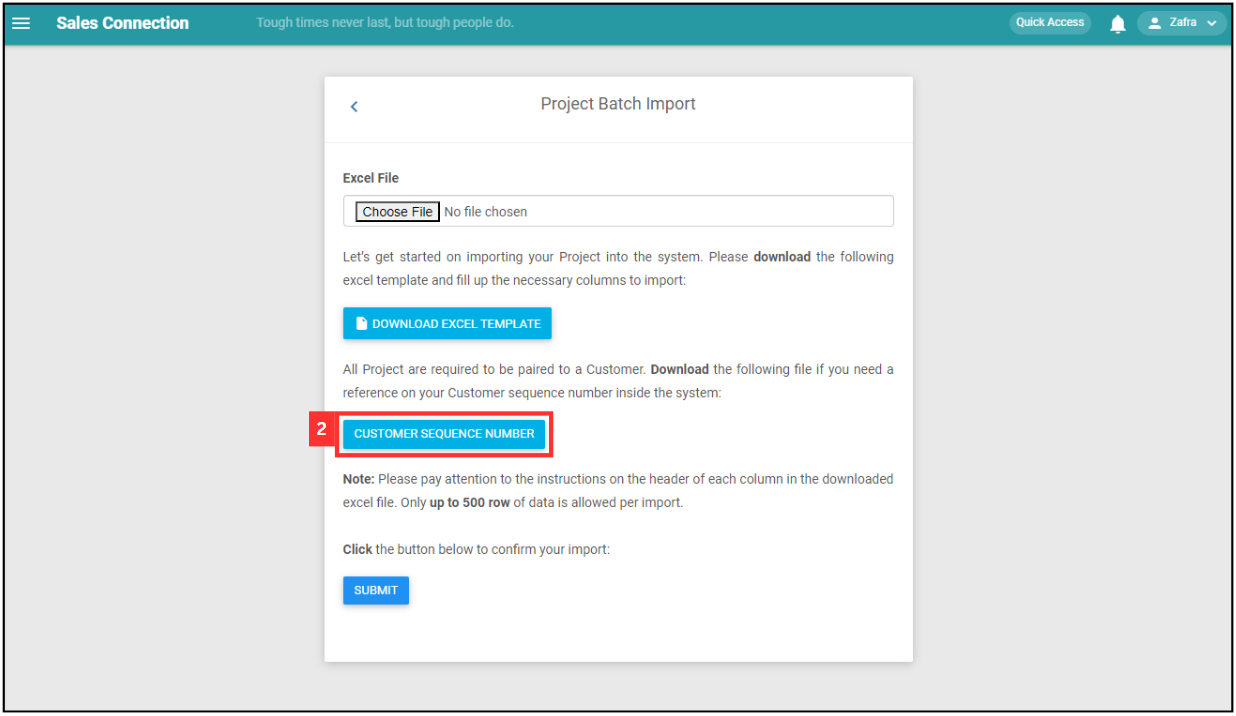
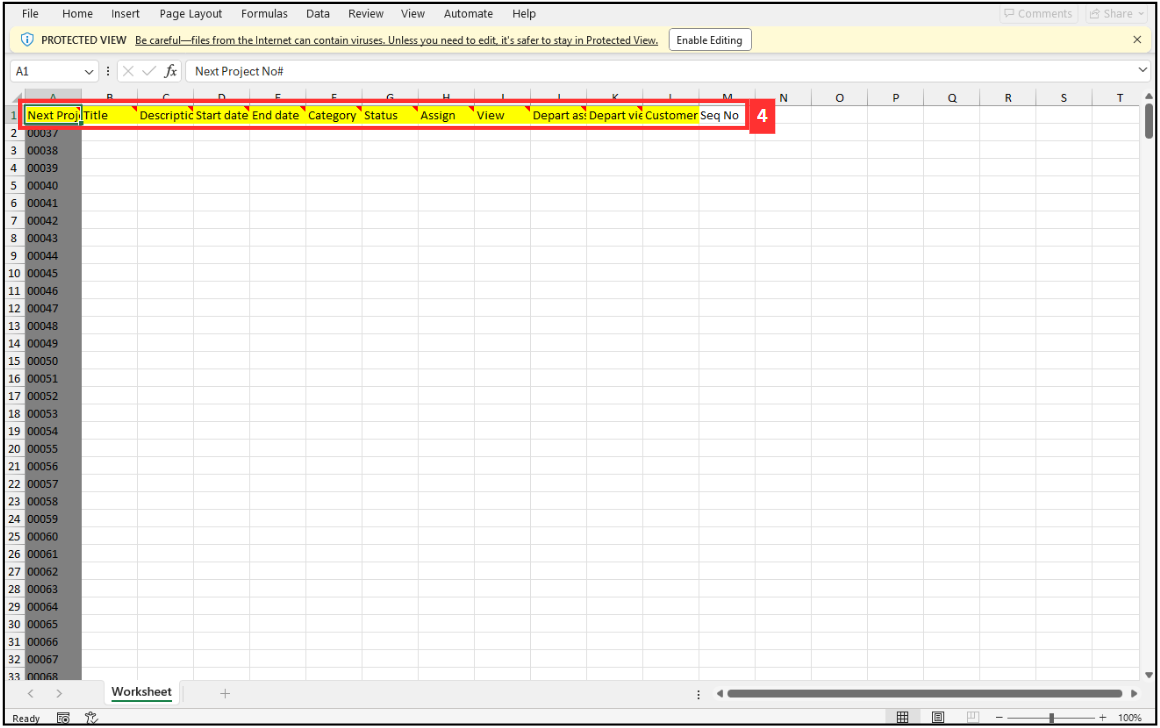
Click “CUSTOMER SEQUENCE NUMBER” and refer to the Customer sequence number.
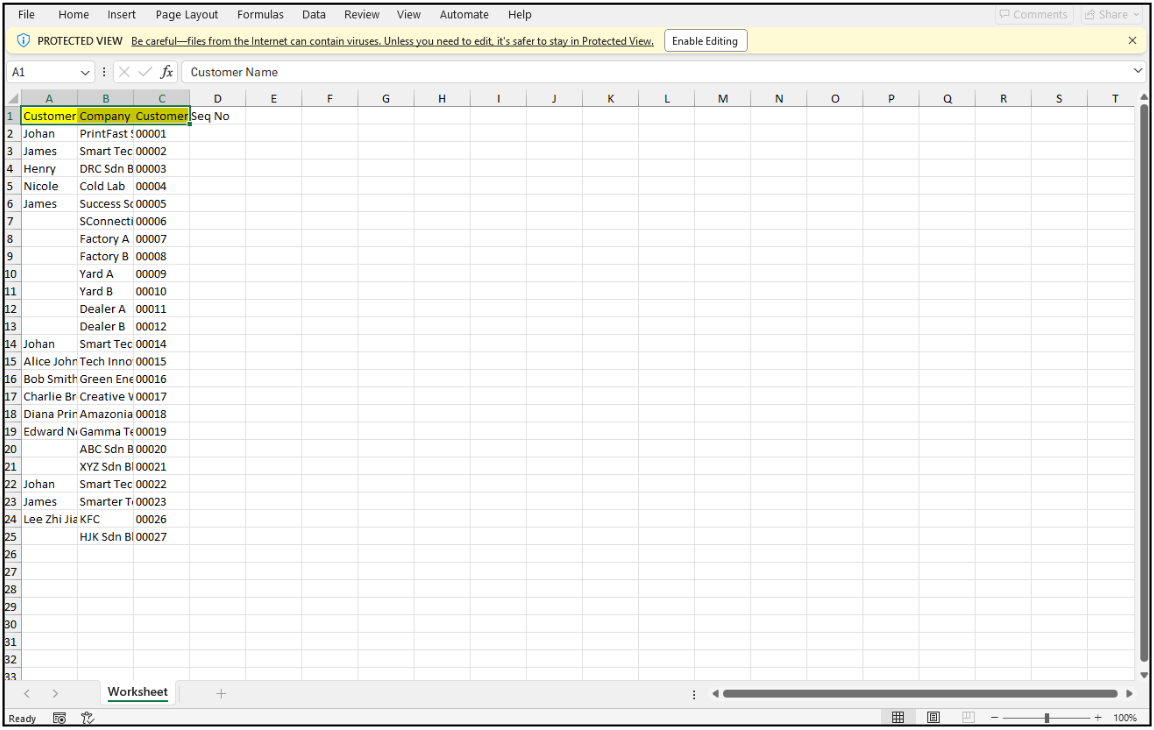
This is the sample of the Project sequence number Excel file.
-
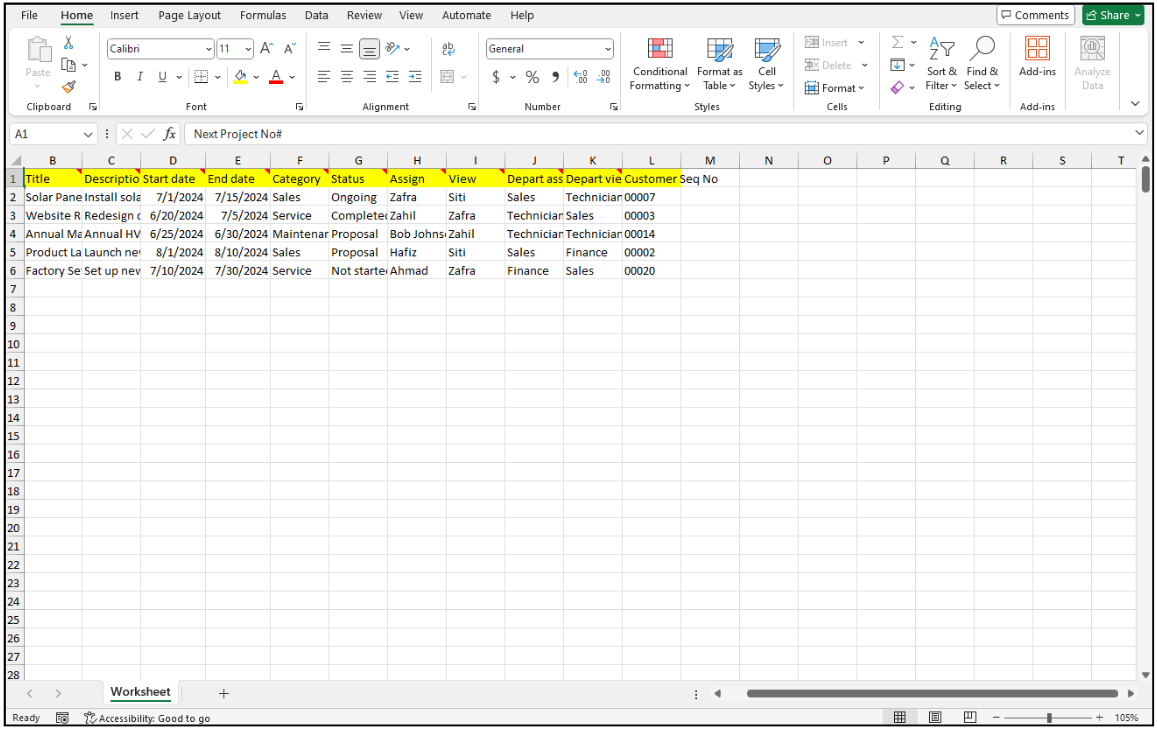
Click “DOWNLOAD EXCEL TEMPLATE”.
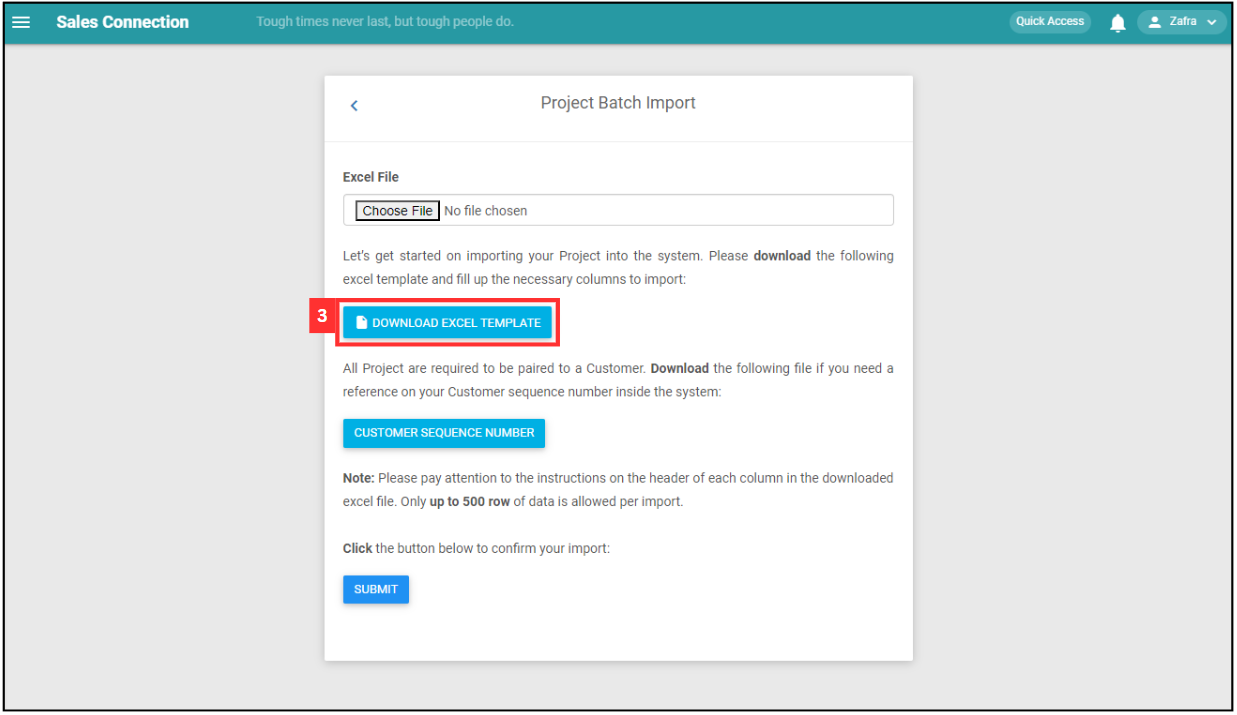
- Fill out the details of the new Projects. Available column fields may differ depending on your company’s system setup.
a. The details include:
- Title
- Description
- Start date
- End date
- Category
- Status
- Assign
- View
- Depart assign
- Depart view
- Customer Seq No
*Note: Please include + and the international code for the phone number’s country followed by the phone number itself. Eg: +60122780122; +60358805110.
-
Make sure all the information of the Projects is correct and save the file.
-
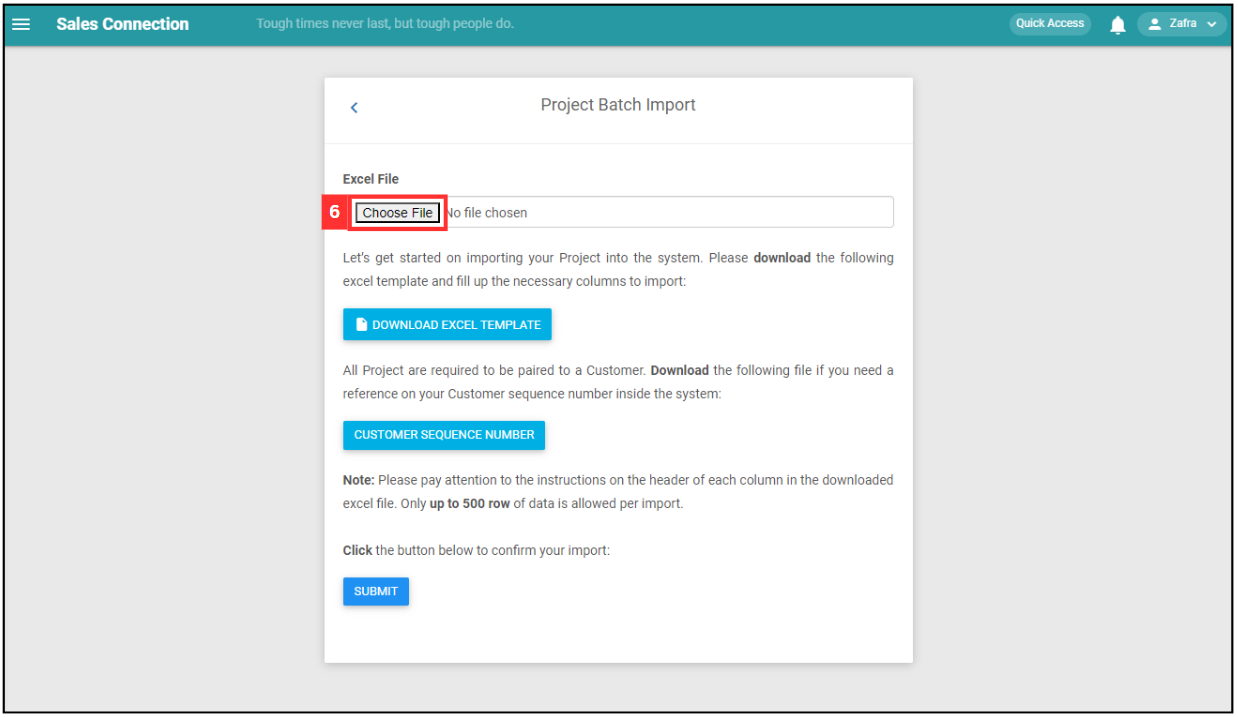
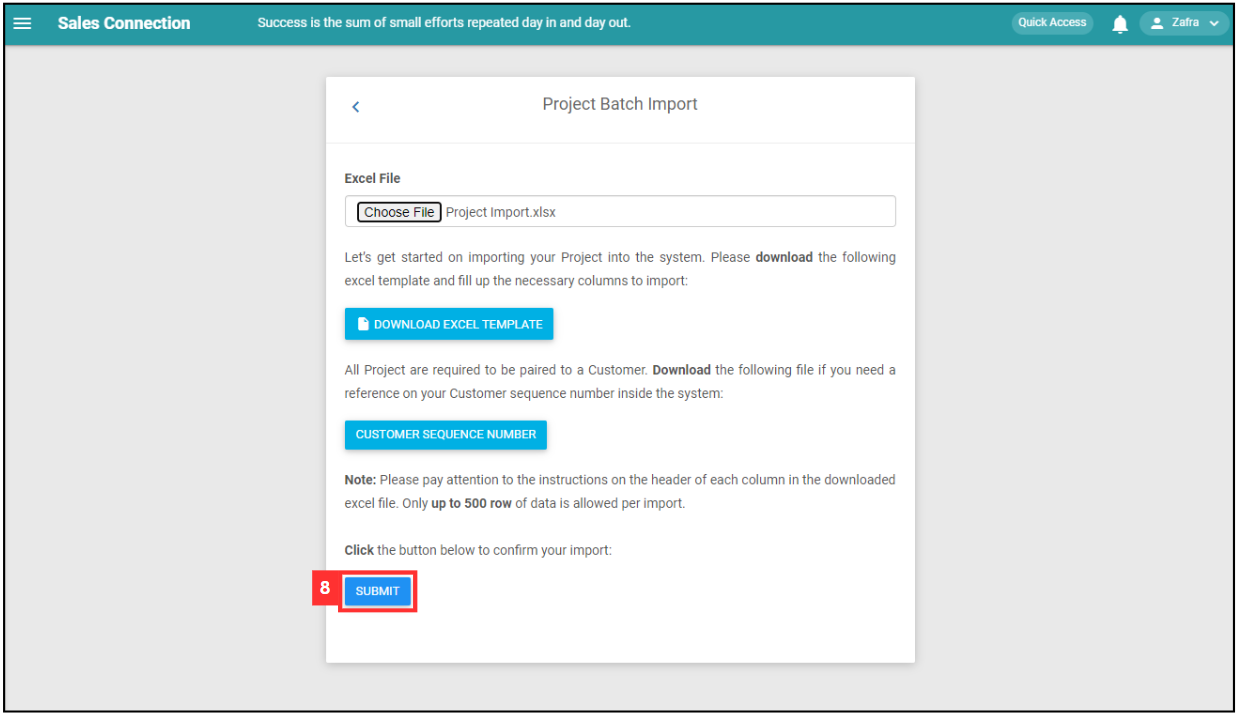
Go back to the Project import page and choose the correct file by clicking “Choose File” to import.
-
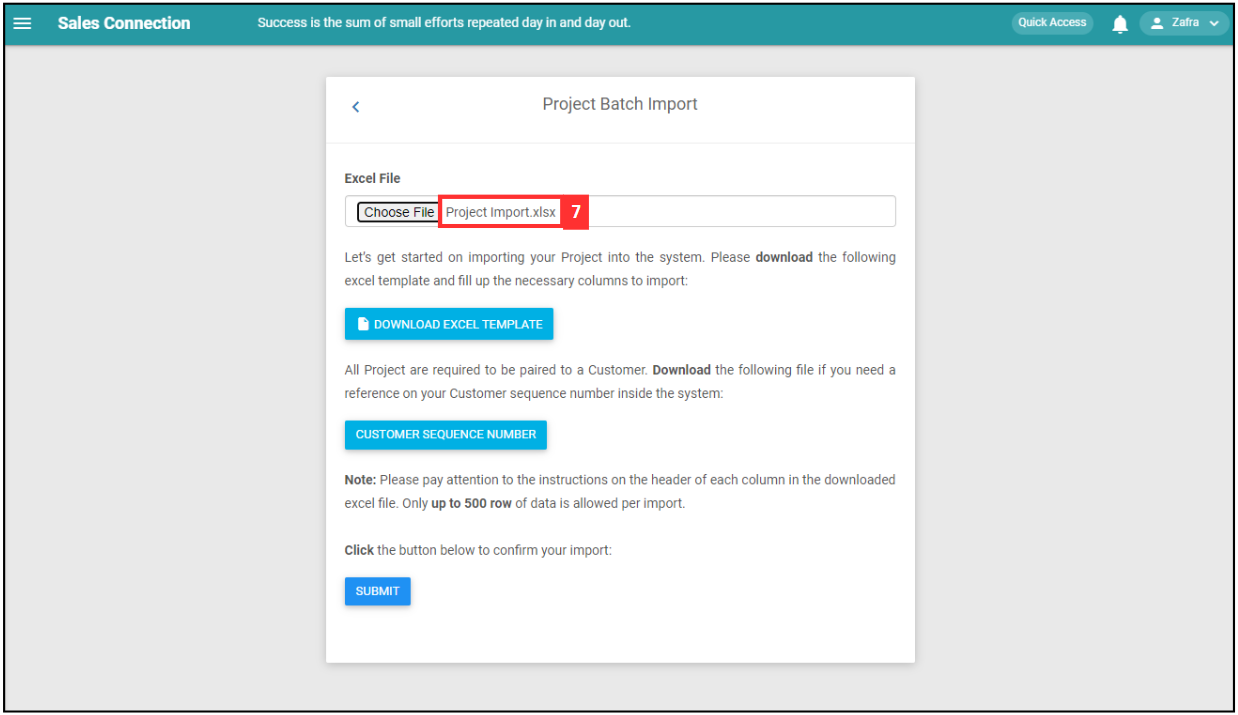
Make sure the file uploaded is correct.
-
Click on the “SUBMIT” button.
-
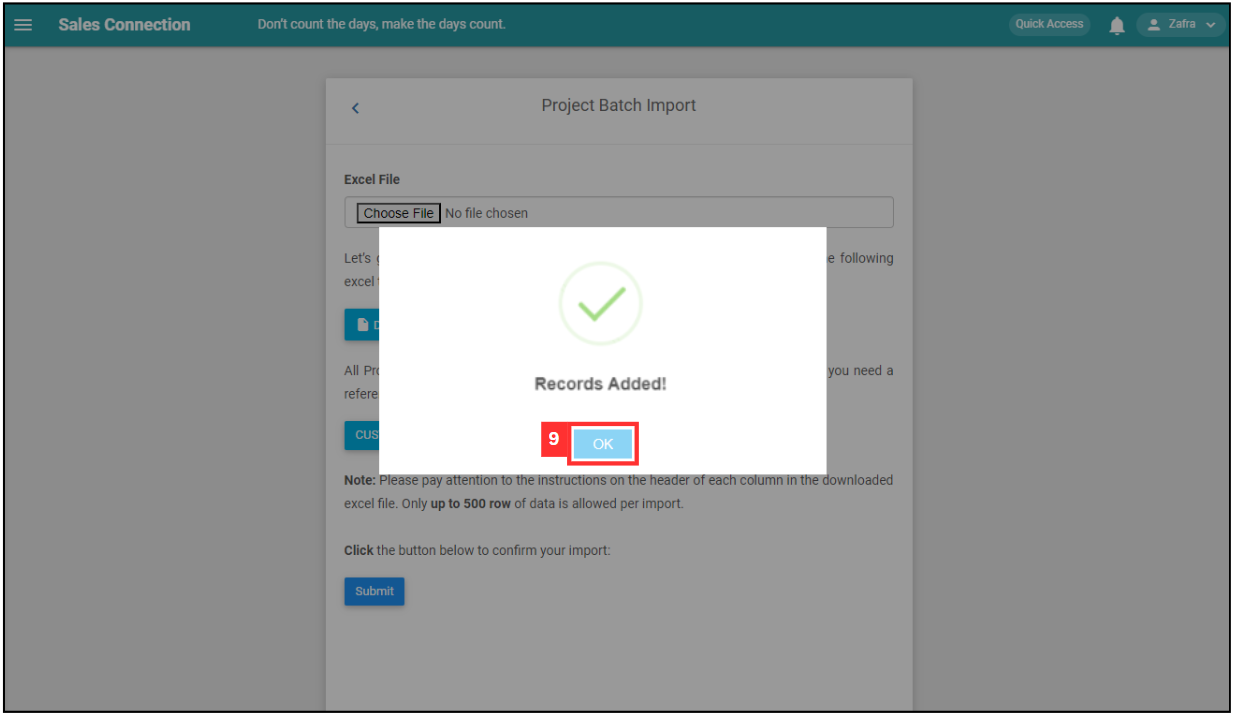
Your items are successfully added when the “Records Added” prompt appears
💡 Tips for Better Setup
🧾 Match template fields exactly – Altering column names may cause the upload to fail.
🔢 Check your Customer Seq No – Ensure the project links correctly to the customer.
📁 Use consistent naming – Helps with data tracking and filtering later.
✅ Verify all required fields – Empty required fields may cause the entire import to be rejected.
🧪 Start with a test batch – Try 1–2 rows before importing a full list.
Related Articles