 Help Center
Adjusting the geofencing radius allows administrators to define the maximum permissible distance within which staff can check in to a job site. By default, the system may set this radius to a standard value, but adjustments can be made to accommodate specific operational needs or to align with company policies. This flexibility ensures that check-ins are accurately captured within the desired proximity, enhancing job tracking and accountability.
Benefit
- Aligns check-in requirements with actual job site locations, reducing discrepancies.
- Ensures staff are physically present within the defined area before checking in, promoting reliability.
- Helps in accurately tracking staff movements, aiding in efficient scheduling and resource allocation.
Here’s what you need to do, step by step.
- To adjust the staff check in distance, go to the desktop site navigation bar > Company Settings > Staff Settings > Check-in Distance Settings.
Open the Check-in Distance Settings Page Here: https://system.caction.com/settings/mileage2
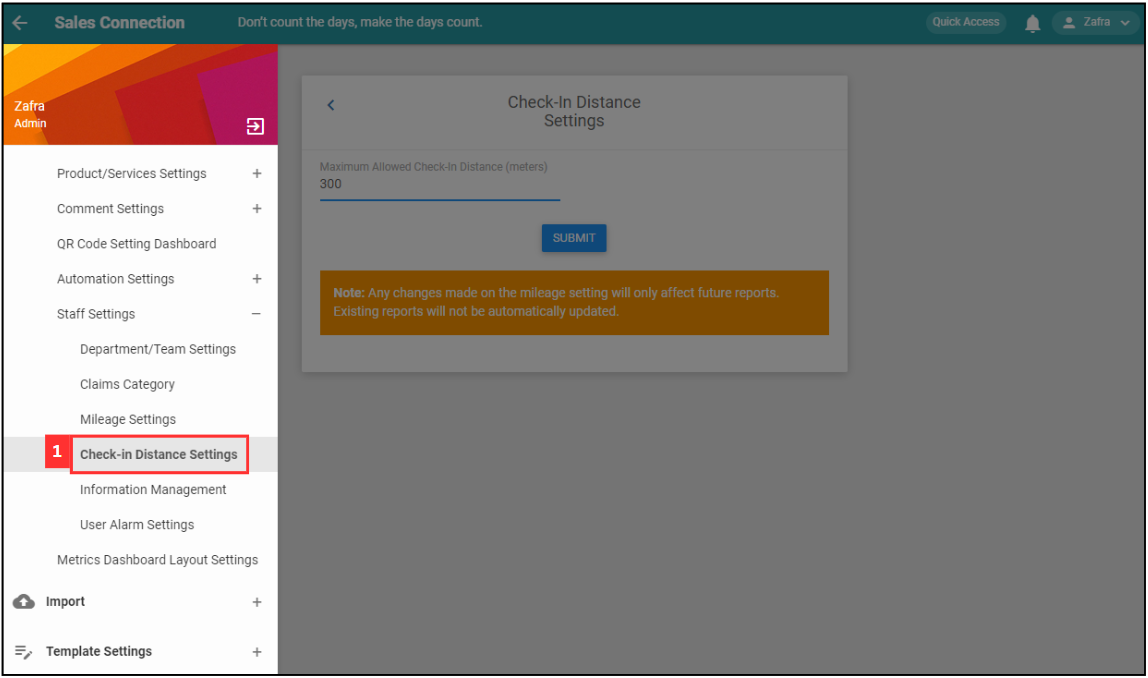
-
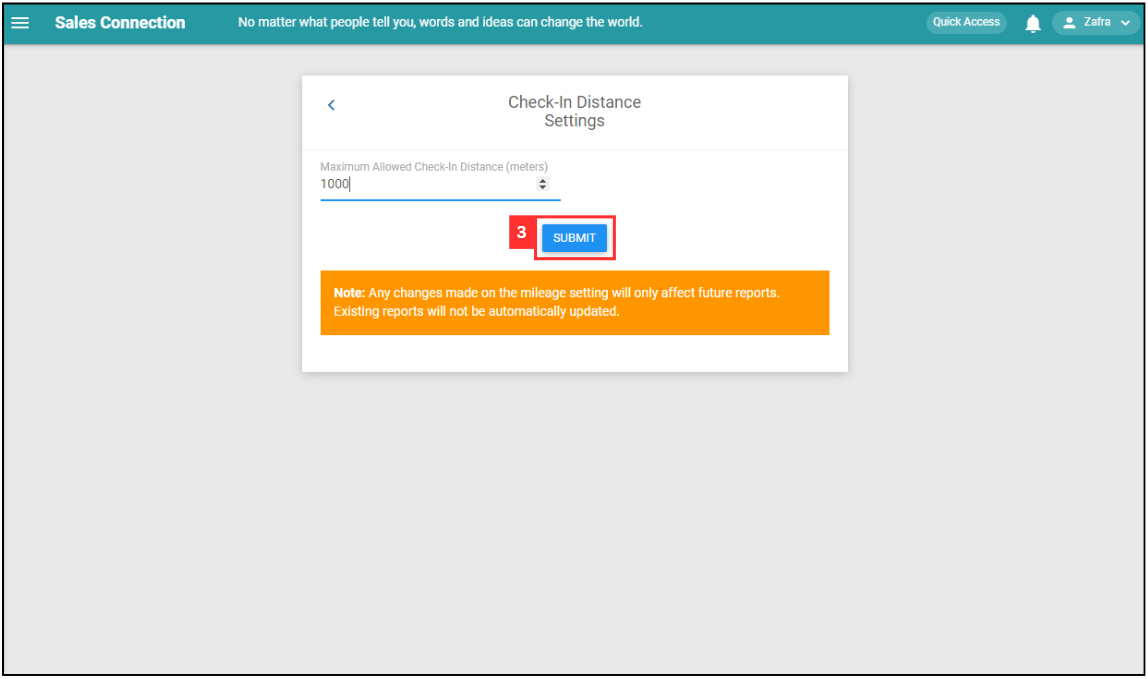
Enter the number of the maximum allowed check in distance.
*Note: The suggested check in distance is 1000 meters.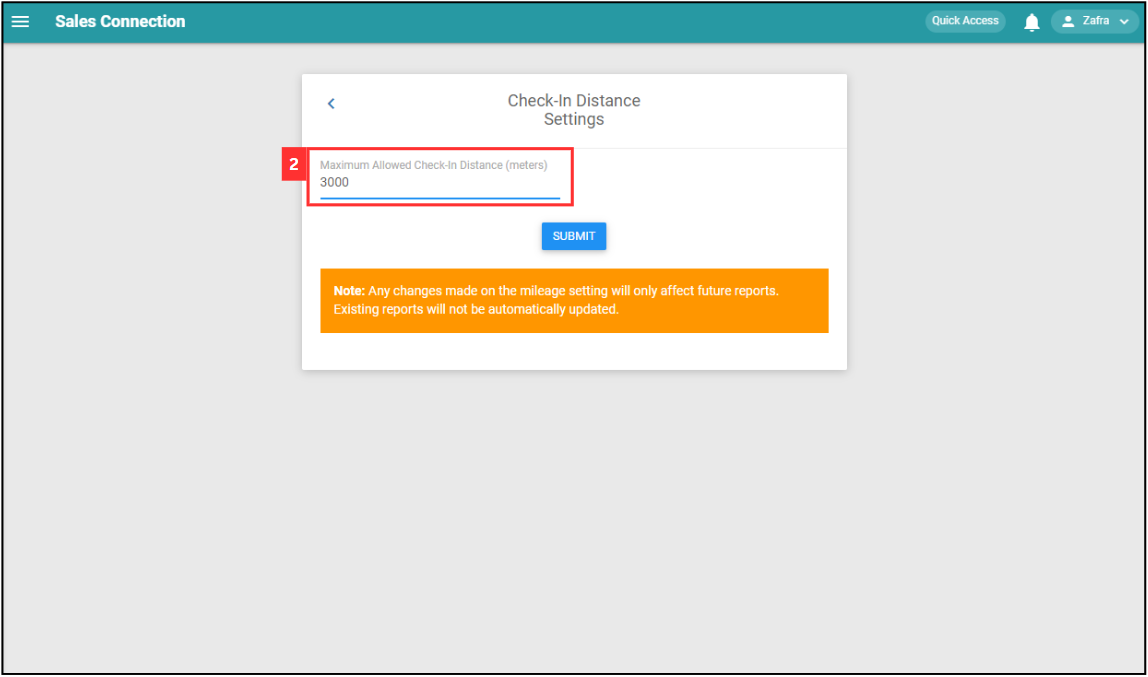
-
Click on the “SUBMIT” button.
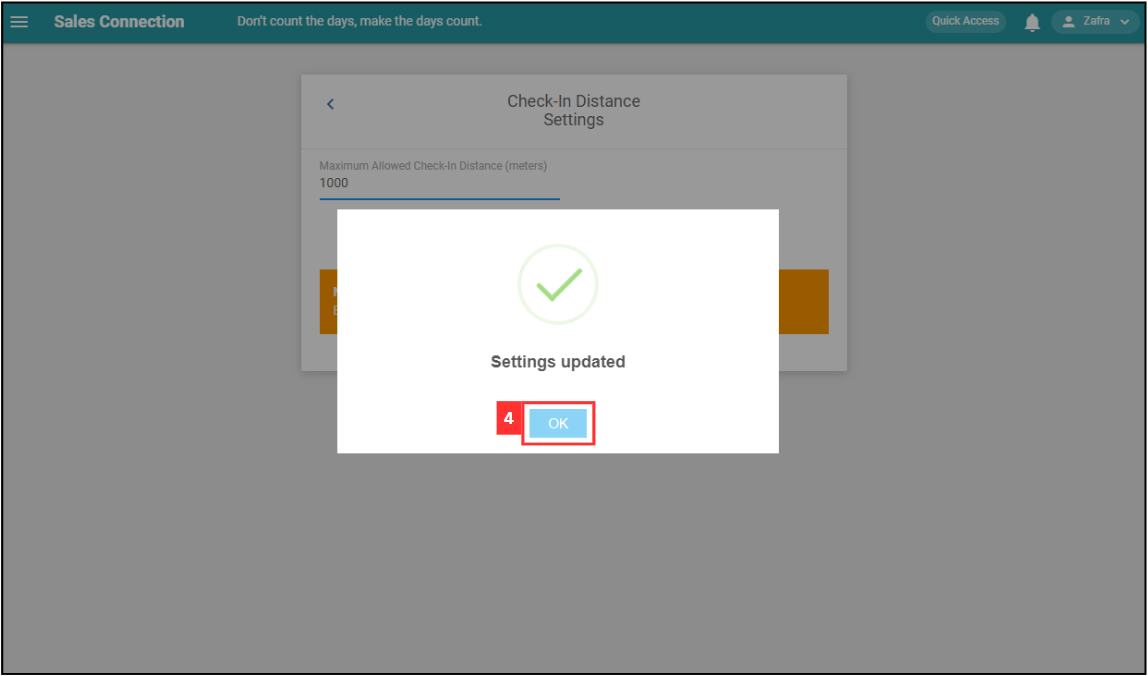
-
Click “OK” and the new check in distance has been saved successfully.
Related Articles