 Help Center
What are Jobs?
Jobs are tasks you assign to your team to complete — like a site visit, a repair, or a maintenance job. In Caction, there are several easy ways to schedule jobs for your customers.
This guide will walk you through the different methods to create and assign jobs or tasks. You’ll be able to assign them to specific team members or entire departments, add detailed descriptions to explain the work clearly, and even set up recurring jobs when needed.
Benefits:
- Simplifies the process of adding new jobs, ensuring all necessary information is captured.
- Enables job creation on-the-go via the mobile app, enhancing flexibility and responsiveness.
- Facilitates efficient tracking and management of jobs within the system.
Note: Depending on how your system is set up, "Job" might be called something different, like "Task," "Ticket," "Deal," or another custom name.
Please navigate to the section by clicking it.
Mobile Version
-
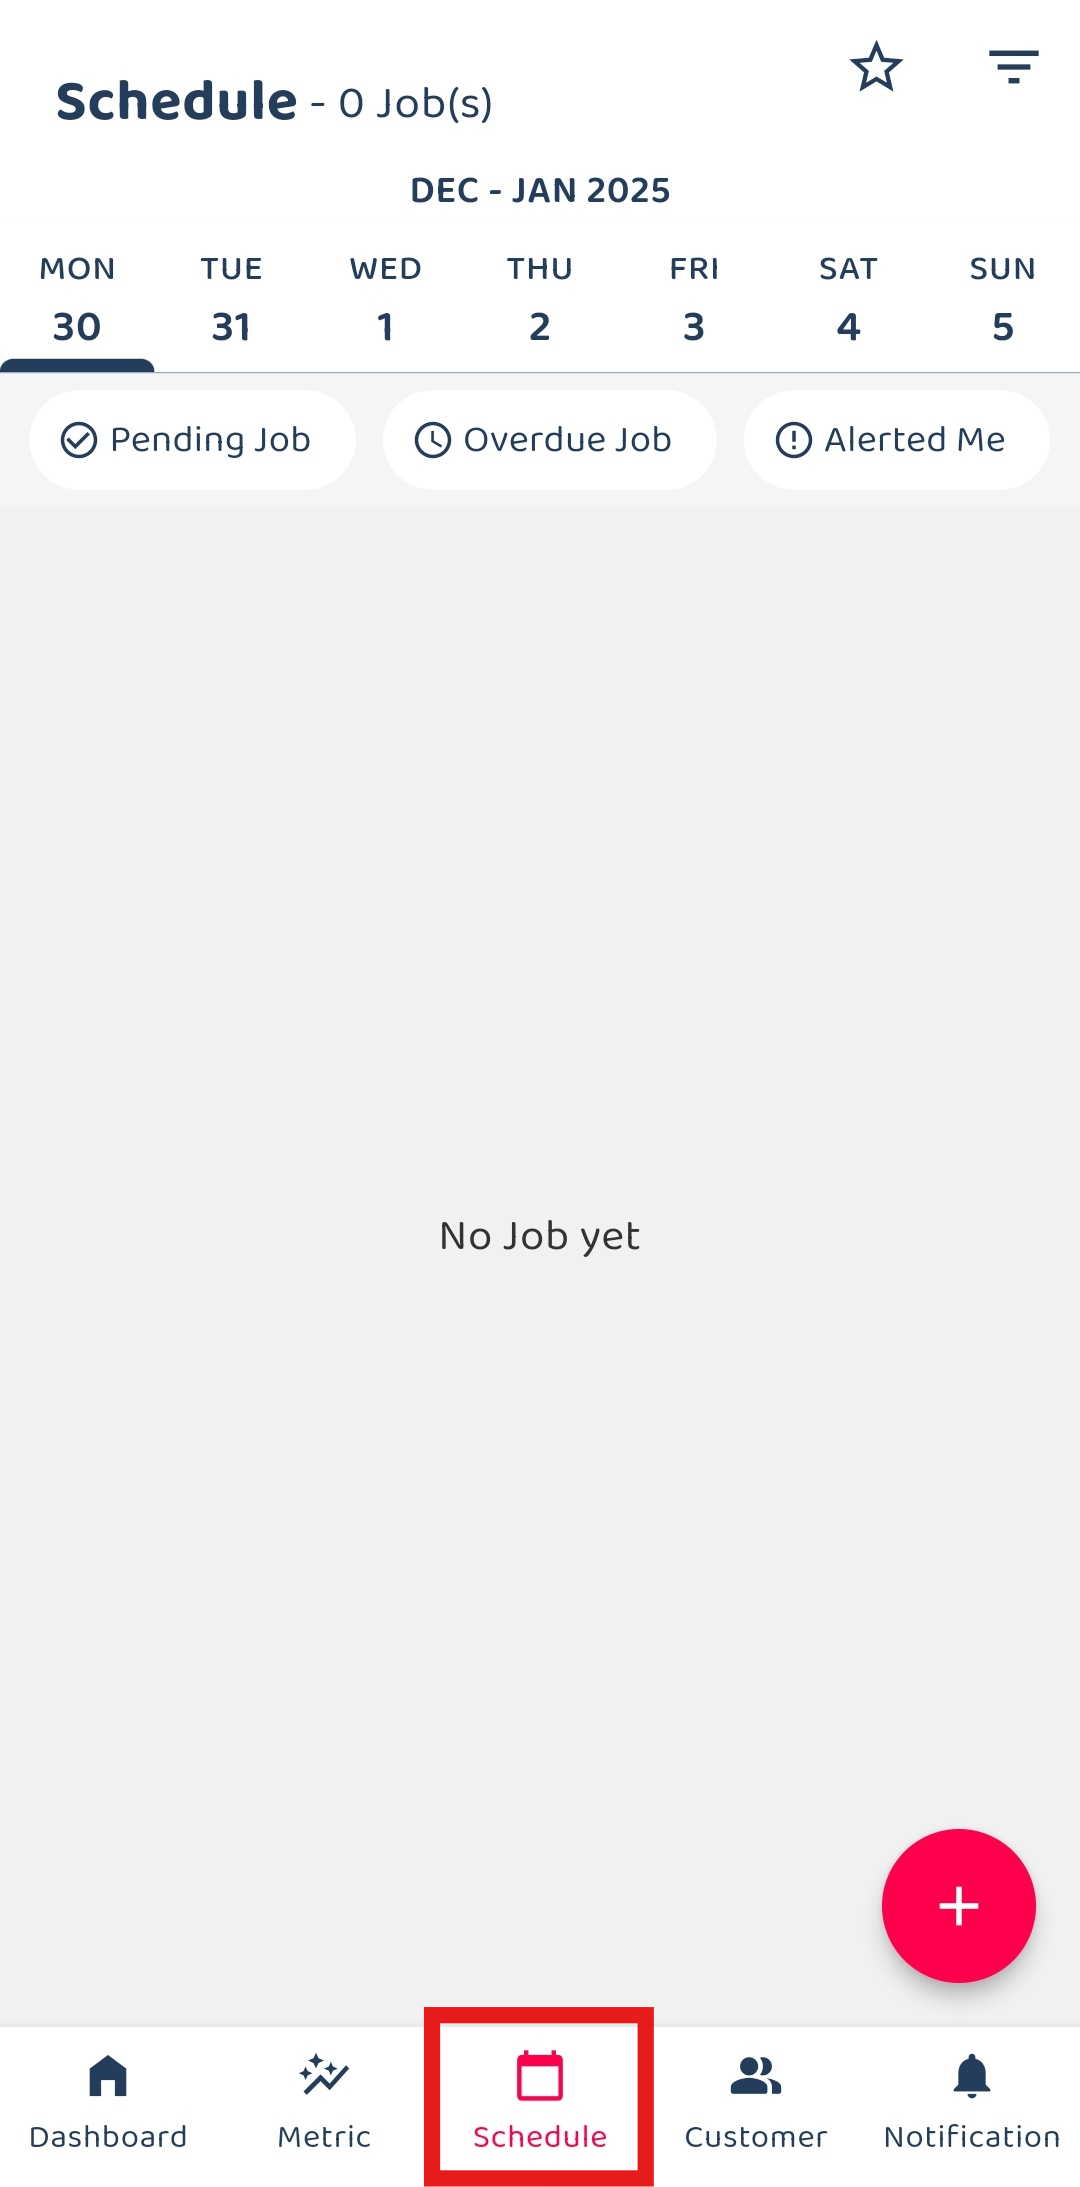
At the mobile app’s navigation bar, go to Schedule.
-
Click on the “+” button to add new job.
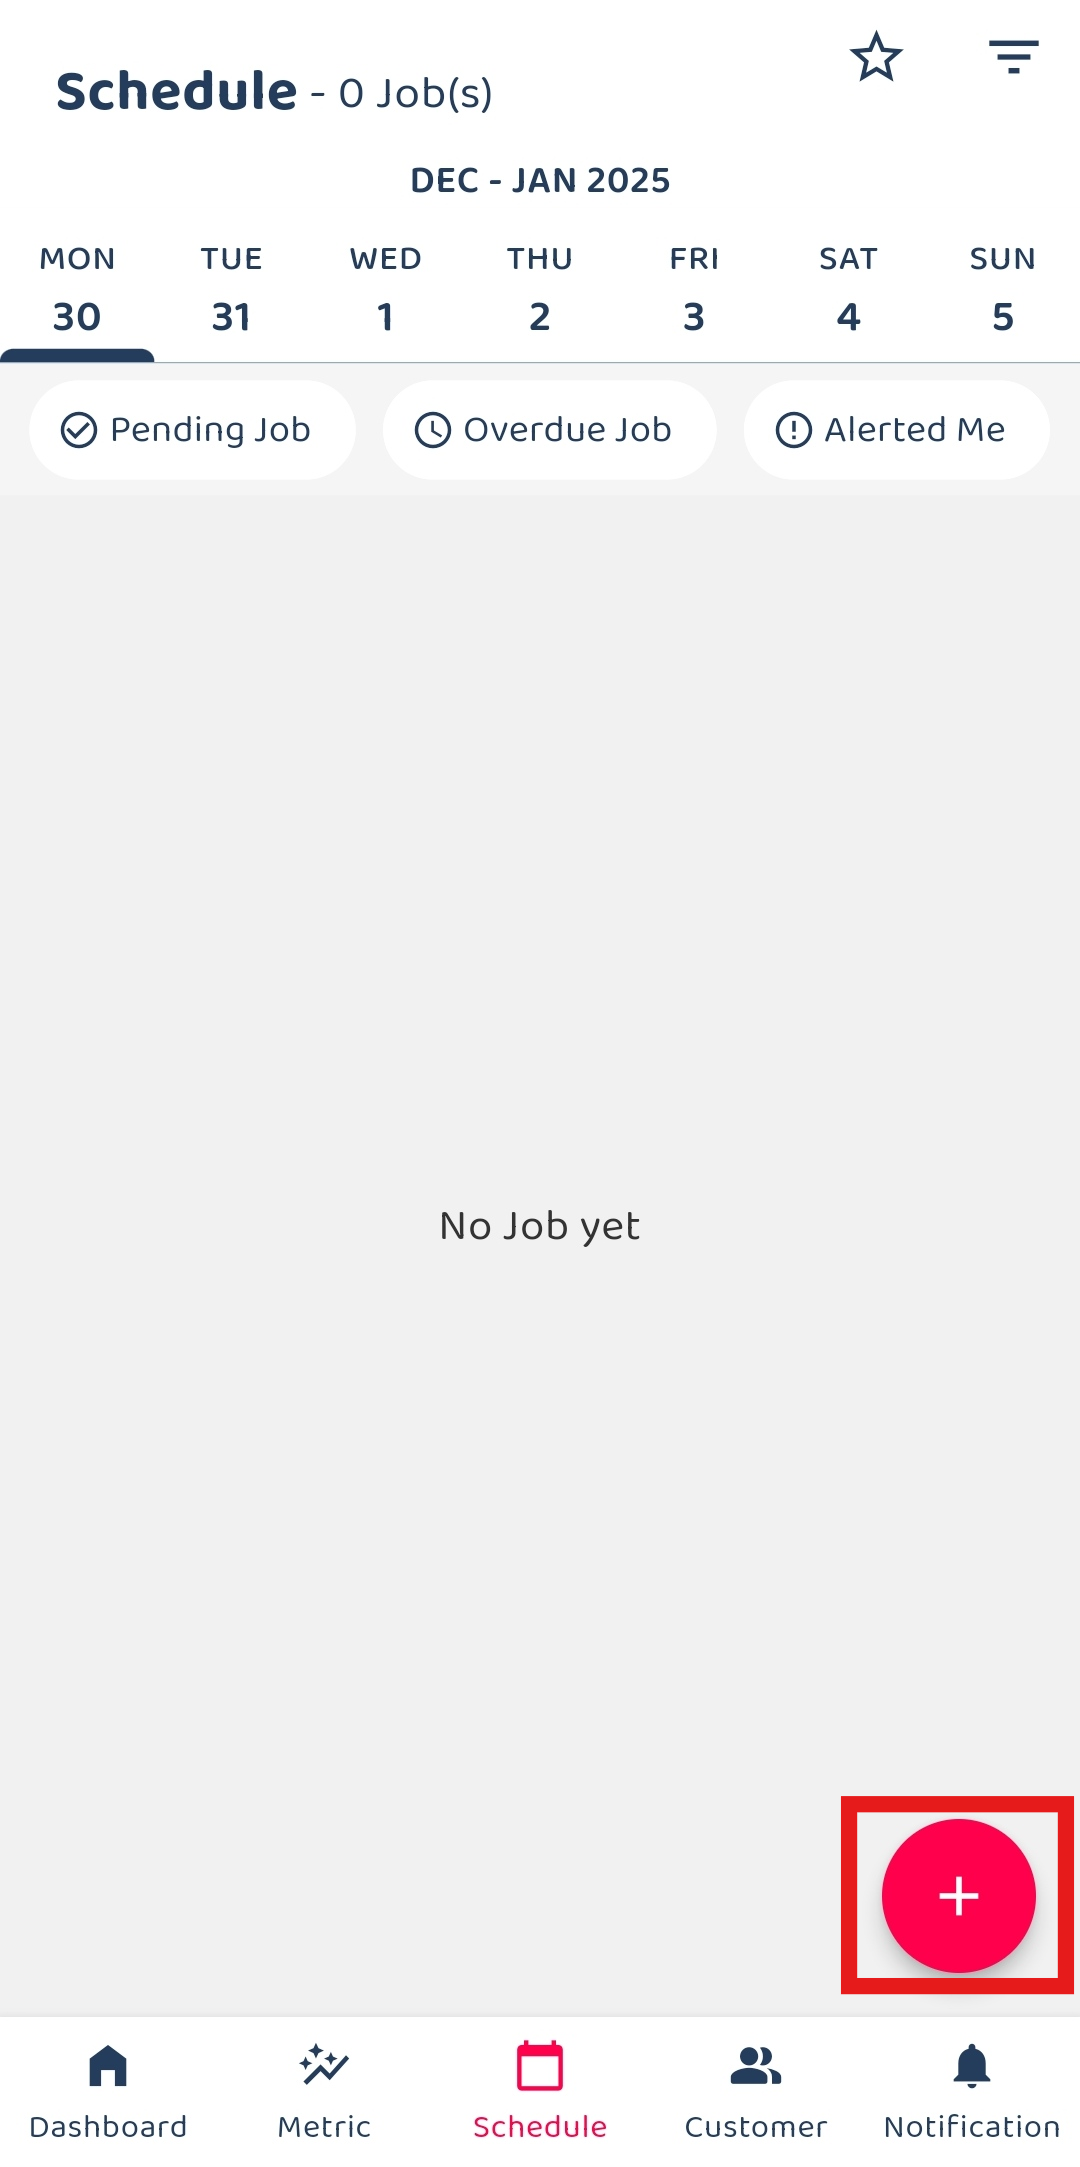
*Note: If you do not see a “+” button, you may need to request permission or help from your Admin to register new job.
-
Select the job category.
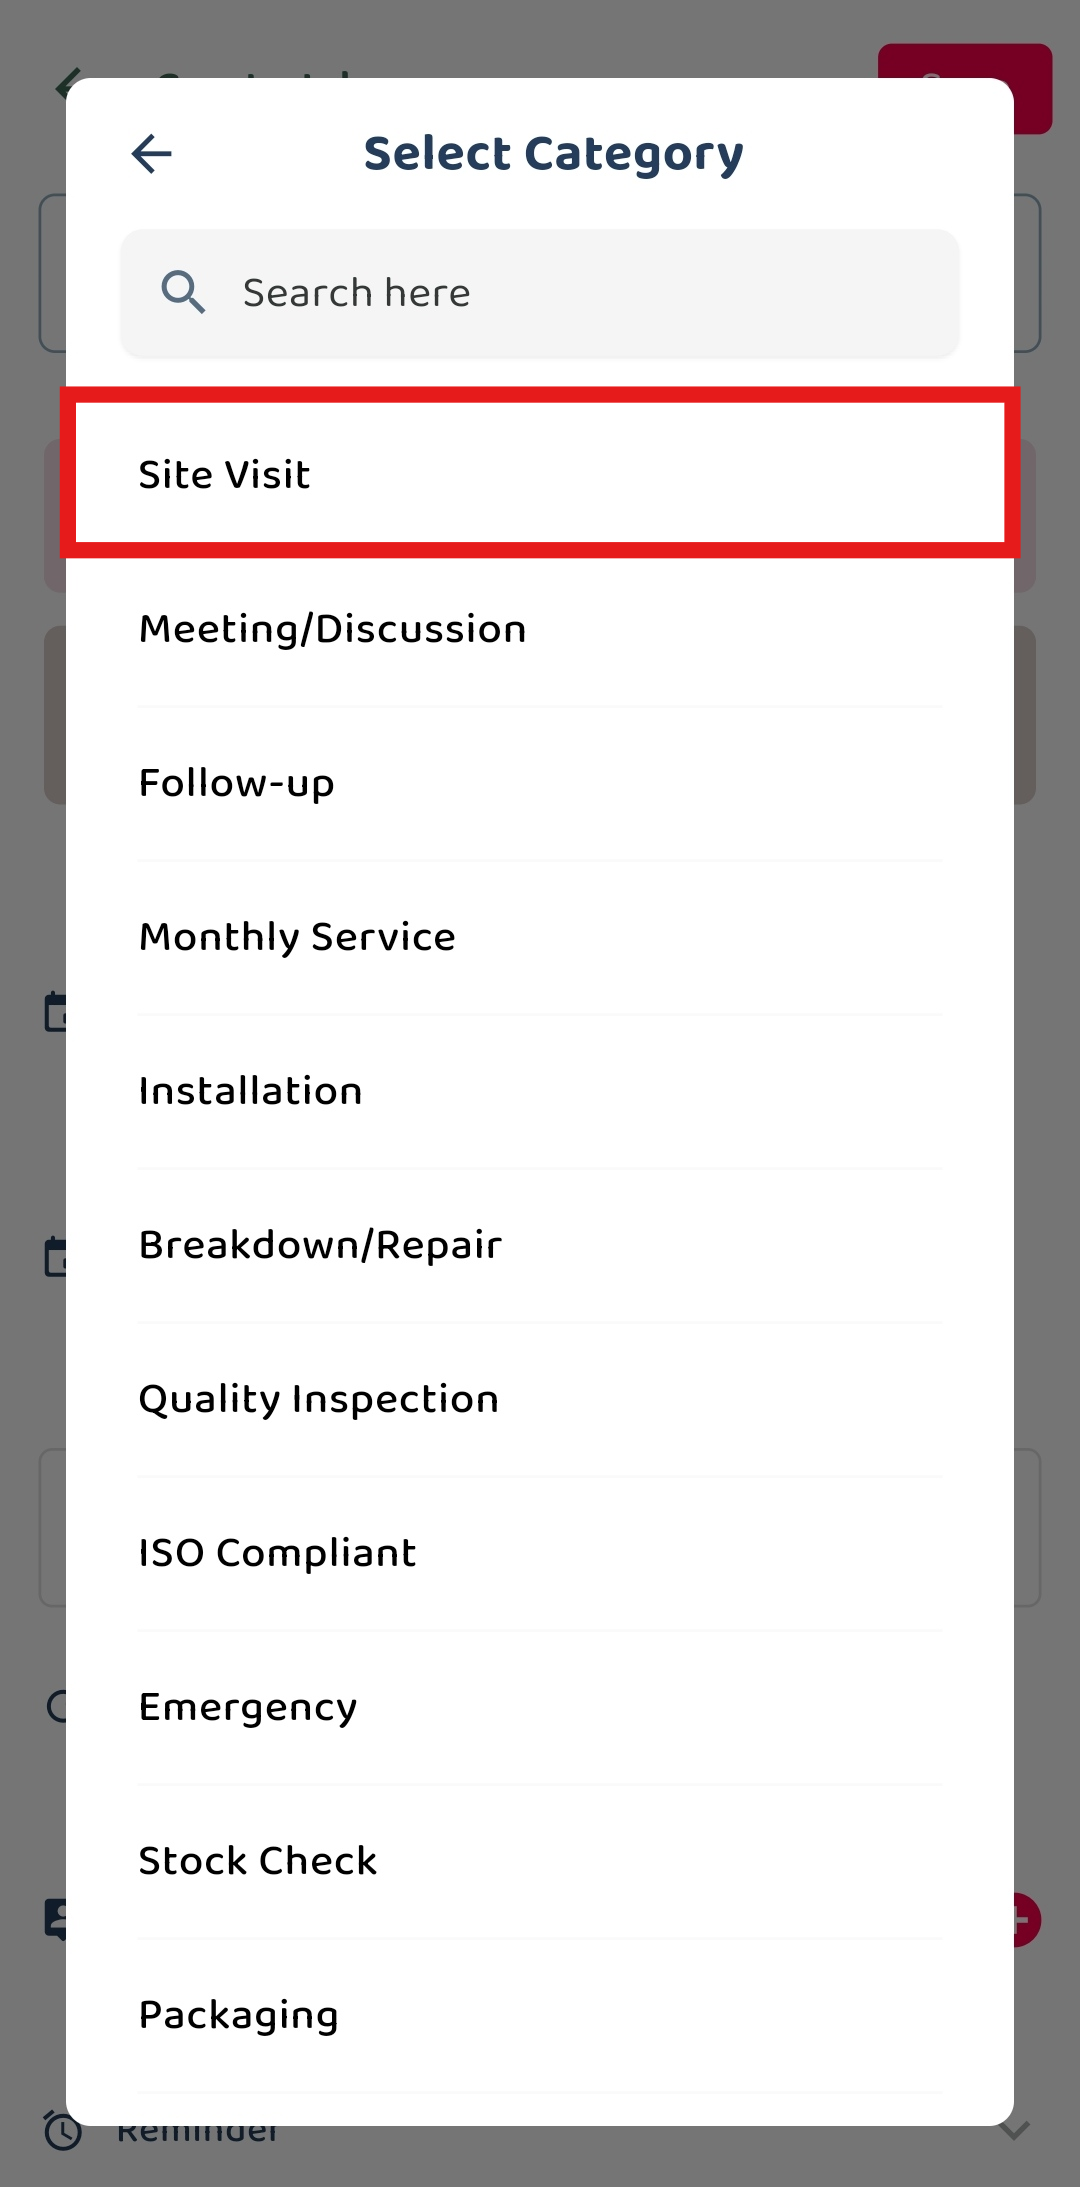
*Note: Please select the correct job category before proceeding. Different categories may have different requirements for different purposes.
-
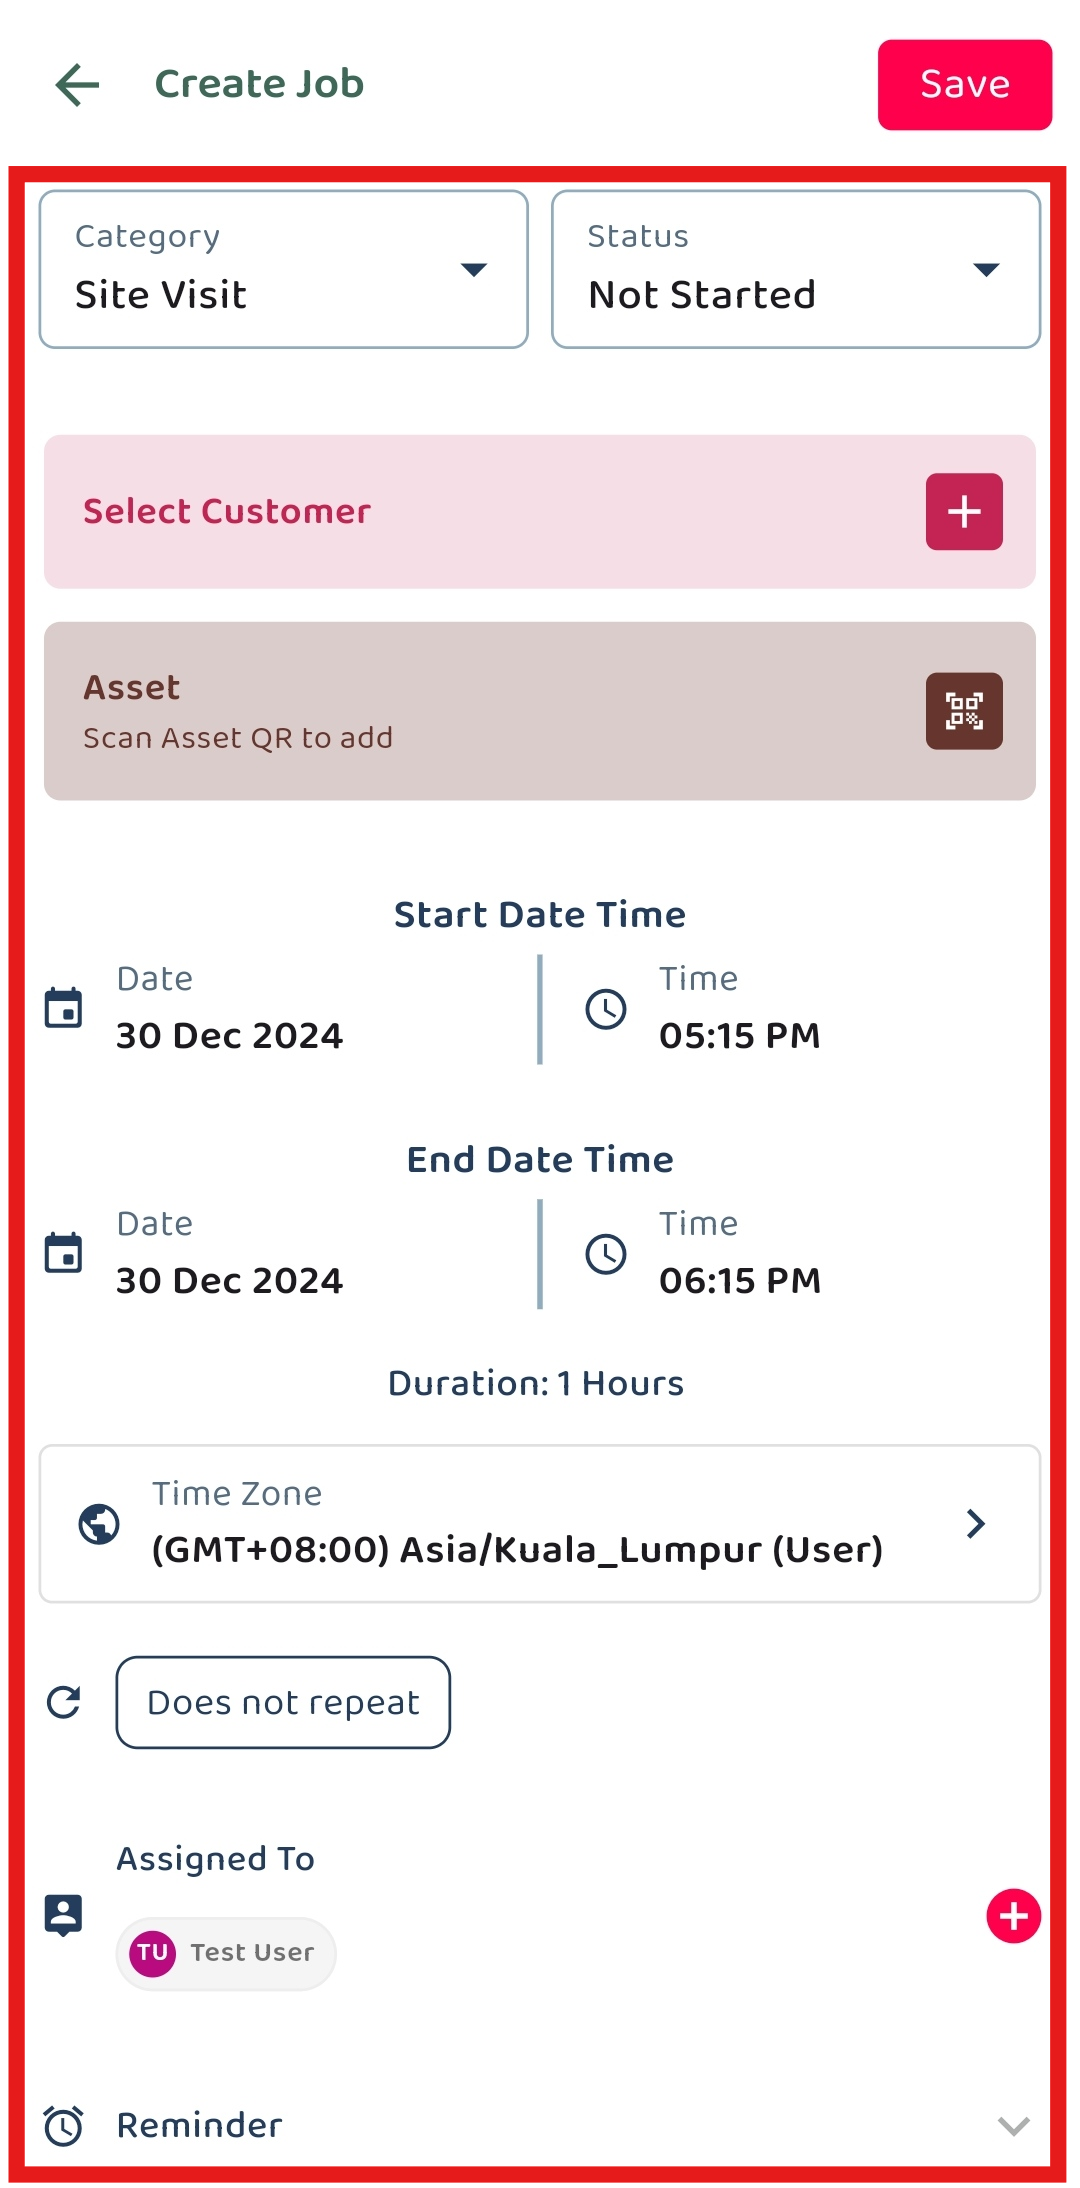
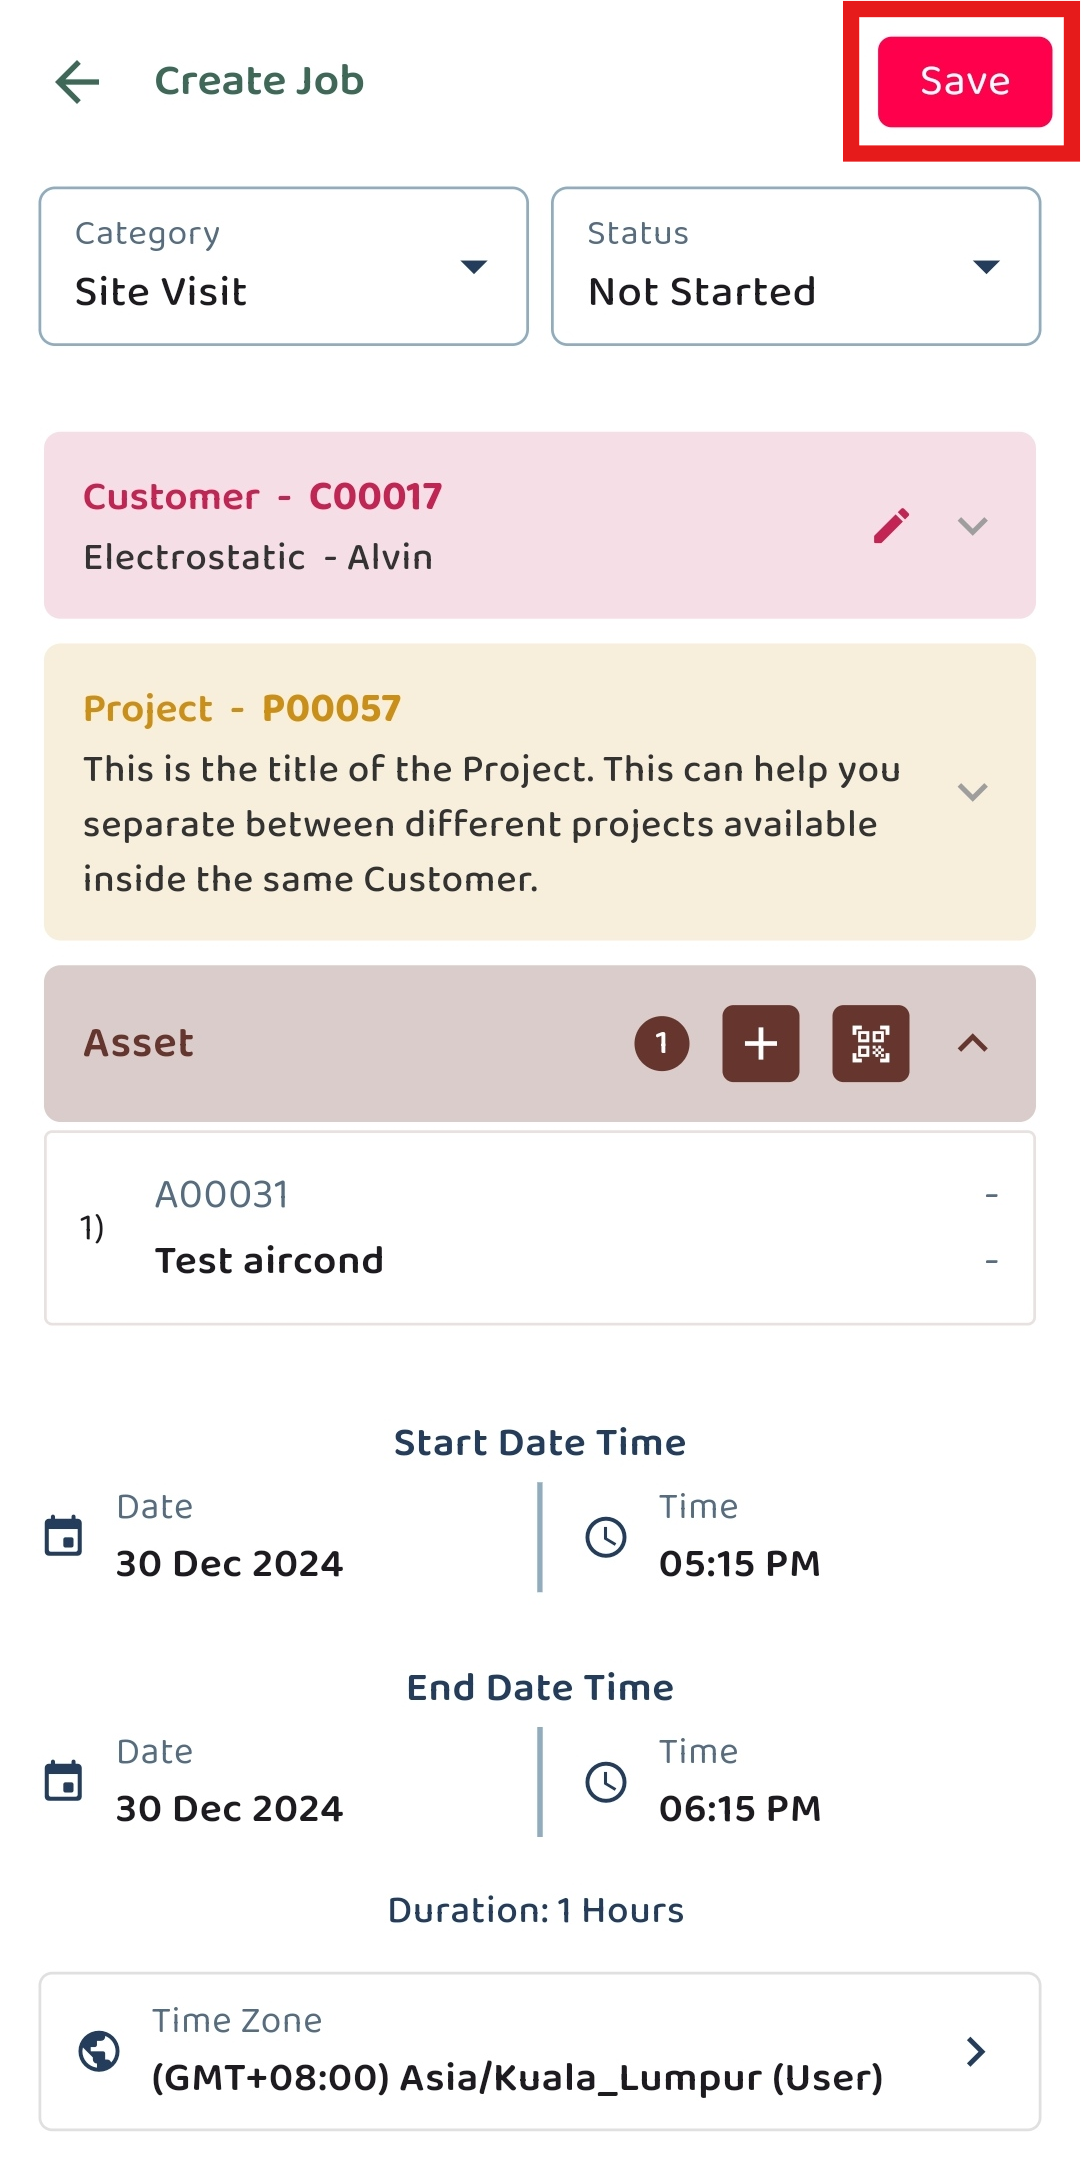
Fill out the details of the new job. Available fields may differ depending on your company’s system setup.
Field Name Description Category* Classifies the type of job. Status* Indicates the current status of the job. Select Customer Choose a customer from those registered in the system. After selecting Customer, you will be asked to select Project under that Customer. Select Asset Choose an asset from those registered in the system. Start End Date* The date range when the job is planned to start and end. Recurrent Job Indicates if the job recurs. Assigned To The user responsible for the job. Reminder Set a reminder for the job. Description Detailed description of the job. Attachment (Document or Receipt) Upload any relevant documents or receipts. *Note: Fields marked with an asterisk ( * ) are required.
-
Click on the “Save Job” button.
-
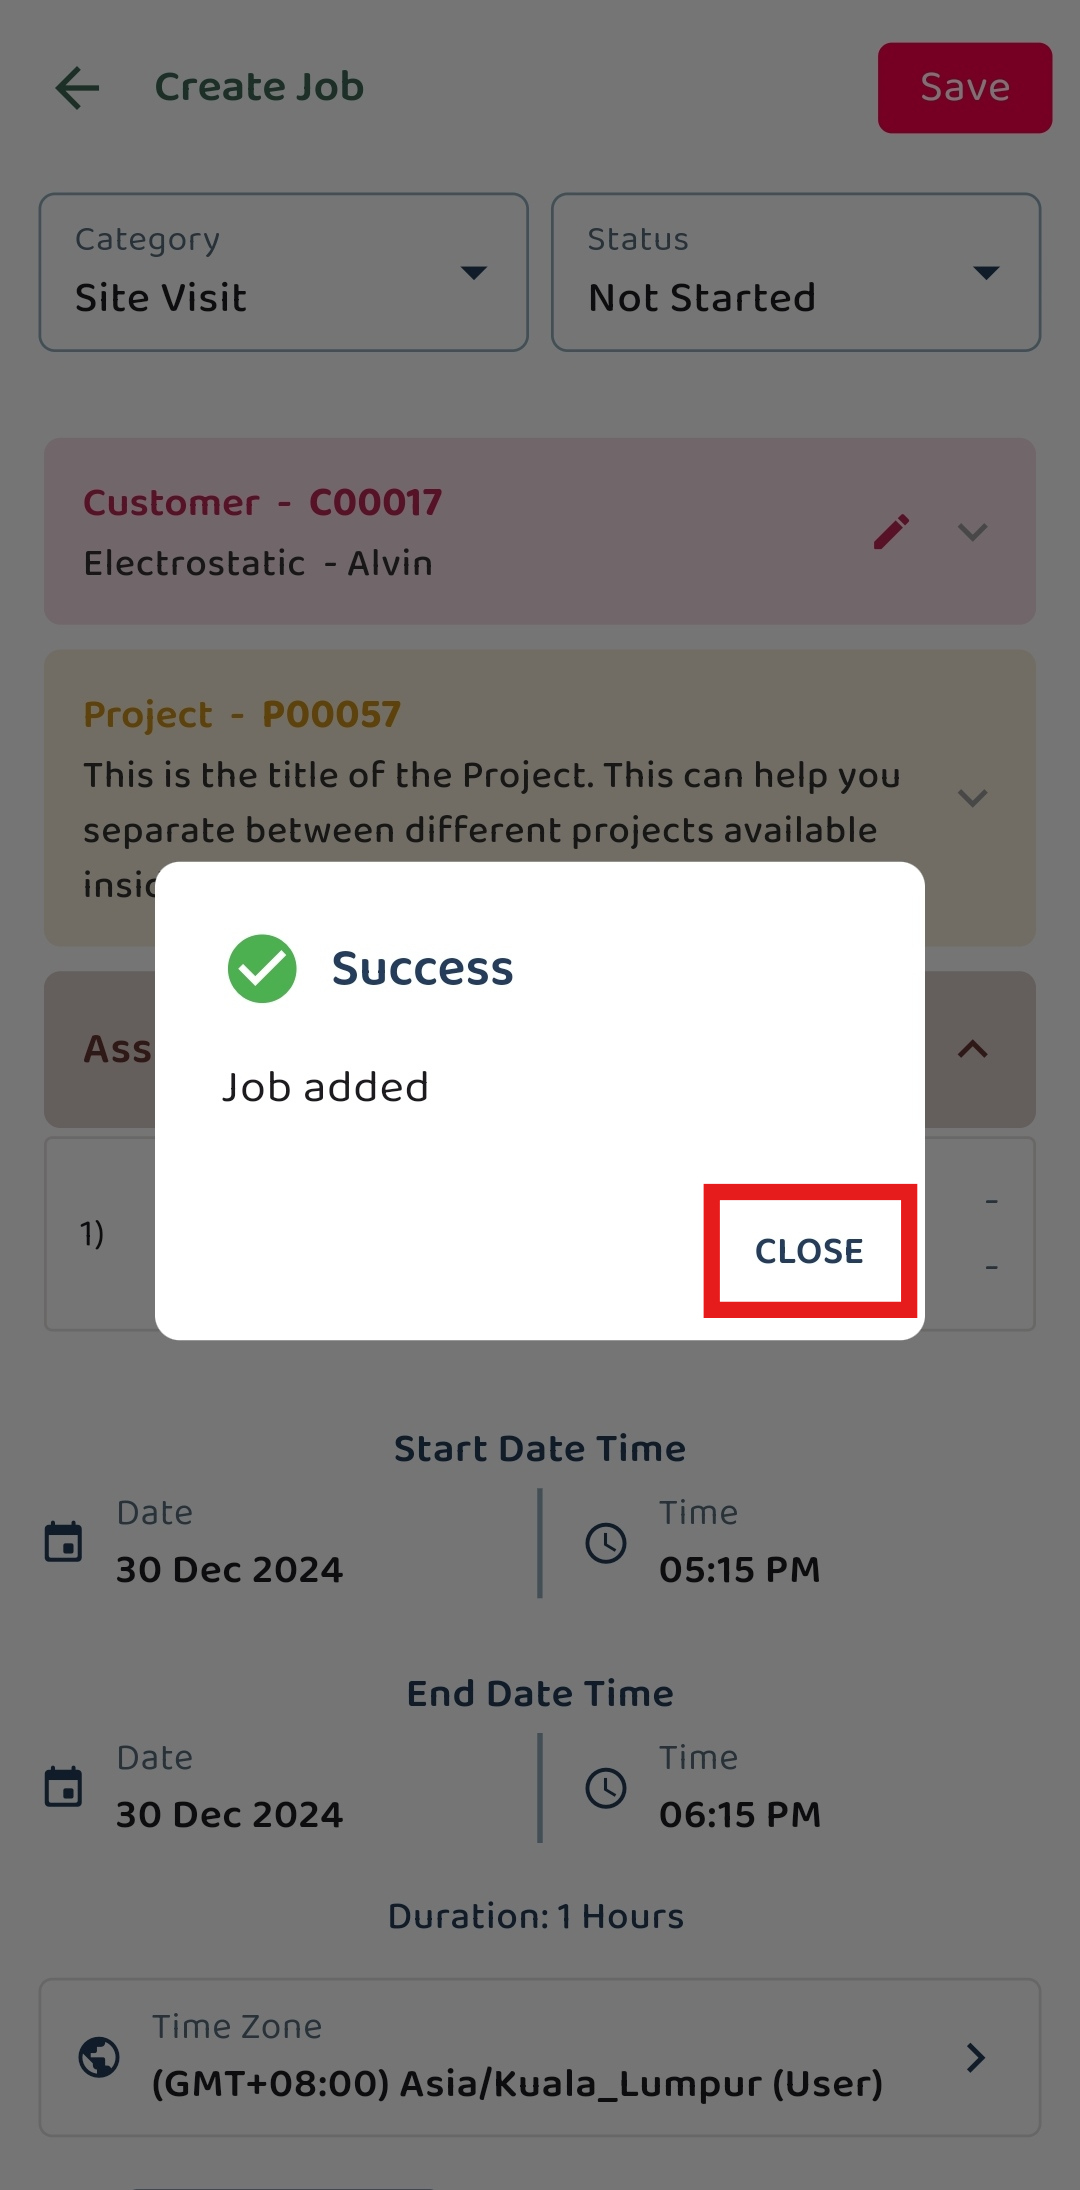
The new job has been saved successfully when this prompt appears.
Desktop Version
-
At the desktop site’s navigation bar, go to Business Management > Schedule > Job Schedule.
Add New Job Here: https://system.caction.com/activity/scheduler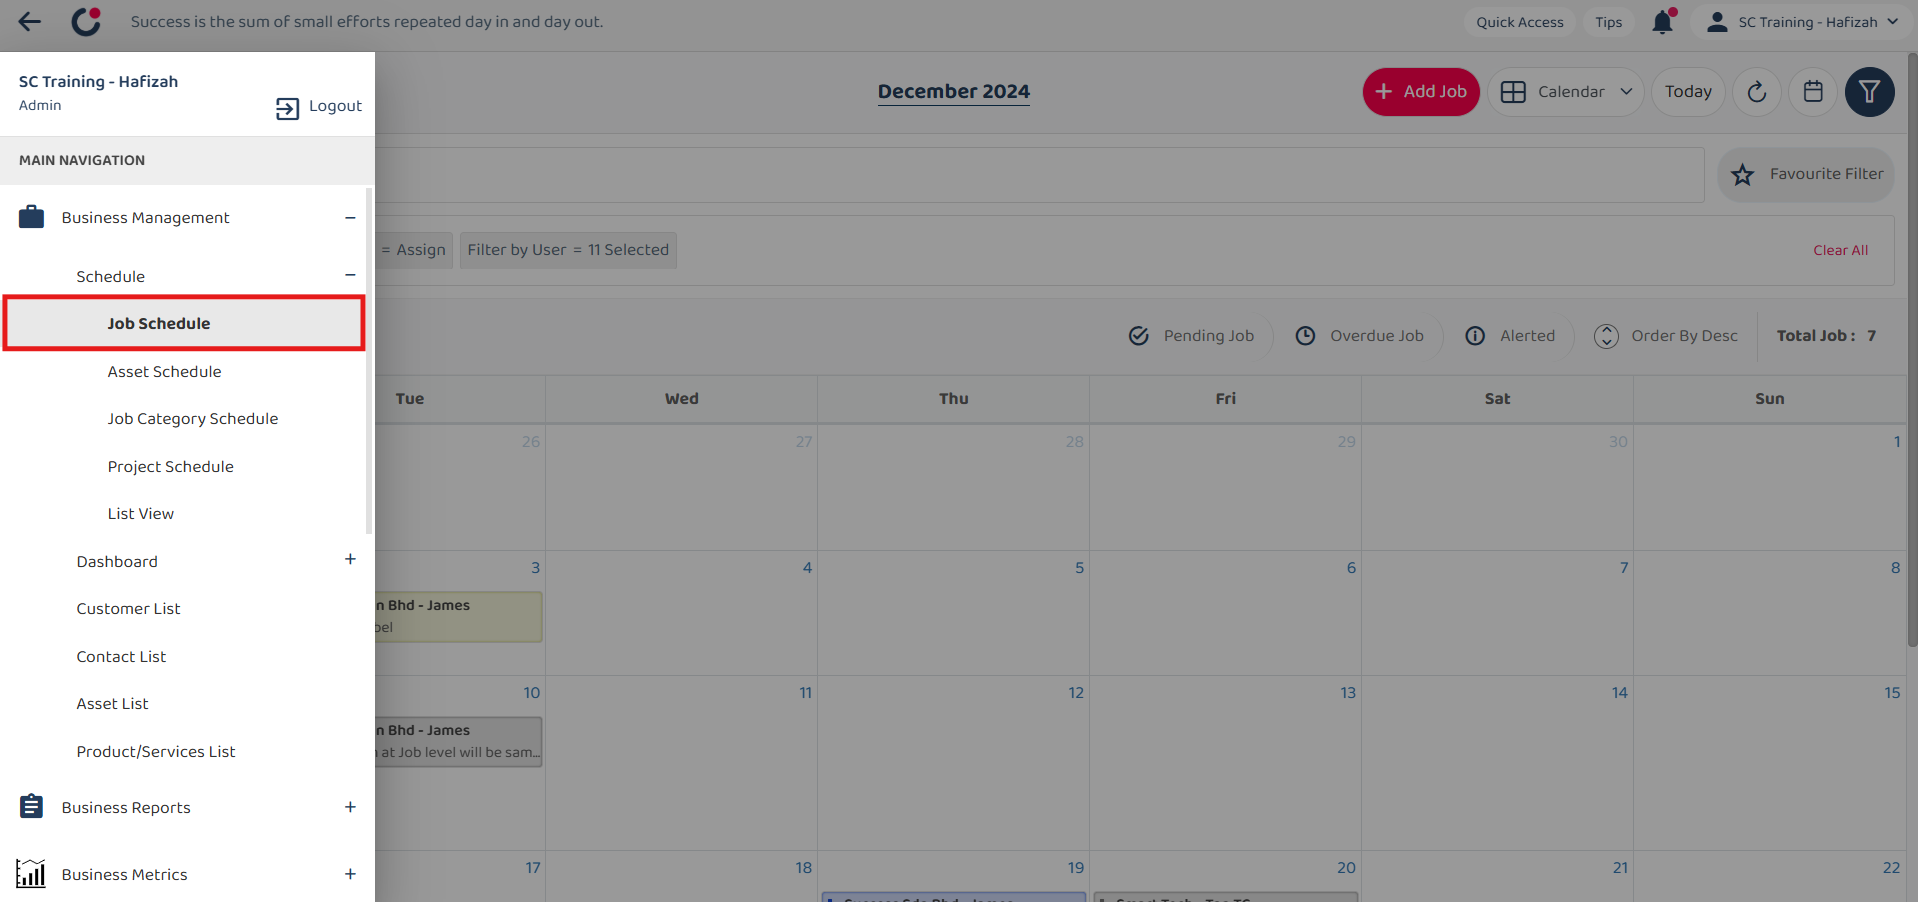
-
Click on the “+” button to add new job.
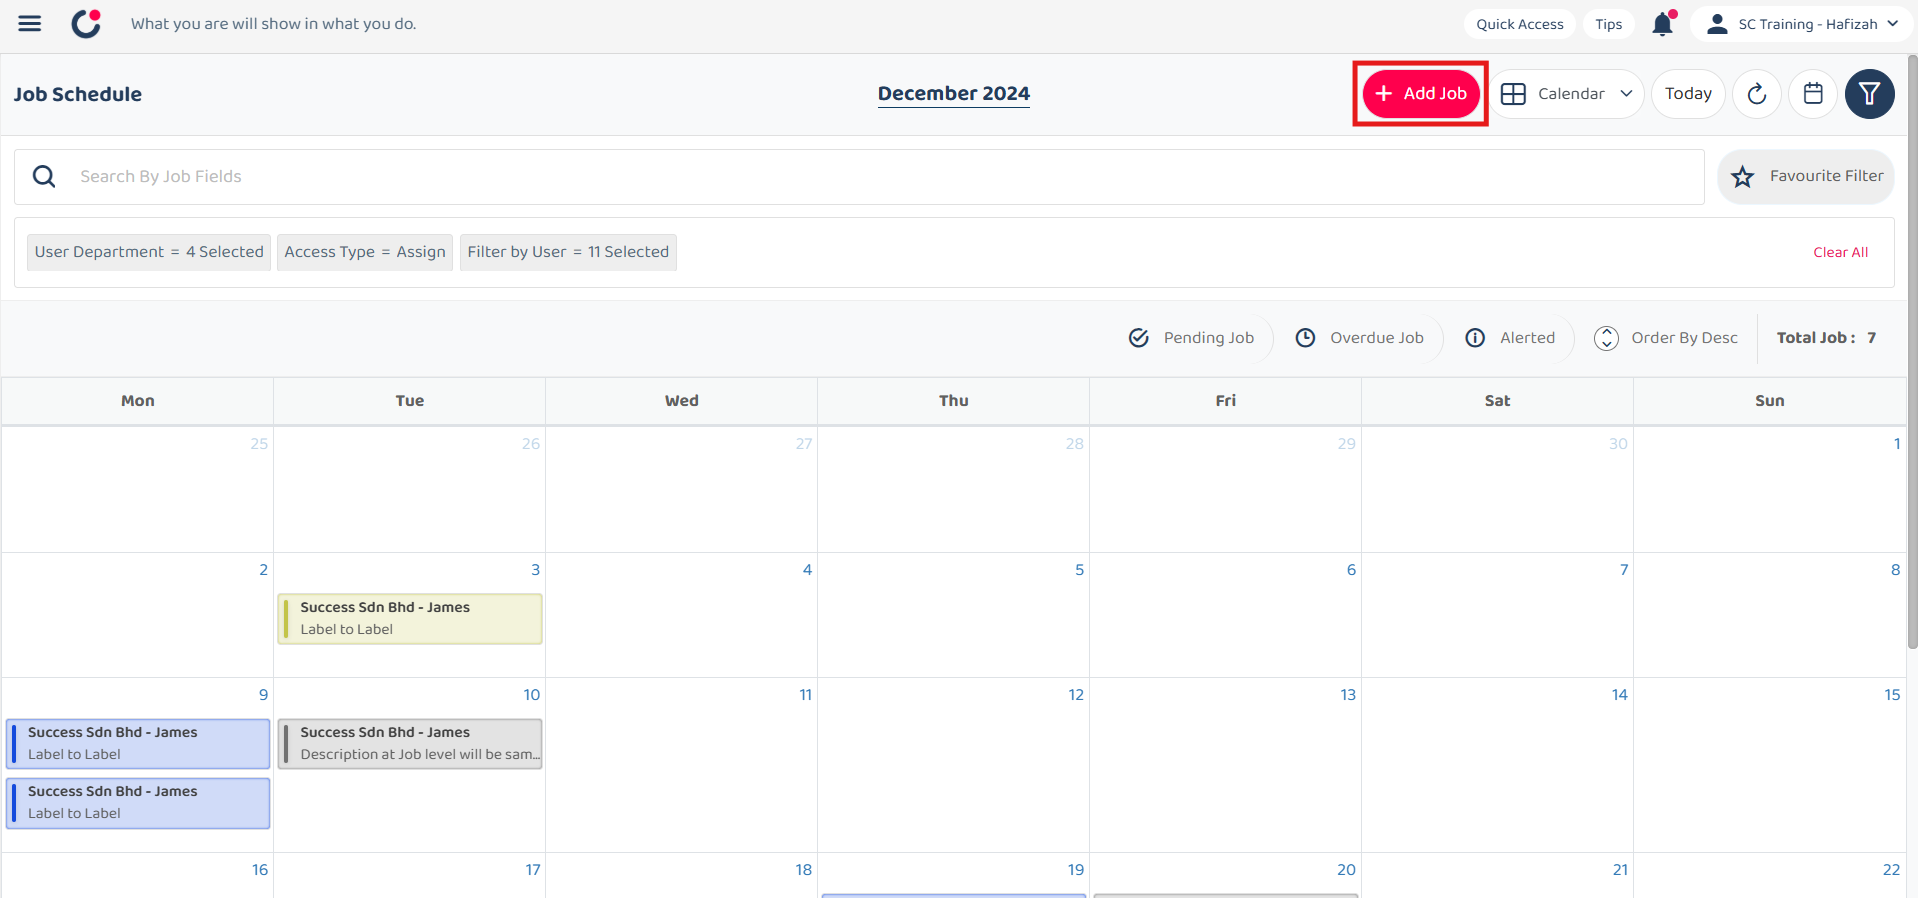
*Note: If you do not see a “+” button, you may need to request permission or help from your Admin to register new job.
-
Select the job category.
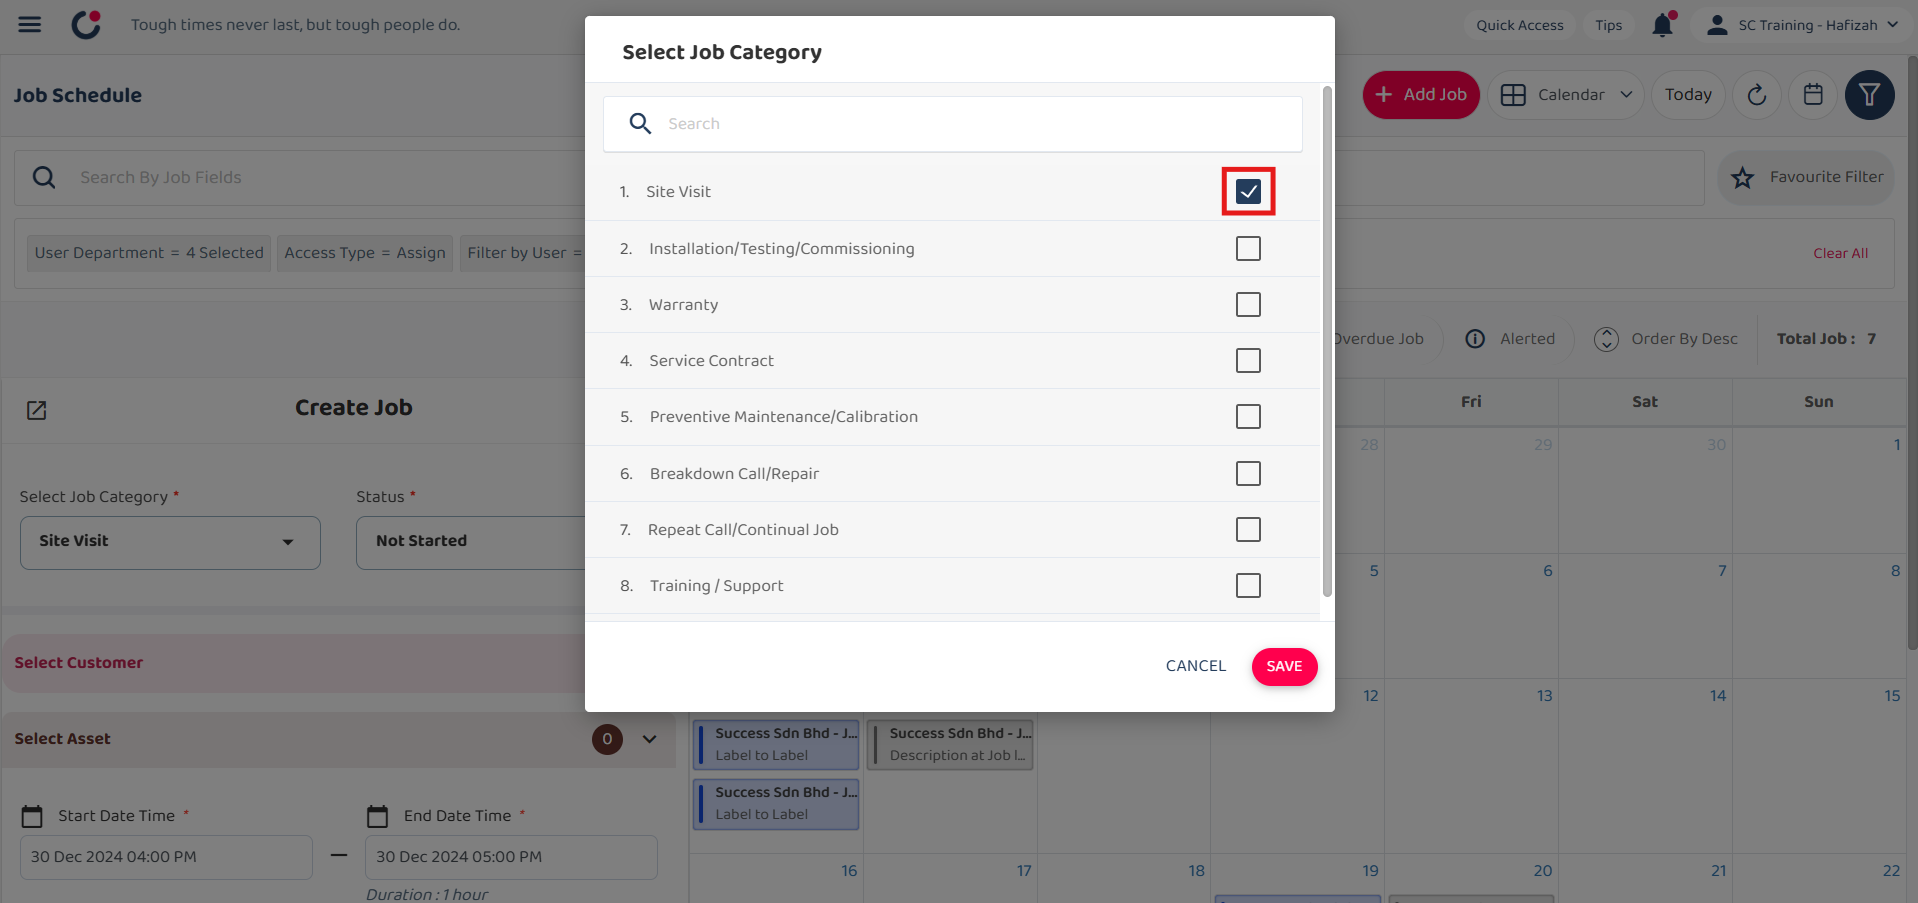
*Note: Please select the correct job category before proceeding. Different categories may have different requirements for different purposes.
-
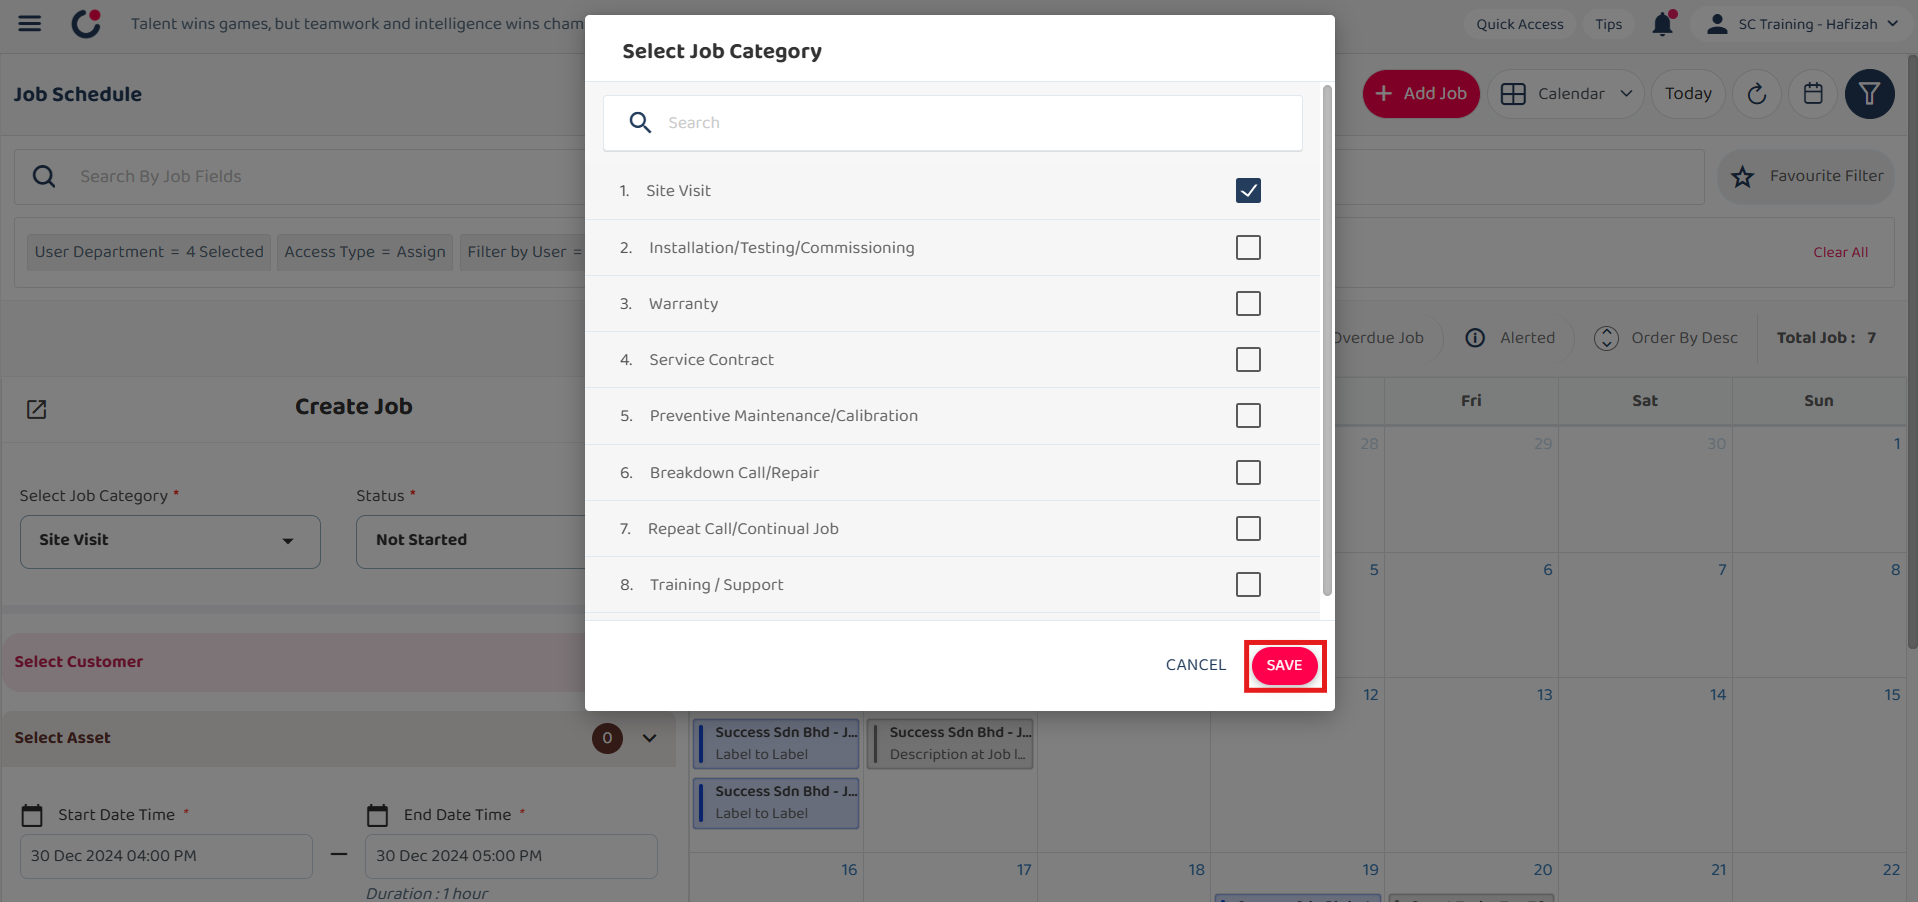
Click on the “SAVE” button.
-
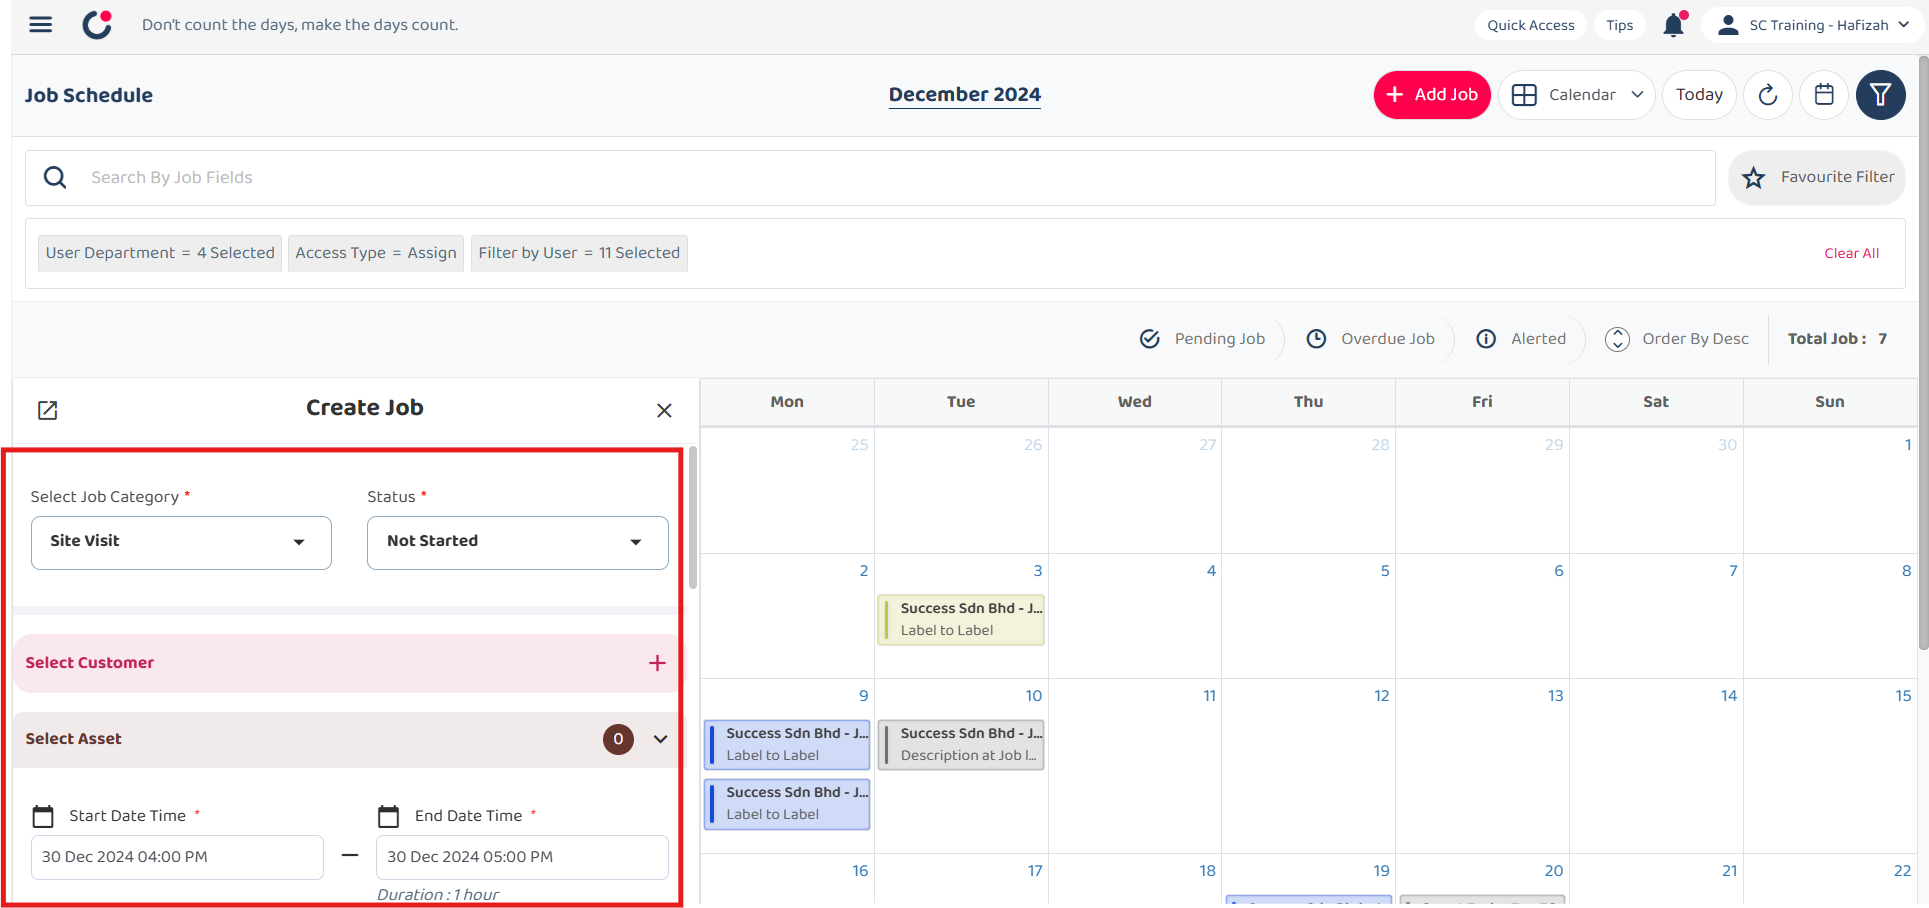
Fill out the details of the new job. Available fields may differ depending on your company’s system setup.
Field Name Description Select Job Category* Classifies the type of job. Status* Indicates the current status of the job. Select Customer Choose a customer from those registered in the system. After selecting Customer, you will be asked to select Project under that Customer. Select Asset Choose an asset from those registered in the system. Job Start End Date* The date range when the job is planned to start and end. Recurrent Job Indicates if the job recurs. Assigned User The user responsible for the job. Reminder Set a reminder for the job. Description Detailed description of the job. Attachment (Document or Receipt) Upload any relevant documents or receipts. *Note: Fields marked with an asterisk ( * ) are required.
-
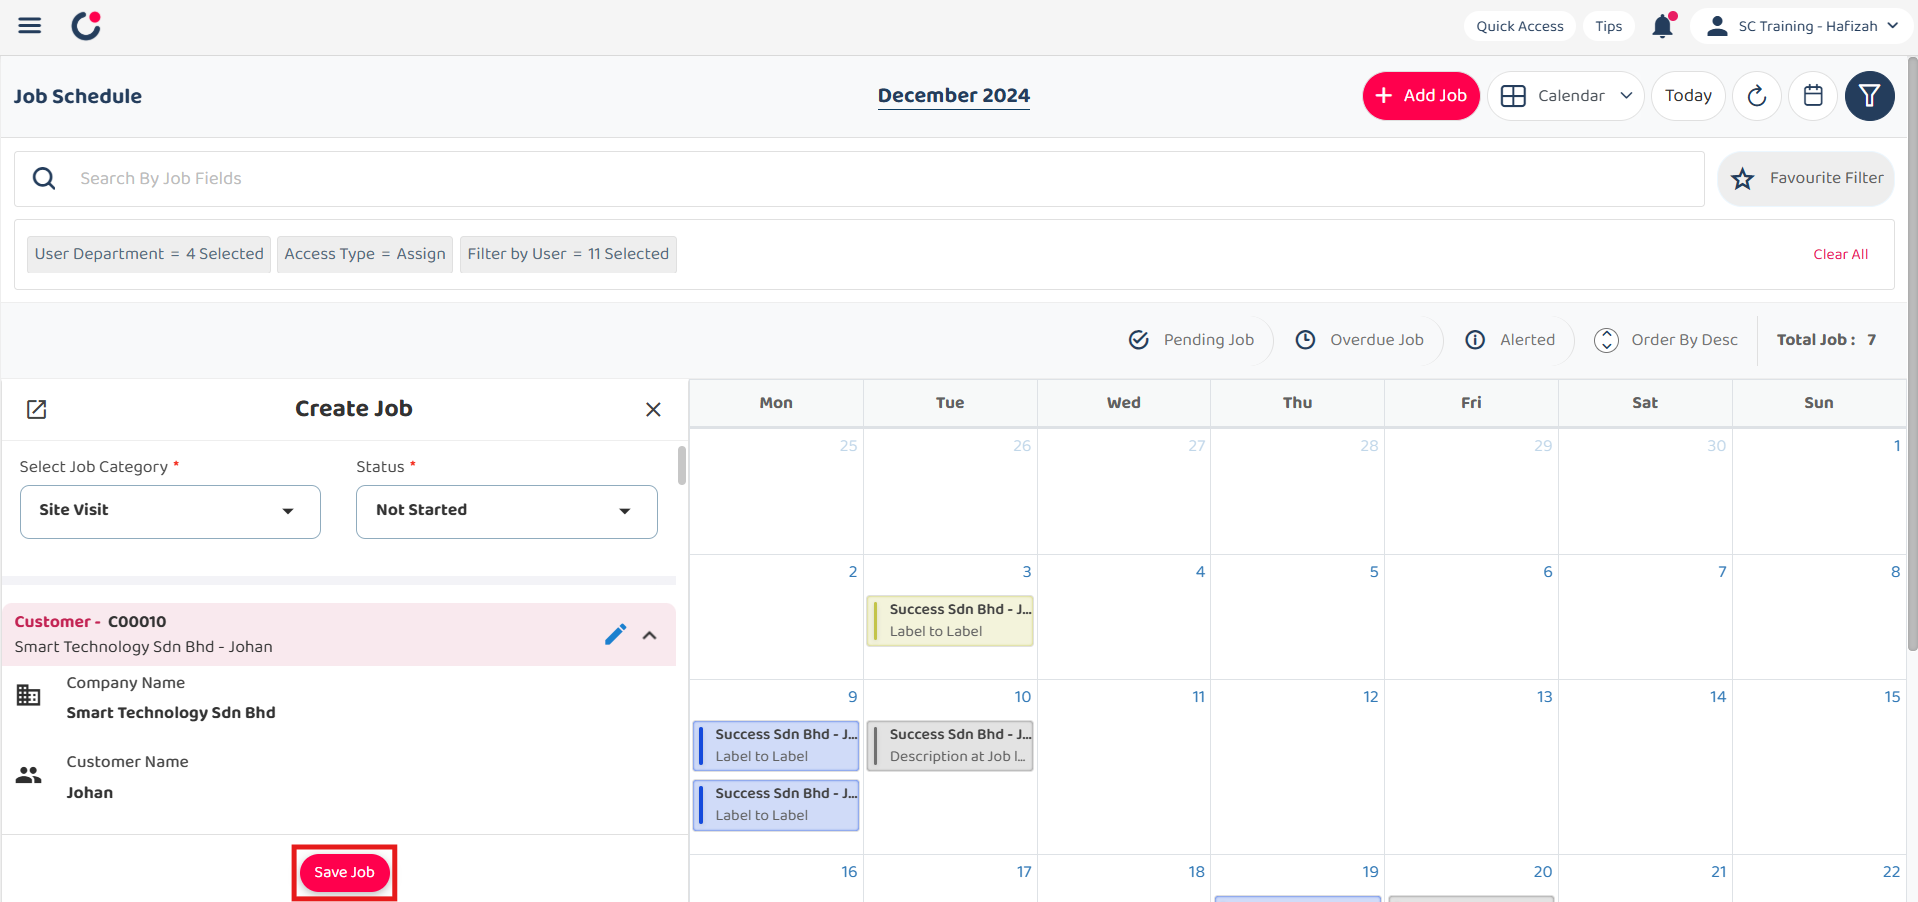
Click on the “Save Job” button.
-
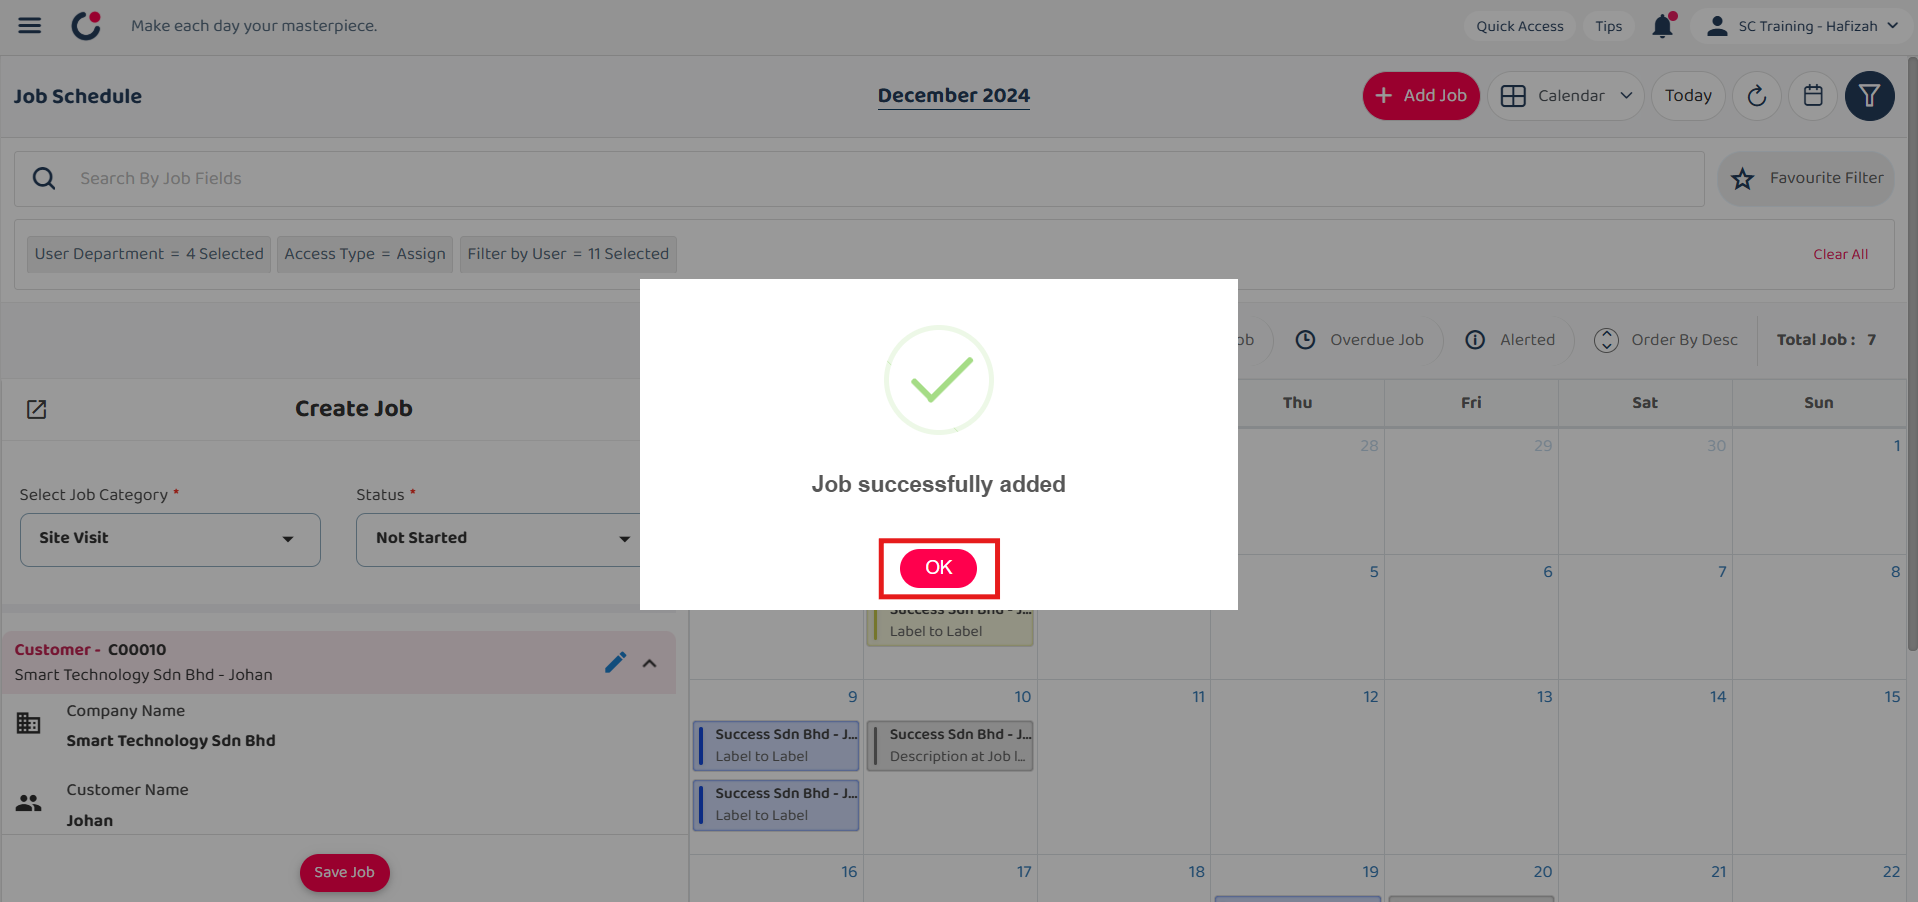
Click “OK” and the new job has been saved successfully.
Related Articles